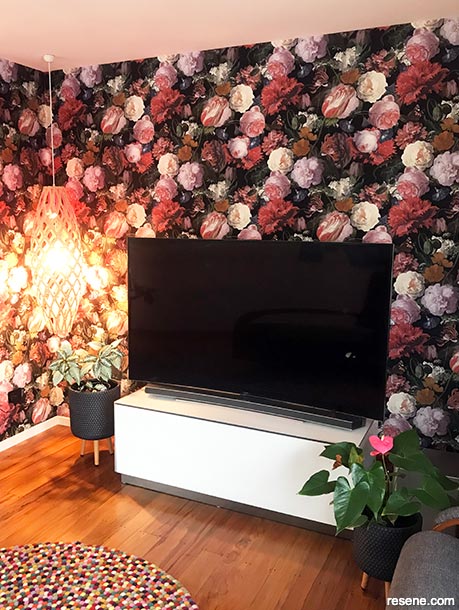
It’s easy to transform a plain wall into an eye-catching feature using boldly patterned floral Resene wallpaper.
Weekend DIY with Mark Rayner – Project 88
Difficulty level: Challenging
*Note: Other wallpapers may require different hanging and pasting methods so always check manufacturer’s recommendations.
To get the look: Mark painted the ceiling with Resene SpaceCote Flat tinted to Resene Ballerina.
Other ideas: For a lighter look choose the same wallpaper pattern with a white background.
 Step one
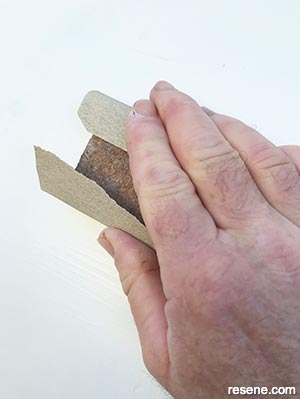
Lightly sand the wall and skirting to smooth any imperfections and wipe off sanding residue with a clean cloth.
 Step two
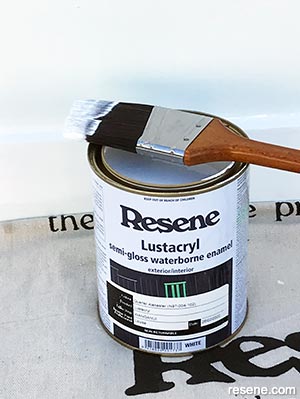
Paint the skirting with two coats of Resene Lustacryl tinted to Resene Quarter Alabaster, allowing two hours for each coat to dry.
 Step three
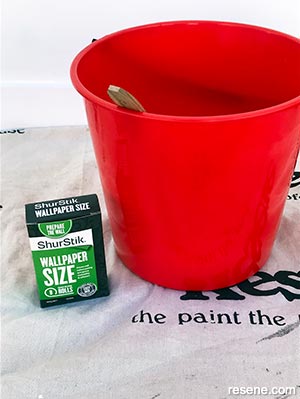
Mix the wallpaper size into clean water following manufacturer’s recommendations and stir well. Apply one coat of wallpaper size to the wall with a large paintbrush and allow to dry.
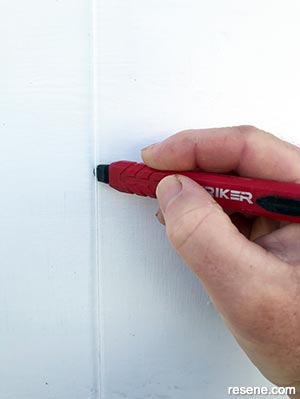 Step four
Measure the wall for the first drop of wallpaper and then, using a plumb line and pencil, make a series of light pencil marks vertically on the wall to use as a guide when hanging. This should be approximately 15mm away from the first wallpaper join.
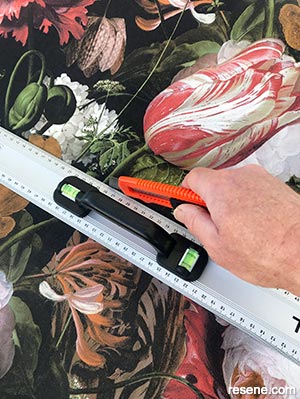 Step five
Measure, mark and cut the first drop of wallpaper allowing a 50mm overhang at either end.
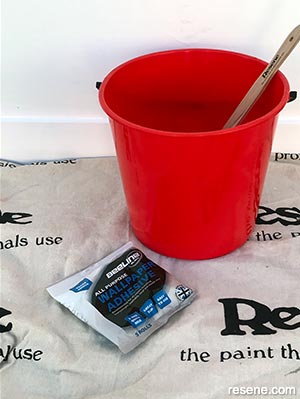 Step six
Mix the wallpaper paste into clean water following manufacturer’s recommendations and stir well. Working on an area slightly wider than the first drop of wallpaper, apply one coat of adhesive directly to the wall with an appropriate roller.
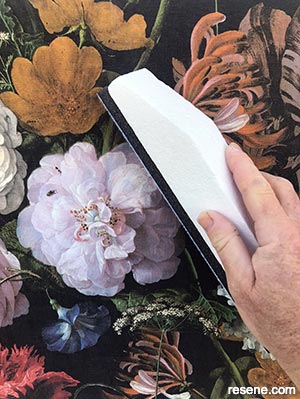 Step seven
Carefully press the first drop of wallpaper to the pre-pasted wall using the vertical pencil marks as a guide. Gently smooth the paper flat using the wallpaper smoother, working from the centre of the drop outwards. Wipe off any excess wallpaper paste from the wallpaper using a damp cloth.
 Step eight
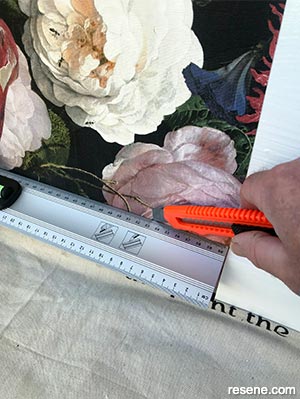
Carefully trim the drop to size using a craft knife and metal straight edge. Repeat steps five to eight, matching the pattern as you go. Once complete, allow the paste to dry naturally over several days.