Craft - inspired by Resene, from Little Treasures magazine
Every budding artist needs a place to create their masterpieces and this activity table is the perfect solution.
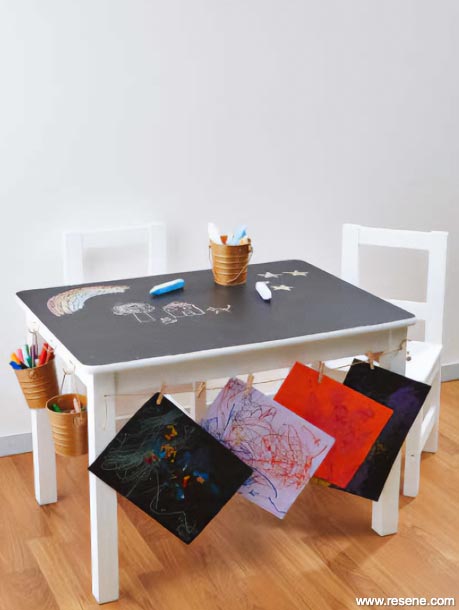
This one-stop-shop for crafting and creating will keep little people entertained and is the ideal way to store all their artistic bits and bobs so they’re ready and waiting for when inspiration strikes.
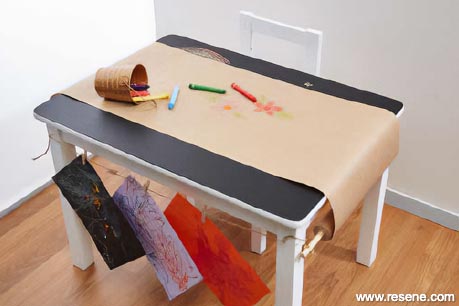
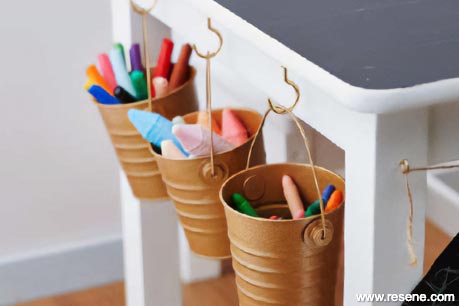
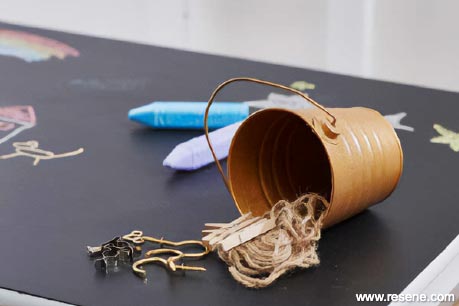
Paint each of the buckets inside and out with a coat of base colour (we used Resene Apache) and two coats of metallic paint (we used Resene Gold Dust), leaving to dry between coats.
Sand the furniture and wipe clean with a damp cloth. Seal with at least 1 coat of Resene Quick Dry and leave to dry.
Paint table legs and tabletop edges with two coats of Resene Lustacryl/Enamacryl paint. Leave to dry between coats.
Paint your tabletop with two coats of Resene Blackboard Paint, leaving to dry between coats.
On one of the sides of the table (our table is rectangular so we used one of the short sides) screw 3 cup hooks into the underside of the tabletop. Space them evenly with enough room for the buckets to hang without touching each other. (Use our image as a guide).
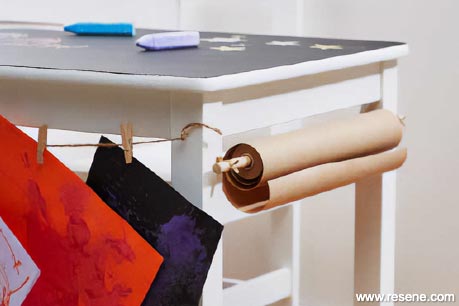
Attach the tool clips to the opposite side, one to the outside of each table leg, allowing enough space from the top of the table to hold the roll of paper. Thread the roll onto the piece of cut dowel and push dowel ends into the clips.
Screw in a screw eye to the centre of the front of each leg on the third side of the table, near the top. (Use the image above as a guide.) Tie string between the eyelets for pegging artwork to dry or to display.
Paint: If your table is a bright colour to begin with and you’re painting it a lighter colour it’s a good idea to paint 1-2 coats of Resene Quick Dry before your topcoats.
Screws: Drill small pilot holes before screwing in screw eyes, tool clips and cup hooks. When attaching screw eyes make sure you have enough room to fit the pegs.
A black table top looks striking, but if you’d like something that suits the rest of your décor, choose another colour and get it tinted into Resene SpaceCote Low Sheen, which can also be used as a chalkboard finish. Just make sure you have a good contrast between the paint and chalk colours.
You can also use a selection of colours in Resene SpaceCote Low Sheen to create a multi-coloured chalkboard background (e.g. green for the hills and blue for the sea and sky) for your child to draw pictures onto with chalk.
If you have two children, decorating a chair to suit each child can save arguments over whose chair is whose later. Simply choose a favourite Resene colour for each chair and you can either paint their name or a design onto it, or just paint the legs or back to create two unique chairs.
If you’re using wooden pegs, let your child decorate these as one of their first painting projects. Resene testpots are ideal. They could either use the leftover colours from the table or they could choose a couple of favourite colours from the Resene KidzColour collection.
You can paint the table in Resene Lustacryl semi-gloss or Resene Enamacryl gloss waterborne enamel. Gloss finishes are usually easier to wipe down and keep clean, while a semi-gloss finish can be easier on the eye.
If you’re looking for something to use for the metal buckets, Resene 1L metal paint pots are a good size for this type of project. You could use them when painting and then recycle them by painting them for your child.
Created by Sarah Eberhardt. Photography by Bryce Carleton.
Kid's Bedroom Decorating Ideas
View more decorating ideas for kids from Little Treasures magazine in the Resene kid's bedroom inspiration gallery.