We’re learning how to use bold tones – and love them.
In recent years we’ve been lost in a sea of whites and creams. As our colour confidence grows and as we become inspired by the way other cultures, and eras, have successfully used strong colour, we’re learning how to use bold tones – and love them.


It also heralds the return of red, which hasn’t been seen on our walls for many years, if not decades. We’re not talking about bright fire-engine red but rather more sophisticated and muted tones.
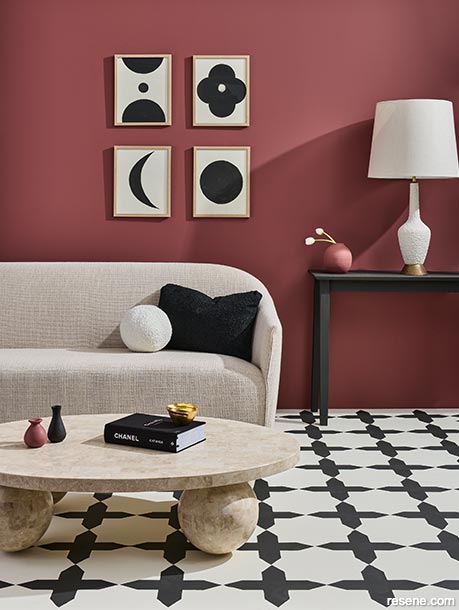
Resene Savour is a memorable mix of red tempered with warm ochre brown. It reminds us of ancient buildings from the Far East and deep red clay soils. It’s one of the colours from the Resene The Range fashion colours. Similar muddied reds to try are Resene Incarnadine, Resene Aroha, Resene Pohutukawa and Resene Pioneer Red. They all provide warmth to your walls without being overpowering.
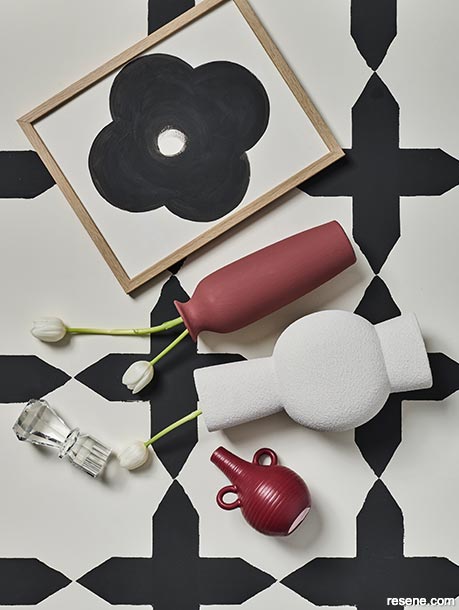
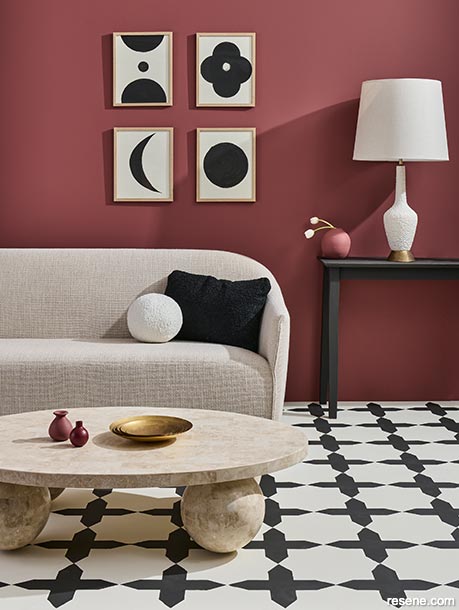
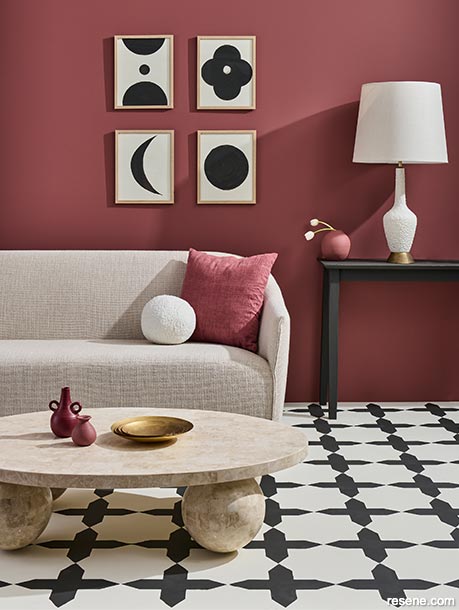
On the walls of this living room, it’s perfectly paired with simple black and white, and the décor is given a subtle Moroccan twist with a tile-effect stencilled floor, artworks, a stone coffee table and even a little handled vase.
If you wanted a less graphic colour effect, deep reds also go well with burnt charcoals such as Resene Half Ironsand, grey taupe such as Resene Half Truffle, as well as subdued ochres such as Resene Amaranth and olive greens such as Resene Hollyford Track.
If you’re artistically challenged, or simply don’t trust your hand to remain steady when armed with a paintbrush, using a stencil is a great way to make a big impact with very little effort. Unlike masking tape, stencils often produce more informal shapes with softer edges. Stencils are a great substitute for tiles, allowing you to achieve the same look for less. What’s important to remember when using them is to have your measurements and layout straight. Figure out what will work best as your base colour and which should be your topcoat colour (or two or three, depending on how detailed you want to get) and then try to work around the room in logical sections.
You will need:
Step-by-step instructions:
Draw the outline of the stencil pattern onto the card – ours is 30cm by 30cm. Or check out a range of downloadable stencil patterns here.
Use the craft knife to cut the stencil – you’ll be left with the cross-shaped hole.
Paint the entire floor with two coats of Resene Walk-on flooring paint in your base colour. Allow to dry.
Use a stringline to mark out where your first row of stencils will be – if you will end up with an odd number, make sure that the partial stencil is in a less noticeable part of the room.
Use low tack masking tape to keep your stencil in place. Pour the paint into a shallow tray, such as a small roller tray, and use a semi-dry sponge or paintbrush to dab paint through the holes in the stencil, making sure you don’t overload the brush or sponge with paint during the process. Adding too much paint to the brush or sponge will result in paint bleeding underneath the stencil. Keep a rag or paper towel on hand to dab off excess paint. Carefully lift the stencil off and place it in the next position for painting.
The set of four artworks on the wall are also hand-painted, using four simple shapes – a circle, a crescent, a Marimekko-inspired daisy and two half-circles with a dot. By using such simple shapes, these are easy to paint freehand. Just draw the shape in pencil beforehand, then all it takes is a steady hand and a wide artists’ paintbrush.



Project by Melle Van Sambeek. Photography by Bryce Carleton. May 2022
Colour inspiration - latest looks gallery
Get inspired with colour and the latest decorating and colour trends! Select just the right look and mood for your space.
Filter: kids & teens | greens | blues | yellows | neutrals | oranges/browns | pinks/reds | greys/blacks | violets | pops-of-colour/multi-colour
Charcoals are the new black
When it comes to exteriors, charcoal is the new black
Perfect imperfection
We’re craving organic looks - a bit rumpled and welcoming