From the Resene colour inspiration – latest looks gallery
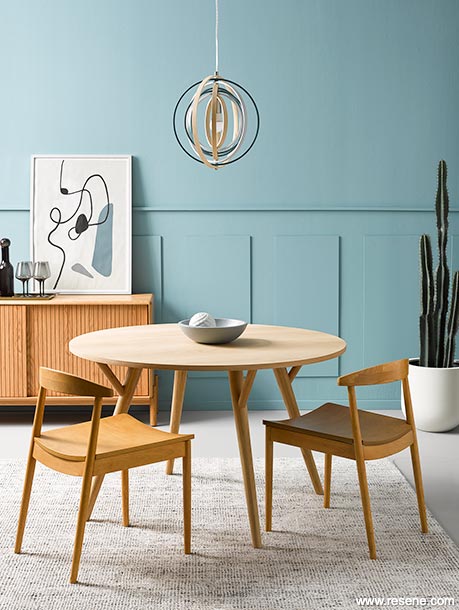
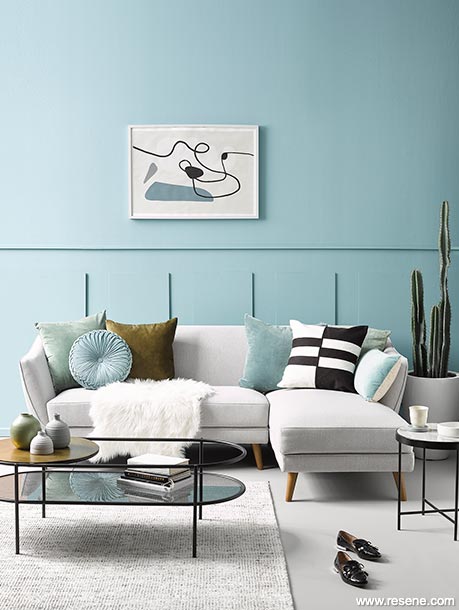
In this look, the often ornate nature of wainscotting has been pared down and simplified to straight squared edges
If you have a long span of wall, such as in an open plan living/dining room or hallway, you might be at a loss for how to make it interesting. While adding artwork is one option, it could be difficult to find enough pieces – or the right mix of pieces – to fill the space and also create the right balance.
Another option is to add tongue-and-groove panelling or wainscotting, which have both recently resurfaced as trends. Be it timber or MDF, this option adds to the natural shape of a room, and it can even help protect your walls from the wear and tear that comes with more time spent indoors.


However, traditional wainscotting can be pricy and time consuming to install. Plus, the look might not be the right fit for newer homes, and being sensitive to the period of your home is key when you're looking to make changes to your interior.
One idea is to put a unique and contemporary twist on it by creating ‘reversed’ panelling. In this look, the often ornate nature of wainscotting has been pared down and simplified to straight squared edges, and elements that would normally be inset have been given protruding dimension.
Most wall panelling on the market today is made from MDF, with the intention that it gets painted. Once fitted and painted, it’s difficult to distinguish it from real timber panelling – but it comes at only a fraction of the cost.


If you can wield a tape measure, a level and a power drill, you can likely install MDF panelling yourself over the course of a weekend. Then, all you’ll need to do is measure and mark out your design using a pencil and a level at even intervals, and then your MDF can either be attached to the wall with screws or glue.
If you decide to screw your panels in, it’s a good idea to countersink your screws so that the heads will sit lower than the surface of your panels. That way, you can fill your holes with wood filler and sand them flat so that you’ll end up with a perfectly finished look.
If your MDF or timber is new, it will likely be uncoated; so, you’ll want to prime it before you paint it in Resene Quick Dry waterborne primer undercoat. Once it’s dry, all that’s left is to pick your paint colour!
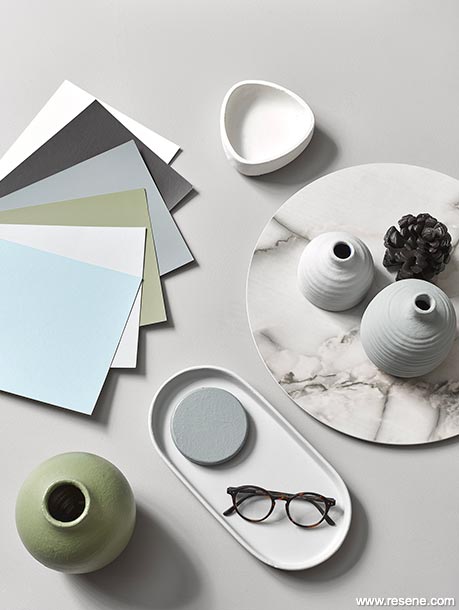
We painted our walls and panelling in Resene Ziggurat, a soft and warm blue with a subtle grey undertone and our flooring in Resene Mountain Mist, a soft cloudy grey. However, you could choose to paint your panelling in a contrasting colour. If you take this approach, be sure your walls are painted first and then prime and paint your panelling before you install it for clean and tidy lines. Then, hang your panelling, fill any holes, lightly sand your wood filler, and then touch up those areas using a testpot in your chosen Resene hue.
To finish the look, layer in some other tonal Resene blues and greys, such as plant pots, bowls and trays in Resene Celeste, Resene Duck Egg Blue, Resene Half Duck Egg Blue and Resene Nebula with a few accents in black, white, olive and sea glass hues. To tie the palette together, create some DIY abstract artwork using testpots in Resene Celeste, Resene Nocturnal, Resene Rolling Stone, Resene Blue Bayoux and Resene Alabaster and frame it in Resene Half Duck Egg Blue. Or, try painting different parts of a bentwood light fixture in Resene Half Duck Egg Blue, Resene Blue Bayoux and Resene Rolling Stone.
Project by Laura Lynn Johnston. Images by Wendy Fenwick. 2021
Colour inspiration - latest looks gallery
Get inspired with colour and the latest decorating and colour trends! Select just the right look and mood for your space.
Filter: kids & teens | greens | blues | yellows | neutrals | oranges/browns | pinks/reds | greys/blacks | violets | pops-of-colour/multi-colour
Chocolate indulgence
Dark chocolate browns are decadent additions
Draw the line
Using paint to share and divide an office space