Exterior: It’s a simple job to build a wooden compost bin – when you have some help from Resene.
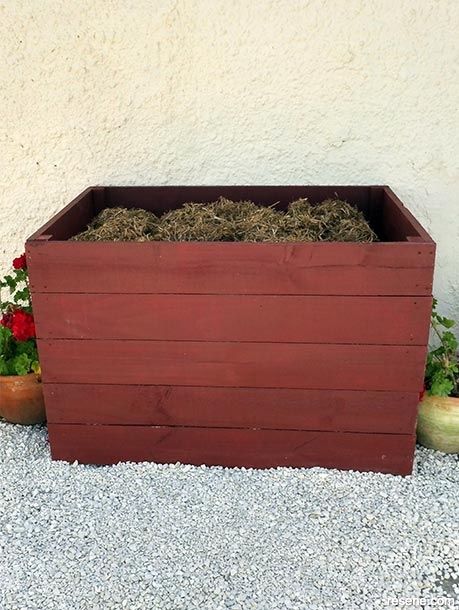
Ways with wood with Mark Rayner – Project 97
Difficulty level: Easy
To get the look: Mark painted the background wall with Resene Lumbersider tinted to Resene Quarter Dutch White.
Other ideas: For a dark green effect use Resene Waterborne Woodsman tinted to Resene Rangitoto.
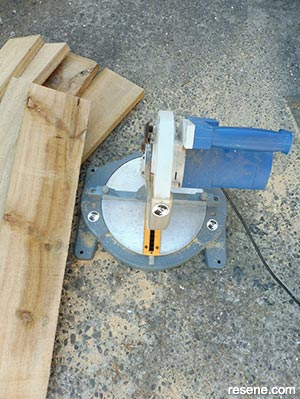 Step one
Cut the treated fence palings to the lengths listed above.
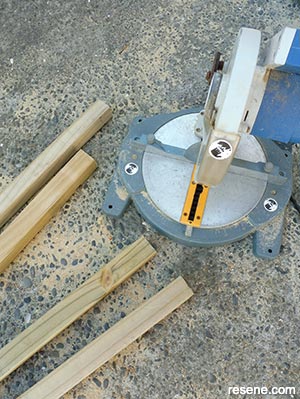 Step two
Cut the 50mm x 50mm treated timber into four 780mm lengths.
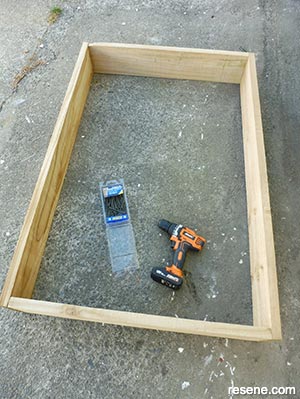 Step three
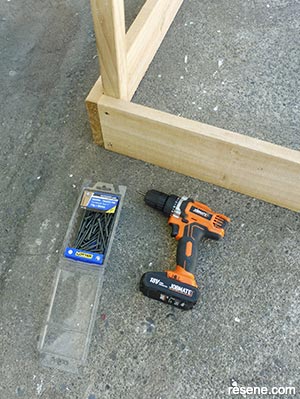
Assemble four of the pieces of fence paling to form a rectangular frame, as shown, fixing at each corner with 65mm screws.
 Step four
Attach a length of 50mm x 50mm timber upright at each corner, as shown, fixing with 65mm screws.
 Step five
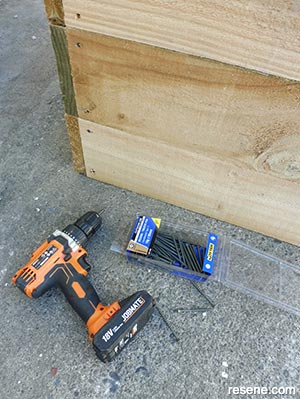
Assemble the remaining lengths of fence paling to form the walls of the compost bin, fixing securely with 65mm screws.
 Step six
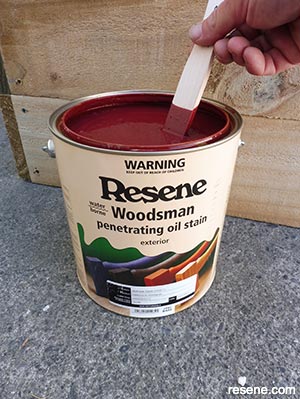
Carefully stir the Resene Waterborne Woodsman tinted to Resene Japanese Maple.
 Step seven
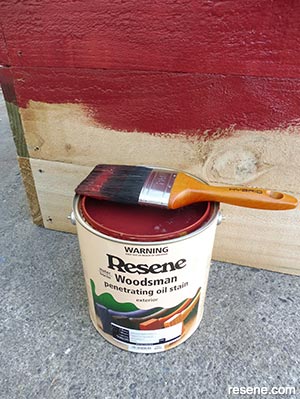
Apply one coat of Resene Waterborne Woodsman tinted to Resene Japanese Maple to the compost bin and allow to dry.
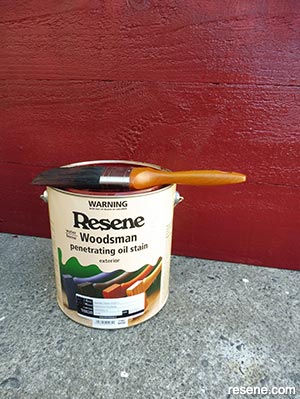 Step eight
Apply a second coat of Resene Waterborne Woodsman tinted to Resene Japanese Maple to the compost bin and allow to dry.
Order online now:
Testpots |
Paints |
Primers and Sealers |
Stains |
Clears |
Accessories
![]() Get inspired ! Subscribe
Get inspired ! Subscribe ![]() Get saving ! Apply for a DIY card
Get saving ! Apply for a DIY card
Can't find what you're looking for? Ask us!
Company profile | Terms | Privacy policy | Quality and environmental policy | Health and safety policy
Colours shown on this website are a representation only. Please refer to the actual paint or product sample. Resene colour charts, testpots and samples are available for ordering online. See measurements/conversions for more details on how electronic colour values are achieved.
What's new | Specifiers | Painters | DIYers | Artists | Kids | Sitemap | Home | TOP ⇧
