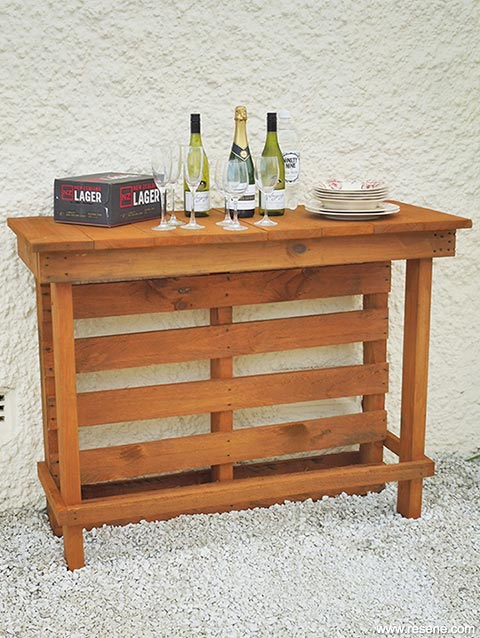
Pallet bar
We show you how easy it is to create this simple outdoor bar using an old pallet and other oddments of reclaimed timber.
You will need
- Wooden pallet (ours measured 945mm high, 1120mm wide and 140mm deep)
- 60mm galvanised paling nails
- 65mm exterior screws
- 75mm exterior screws
- 50mm x 100mm dressed timber cut to the following lengths:
- 1 x 1210mm – or the width of your pallet plus 90mm (100mm if you’re using undressed timber)
- 2 x 400mm
- 2 x 945mm – or the height of your pallet if it differs to ours
- 50mm x 25mm timber cut to the following lengths:
- 1 x 1120mm – or the width of your pallet if it differs to ours
- 2 x 405mm (this may differ slightly depending on the design of your pallet)
- Fence palings cut into eight 500mm lengths
- Hammer
- Large clamp
- Paint stirrer
- Paintbrush
- Pencil
- Resene Woodsman tinted to Resene Heartwood
- Sander
- Saw
- Screwdriver
- Set square
- Stiff bristled brush
- Tape measure
- Turps for cleaning brush
Handy hint: An untreated timber pallet will eventually deteriorate and rot outside so to prolong the life of your bar ensure it isn’t in direct contact with soil and restain periodically to continue protecting the wood.
To get the look: Mark painted the background wall with Resene AquaShield tinted to Resene Pipi.
Here's another idea: This simple piece of pallet furniture would also make for an ideal potting bench.
How to build an outdoor bar
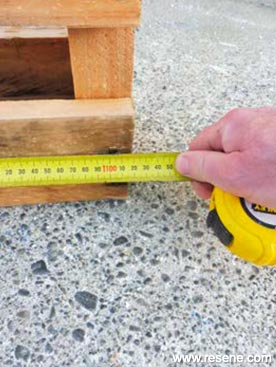 Step one
Measure the height and width of your pallet – you may need to adjust the measurements listed above.
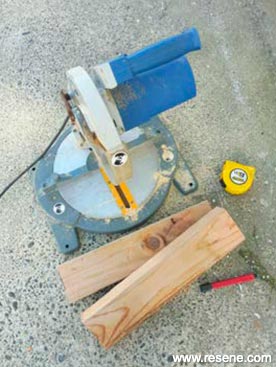 Step two
Measure, mark and cut the 50mm x 100mm timber and the 50mm x 25mm timber to the dimensions listed above – or the adjusted measurements if you’re using a different sized pallet.
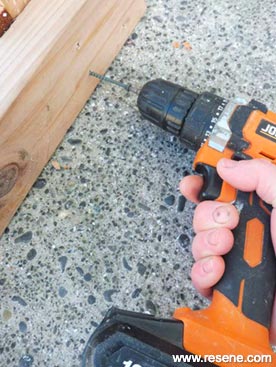 Step three
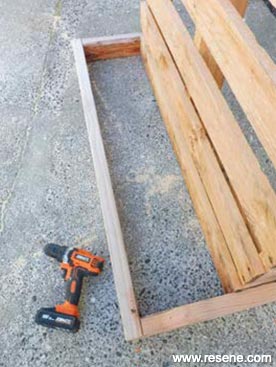
Stand the pallet upright on a flat surface and attach the two 400mm pieces of timber at right angles on either side of the pallet, using 75mm screws. Use a set square to ensure the angles are true.
 Step four
Attach the 1210mm piece of timber into position, as shown, using 75mm screws.
 Step five
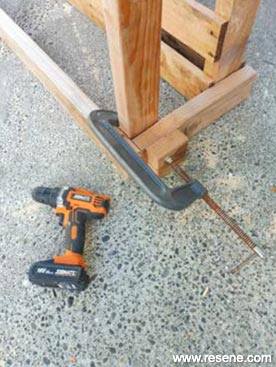
Fix the two 945mm pieces of timber into position to form the front legs of the bar. Use a clamp and an offcut of timber to keep them at 90 degrees in both directions before fixing with 75mm screws.
 Step six
Turn the bar the right way up and, using 65mm screws, fix the three pieces of 50mm x 25mm timber into position, as shown, approximately 150mm up from the base of the bar.
 Step seven
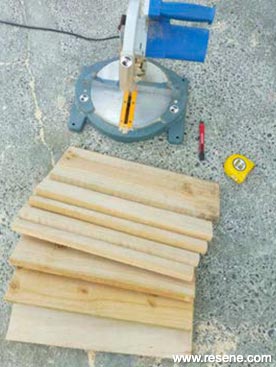
Measure, mark and cut the pieces of fence paling to the dimensions listed above.
 Step eight
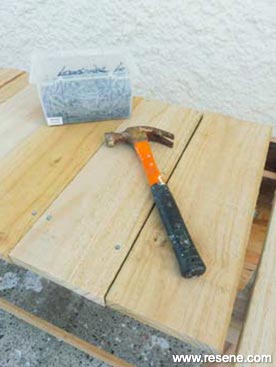
Fix these into position using 60mm paling nails, as shown, overlapping each side by approximately 25mm and keeping them flush to the back edge.
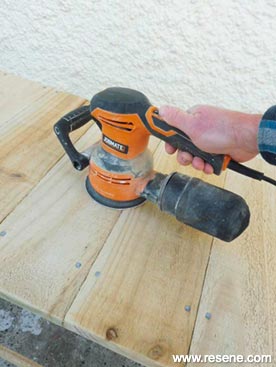 Step nine
Sand the entire bar to smooth any rough surfaces, edges and corners and then brush off any sanding residue with a stiff bristled brush.
 Step ten
Carefully stir the Resene Woodsman tinted to Resene Heartwood.
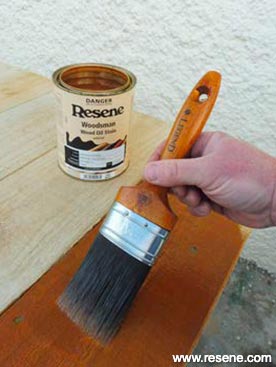 Step eleven
Apply two coats of Resene Woodsman tinted to Resene Heartwood to the entire bar allowing 24 hours for each coat to dry. Wash brush in turps.
 Finished project