DIY projects from Your Home and Garden
Venetian plaster finishes are on-trend at the moment, so why not recreate this look at home and cover that unsightly rangehood at the same time?
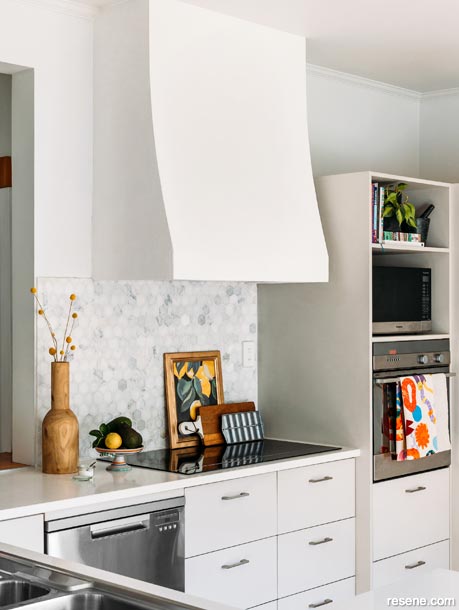
Tip: For extra visual dimension, use Resene FX Paint Effects Medium in a darker or lighter variation of your main colour to add an extra wash of tonal colour. Apply Resene Concrete Clear as an optional final coat for easier cleaning.
Hiding a dated rangehood is a cheaper option than replacing a perfectly functioning unit that may be ruining the look of your kitchen. Rangehood covers are also having a moment. But why stop there? Venetianstyle plaster, so evocative of grand old Italian palazzos, is also a happening thing. It’s easy to emulate that effect with clever paint application rather than using a complicated plaster mix that can only be applied by a professional.
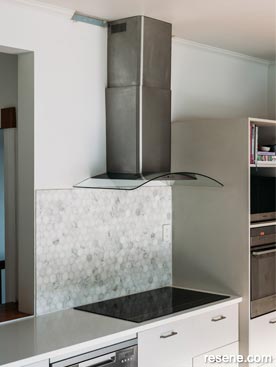 Before
A close-up of the rangehood before it was covered with a Venetian plaster finish.
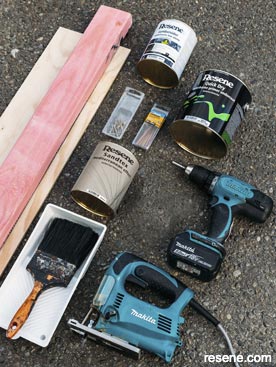 Materials
A close up of all the materials and tools used in the project.
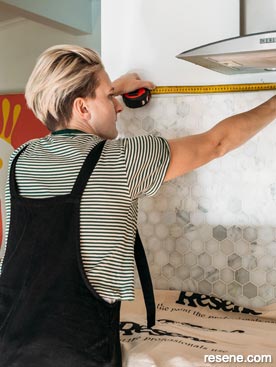 Step 1
Measure the rangehood. You are going to build two frames to fit around it, one top, one bottom. You need to ensure it’s big enough to surround the rangehood with plenty of space for air flow and still be able to see the buttons, which operate the range. For my design, I wanted the top frame to be slightly narrower than the bottom frame to create a curve.
 Step 2
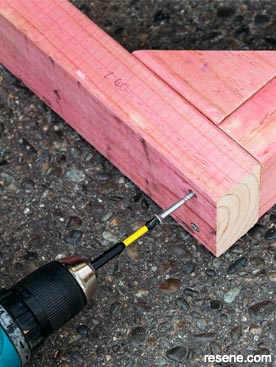
Cut and fix the two frames together using screws. I cut some triangular blocks to go in the corners to keep it square and strengthen the frame.
 Step 3
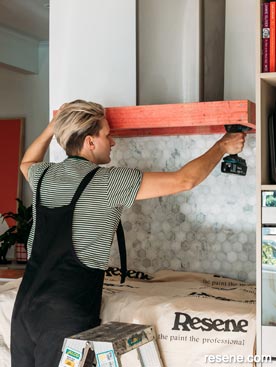
Fix the frames to the wall, the larger at the bottom, smaller at the top. You want to make sure you find the studs to fix into so that the frames are secure.
 Step 4
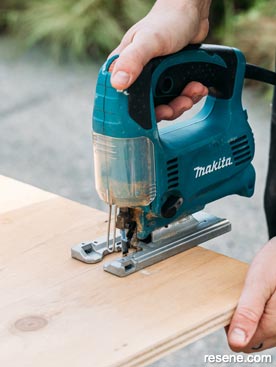
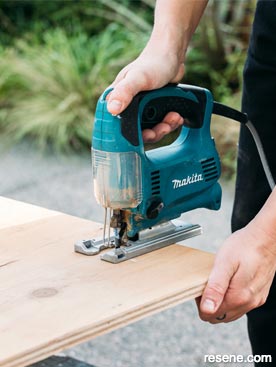
Measure the 18mm plywood to fit the two sides. This will be wider at the bottom and you will need to create a curve. Cut using a jigsaw.
 Step 5
Measure and cut the large piece to fit the front face using the 7mm plywood.
 Step 6
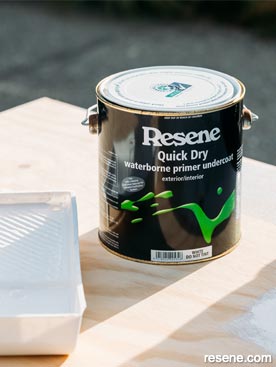
I primed the ply with Resene Quick Dry waterborne primer before I fixed it into place, but you can also prime it once it is up.
 Step 7
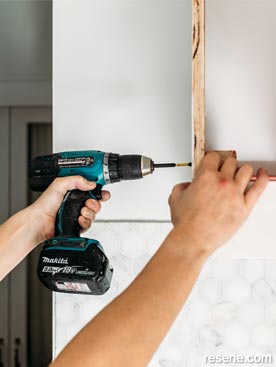
Fix the side pieces into place, I added some small blocks to the inside along the front edge of this to add extra support for the front piece.
 Step 8
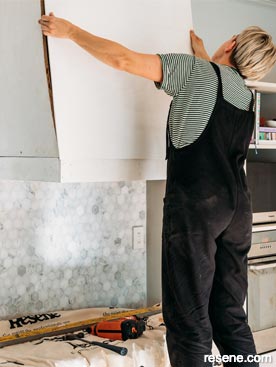
Fix the front piece into place creating a curve.
 Step 9
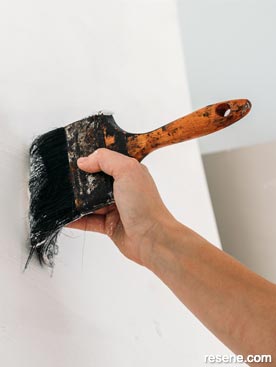 Step 10
Project: Nikki Kettle. Photography: Anna Briggs. August 2023.
▸ Download a PDF of this article
Projects from Your Home and Garden
Our resident DIY expert, Nikki Kettle, shares the latest tips and DIY projects.