Spring brings so many joys – including the sound of bleating lambs and the satisfying snip of an asparagus spear. But as the last snow melts, the season also signals the need for a spot of spring cleaning/upcycling. Wooden crates tend to end up on the farm one way or another but rarely get the boot if I can help it. The beauty of crates is that you can transform them over and over again.
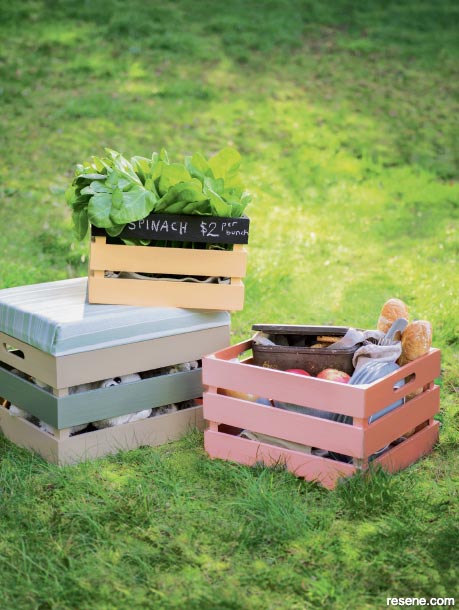
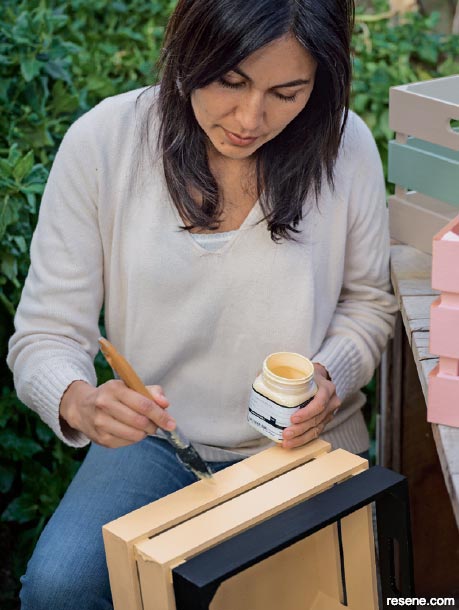
I love seeing fresh produce listed on a blackboard; you know the fruit and veg is ultra-fresh when the chalk changes daily. To make a version ready for market, prime a clean crate with Resene Quick Dry waterborne primer undercoat before painting the bottom two panels (inside and out) with two coats of Resene Manuka Honey. After giving them time to dry, paint the top panels with two coats of Resene FX Blackboard Paint. On market day, line the bottom with newspaper or hay before filling the crate with garden-fresh produce.
Market crate: Resene FX Blackboard Paint and Resene Manuka Honey (for the base).
Arrowtown is the best place for picnics. Painted crates are great for an outdoor spread because they can be flipped over and used as a seat or table. First, undercoat a crate in Resene Quick Dry waterborne primer undercoat before painting the side panels with two coats of Resene Paper Doll. Once dry, finish it by painting the two ends with Resene Twizel – a darker, complementary hue for a picnic-ready look.
Picnic carrier: Resene Paper Doll (sides) and Resene Twizel (at each end).


It takes longer for warmer weather to reach our corner of the South Island, so not all playtime is outdoors. It turns out crates are just as useful indoors; they are an awesome place for the boys to store their toys and can double as comfy seats. It’s easier than you think.
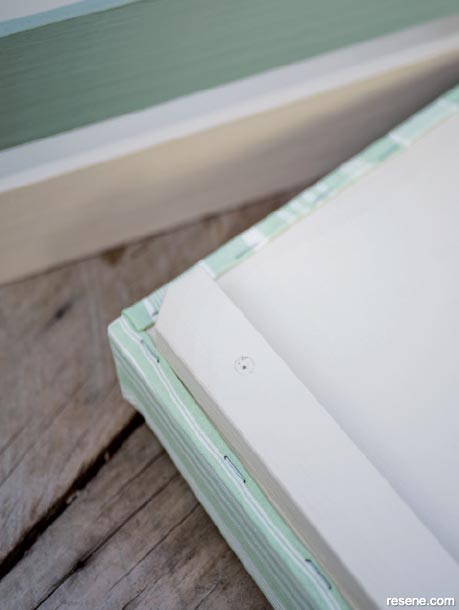
For the lid, ask a local timber supplier to cut a piece of 10mm hardwood to the dimensions of your crate. You’ll also need two thin bars of hardwood – these will fit inside the crate to prevent the seat from sliding. The dimensions will depend on the crate; generally speaking, cut the bars approximately 2cm wide and 5-10mm shorter than the internal width of the crate. Put the bars inside each end of the lid, positioned slightly in from the edge so they will tuck into the crate (see below). Fix against the lid with screws or nails. Be sure to paint the crate and lid before securing the cushion. To match the cushion fabric, I used Resene Sisal for the lid and light stripes and Resene Spanish Green for the darker stripe.
To create the cushion, you’ll need a piece of foam cut to size and fabric to cover it. Cut the fabric to fit, leaving about 10cm extra for each side. Lay the material on the floor (pattern right-side down), add the foam, and place the lid over the foam with the bars facing up. Start with the extra fabric on one of the long ends of the lid, folding it in over and over until it fits flat and snugly against the base of the lid (approx 1cm in from the edge). Secure it with staples or fabric tacks. Repeat on the other side, then on the two shorter ends, making sure to pull the fabric taut to ensure the seat cover is wrinkle-free.
Seat/toy box: Resene Spanish Green and Resene Sisal.
October 2022
▸ Download a PDF of this article
Nadia's Journal
Articles, ideas and projects from Nadia's Journal in Resene weekend DIY.