Habitat bright ideas with Fleur Thorpe – DIY projects
Decorate your celebration table with a cluster of candles. This centrepiece will help hold multiple candles together making it easy to store in between events or you can display year round by changing out the accessorising.
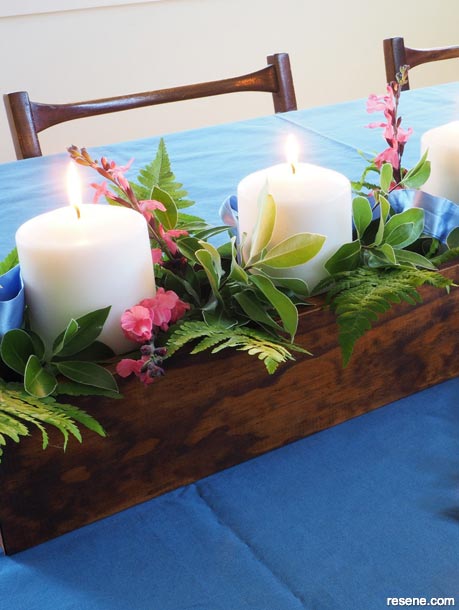
Wall painted in Resene Cararra
Step 1: For this project Fleur used three 90cm lengths of untreated pine which was 9cm wide and 18mm thick. Start by cutting the two short ends for my box. Set your mitre saw to cut at 45 degrees and from two of the lengths of wood cut off the two ends, one from each plank, so that the short length between the two angled cuts is 9cm, the same as the width of the base. This will leave you with about 78cm of the two planks left. Cut the remaining two ends of both planks at 45 degrees which completes the 4 sided box. Reset the mitre saw to zero and trim the remaining third length of wood to be the base so that it fits within the four sides of the box.
Step 2: Use a soft, lint-free cloth to rub Resene Colorwood stain in Resene Teak on to both the front and the back of the four sides and on the top of the base. It’s a good idea to wear rubber/silicon gloves for this job. Apply two coats of stain, allowing for the first to dry before applying the second coat, but you can do more or less, depending on how intense you want the colour to be.
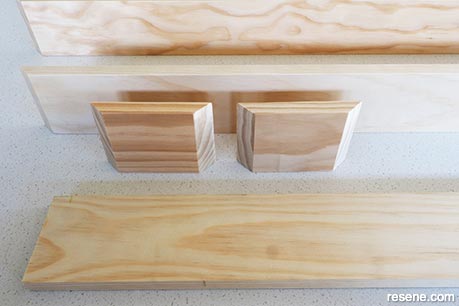
Photo one
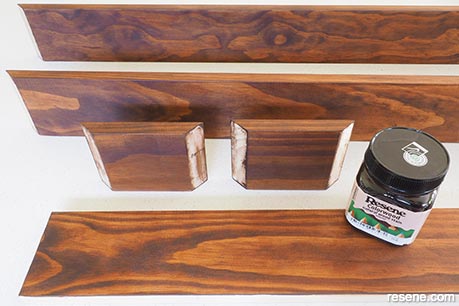
Photo two
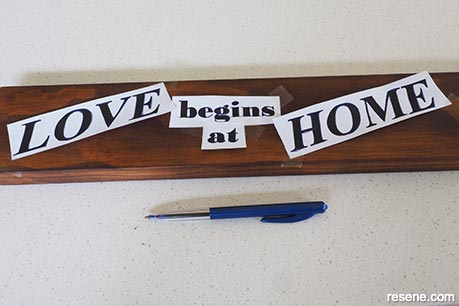
Photo three
Step 3: Print out a quote onto printer paper – Fleur chose a Mother Teresa quote – and roughly cut this out. Lay it on to the side of one of your long lengths of wood and once you are happy with the position, use sellotape to hold it in place. With a ballpoint pen, trace around the words, pushing firmly as you do, so that you leave an indentation in the wood. Repeat this process if you want the words on the other side as well.
Step 4: Use a thin paintbrush to paint in the words with Resene Dawn Pink. Don’t worry too much about the colour of this paint, just use something pale, as the colour will change with the next couple of steps. Allow the paint to dry.
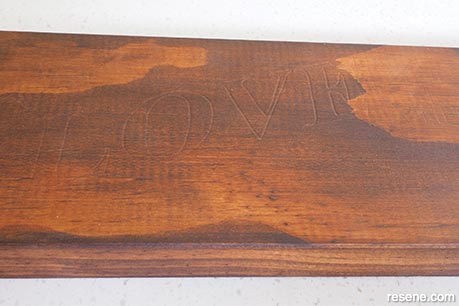
Photo four
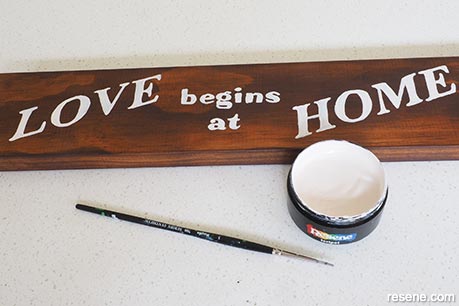
Photo five
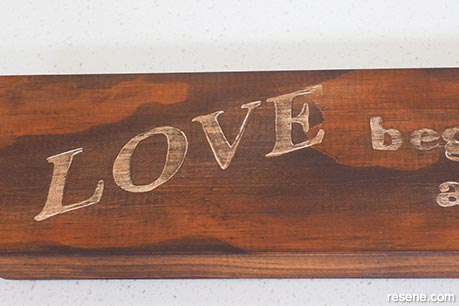
Photo six
Step 5: To make the words look older and not so fresh, sand some of the paint off with sandpaper. Wipe off sanding dusts. This will also remove some of the stain, so redo that area with some more stain. This will change the colour of the painted words and give them a very cool aged look.
Step 6: Drill a hole in the middle of each of the ends for the handles.
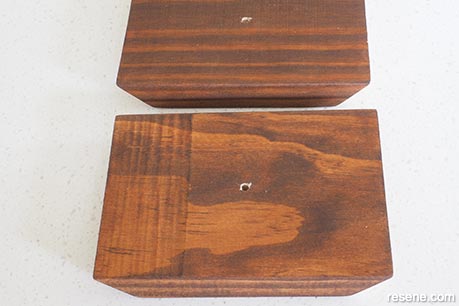
Photo seven
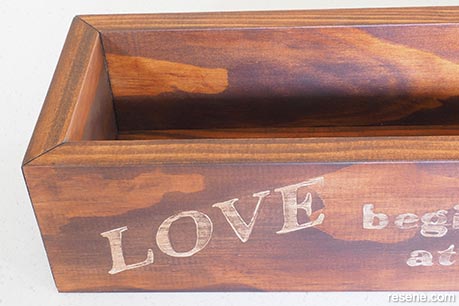
Photo eight (a)
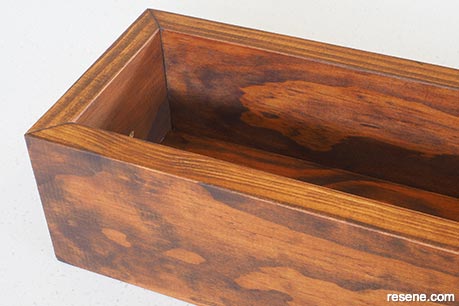
Photo eight (b)
Step 7: Use wood glue to glue the whole box together. Allow this to dry overnight.
Step 8: Rub on two coats of Resene Danska Teak Oil with a soft lint-free cloth, leaving it to sit for 15 minutes and then wiping any excess residue off with another cloth. Repeat this a second time.
Step 9: Once the oil is well dry, attach the handles to either end.
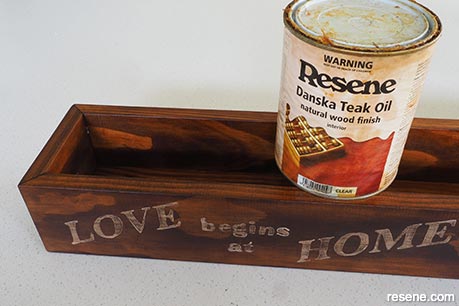
Photo nine (a)
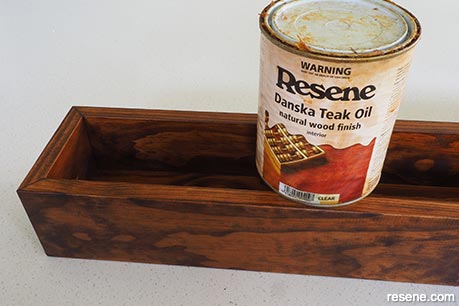
Photo nine (b)
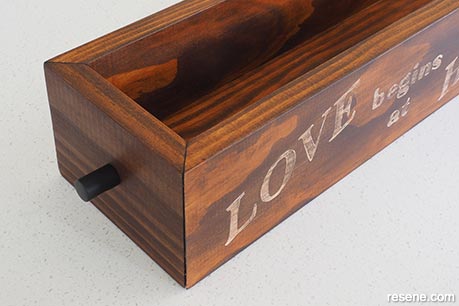
Photo ten (a)
Top tip: Paint your candleholder box in Resene FX Blackboard Paint, remove the Christmas accessorising and allow to dry. Then bring out the chalk and write your own personalised message for each occasion from birthdays to Christmas.
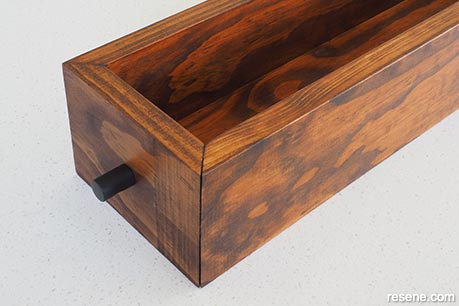
Photo ten (b)
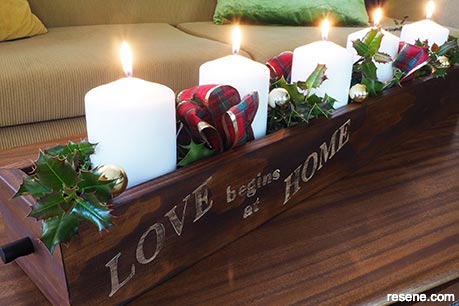
Photo eleven
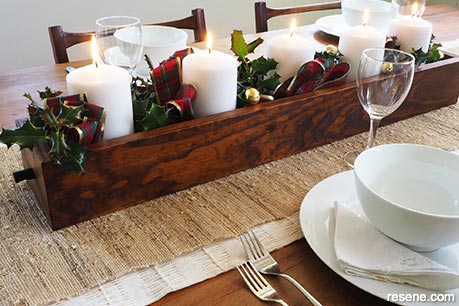
Photo twelve
Styling and images by Fleur Thorpe. Nov 2021.
Habitat bright ideas
Need to add colour, pattern or a little creativity to your place? Check out these easy step by step DIY project ideas created in collaboration with Fleur Thorpe. We hope you enjoy making and painting these bright ideas and bringing colour to your home inside or out.