Habitat bright ideas with Fleur Thorpe – DIY projects
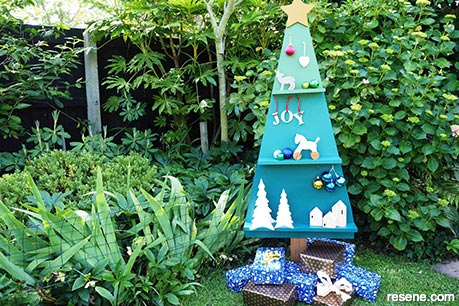
Create your own Christmas tree out of plywood or scrap timber.
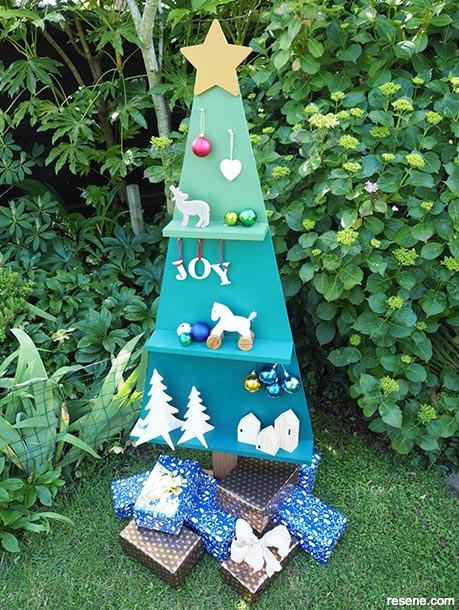
‘JOY’ letters painted in Resene Pearl Lusta, toy horse in Resene Half Rice Cake, trees in Resene Half Rice Cake, white house in Resene Carrara and windows in Resene Black.
Materials:
Resene products/colours:
Resene testpot paints in your choice of colour, Fleur used: Resene Green House, Resene Aquamarine and Resene Deep Teal
Resene Colorwood wood stain in your choice of colour, Fleur used: Resene Colorwood in Resene Matai
Tools:
 Step 1
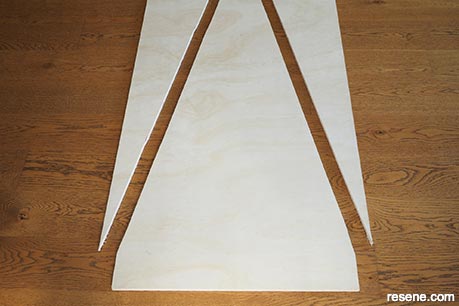
Start by cutting out the shape of your tree from the plywood panel. Fleur wanted my tree to be as big as possible so instead of just cutting out a three sided triangle, Fleur measured 90mm up from the bottom edge and measured 45mm from either side of the centre point at the top. Fleur used a jig saw to cut my tree out and then sanded off the rough edges.
 Step 2
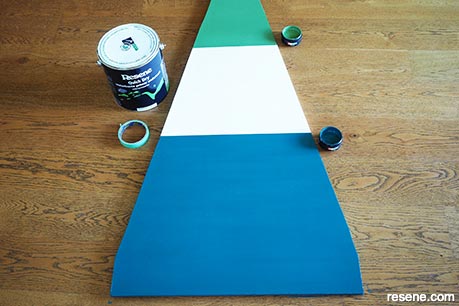
Paint over the whole tree with Resene Quick Dry and allow to dry. Lightly sand and wipe off the sanding dust. Measure and tape the tree into thirds using green painters tape. Paint the top third with Resene Green House and the bottom third with Resene Deep Teal. Apply two coats and remove the tape while the second coat is drying.
 Step 3
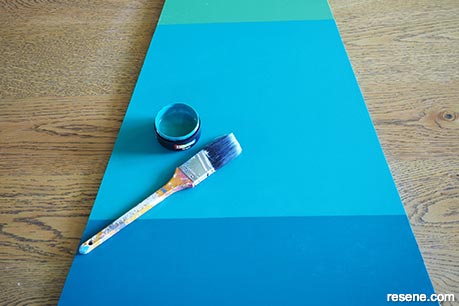
Once the paint is dry, tape off the middle third and paint this with two coats of Resene Aquamarine.
 Step 4
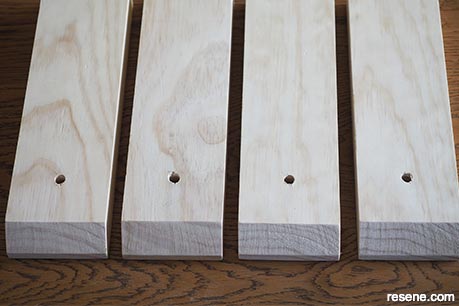
While the paint is drying, cut the 1200mm length of pine board into four even lengths. Cut a 45 degree bevel at one end and drill a hole at this same end that is big enough to fit one of the tent pegs through. Use a soft lint-free cloth to apply one coat of Resene Colorwood stain in the colour Resene Matai. It’s a good idea to wear rubber gloves for this job.
 Step 5
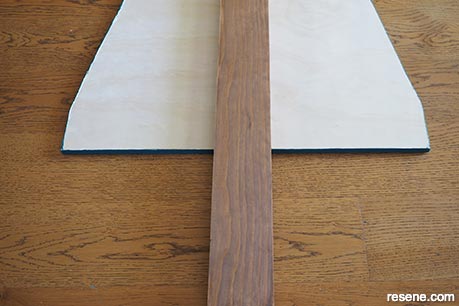
For the tree trunk, apply a coat of Resene Colorwood in Resene Matai to the 900mm long board. Use wood glue to glue this to the back of the tree. Once the glue is dry, flip the tree over and secure the trunk with a few screws, screwing in through the front face of the tree. Place the screws where the shelves are going so that the screws are hidden.
 Step 6
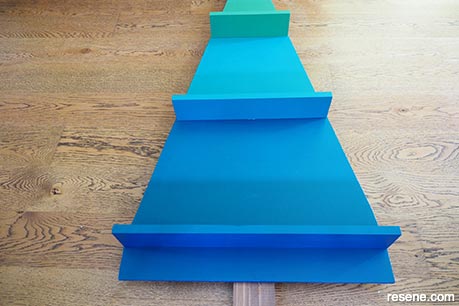
For the shelves, cut the 90mm x 18mm board into three lengths, each one long enough to cross the tree where the change in paint colour occurs. Prime these shelves with Resene Quick Dry, gave them a light sand and wipe off the sanding dust. Then apply two coats of the corresponding paint colour. Once the paint is dry, glue the shelves into place. Once the glue is dry, flip the tree over and secure the shelves with some screws from the back.
 Step 7
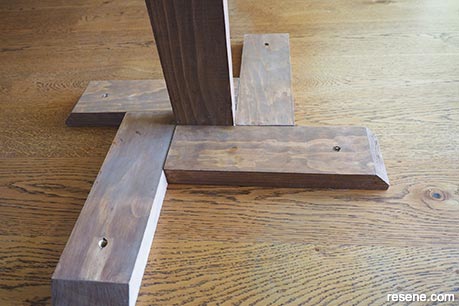
Take the lengths of wood for the base and glue them in place as shown. Screw them together on the underside for extra strength.
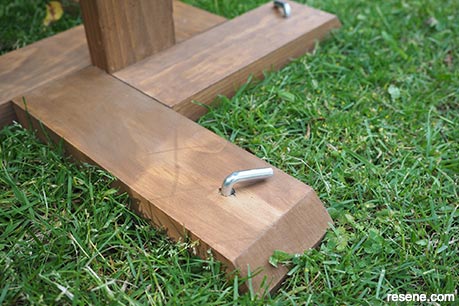 Step 8
To secure your tree to the ground and to help prevent it from falling over, bang in a metal tent peg into each of the four holes.
 Step 9
With the left over scrap plywood, cut out a star, paint it with Resene Rusty Nail, and glue this to the top of the tree. Finish the tree by screwing in some small gold cup hooks for hanging baubles and decorations.
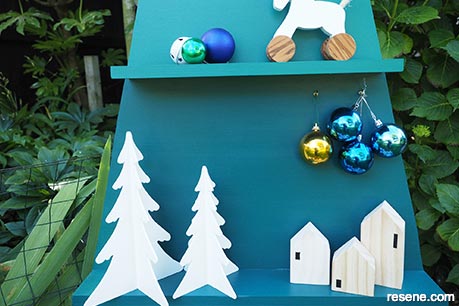
Decorations – 1
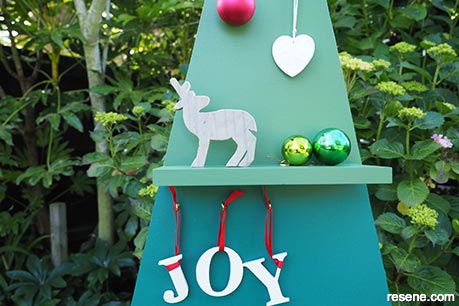
Decorations – 2
Top tip: Paint festive accessories direct onto your Christmas tree, such as baubles and Christmas stars painted in Resene FX Metallic paints.
Styling and images by Fleur Thorpe. Nov 2021.
Habitat bright ideas
Need to add colour, pattern or a little creativity to your place? Check out these easy step by step DIY project ideas created in collaboration with Fleur Thorpe. We hope you enjoy making and painting these bright ideas and bringing colour to your home inside or out.