A step-by-step guide to making a stylish wooden seat.
You will need:
Also required: Resene Lumbersider in Resene Hyperactive (or you can use a wood stain from the Resene Woodsman range), 50mm nails, galvanised jolthead 60mm nails, galvanised jolthead screws – 1 and 1/4 inch x 8 galvanised posidrive, jigsaw, plane, square, drill, tape measure and pencil.
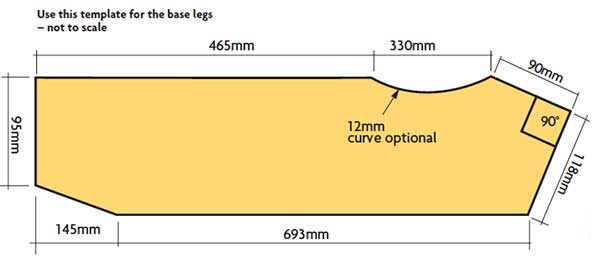
Use this template for the base legs - not to scale:
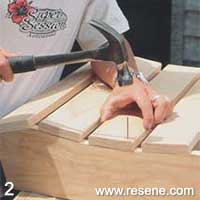
Step 2
Spacing the seat slats 18mm apart, attach slats to base legs using three 50mm galvanised nails at each end of the slats.
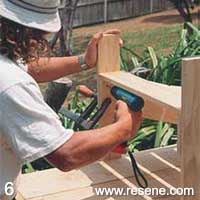
Step 6
Attach the front legs from the inside of the base legs using four screws at each end. The distance between the underside of the base leg and the bottom of the front legs should be 213mm to ensure the chair sits flat.
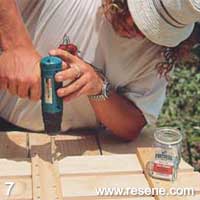
Step 7
Measure up 380mm from the base of the chair back on the underside to position the middle support. Attach the middle support – the longer of the two back supports – at that mark, ensuring you have an overhang of 36mm on either side to support the arms. Position the top support, ensuring it’s flush with the sides. Use four screws per slat.
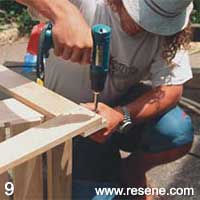
Step 9
Fix arm rest supports using four screws at each end, ensuring the supports are flush with the top of the front legs but 18mm in to allow for the decorative shaped panel.
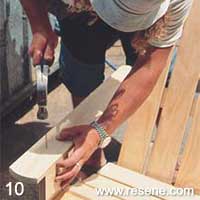
Step 10
Attach arm rests to arm supports using five 50mm galvanised nails, ensuring you have an 80mm overhang on the front of the chair and the arm rest is flush with the back. The arc detail on the front of the arm rest is optional.