Craft with Resene from Woman magazine
It’s simple to turn wood scraps into a work of art with the new range of gorgeous Resene Colorwood wash hues.
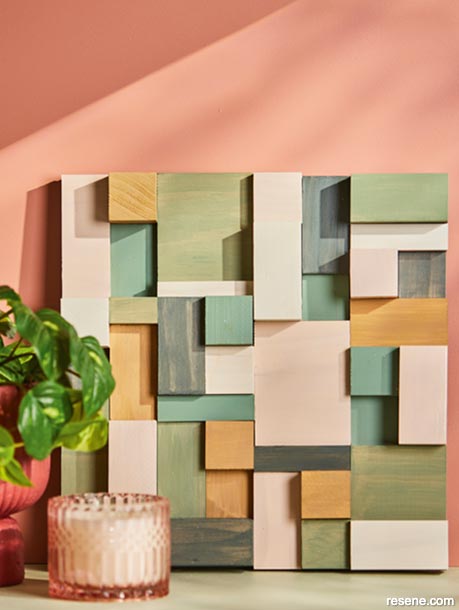
Wall is painted in Resene Coral Tree, cabinet in Resene Half Coriander and plant pot painted Resene Merlot.
How to make a work of art from wood scraps:
Use a square and pencil to mark your cut lines. We made most of our blocks 45 and 90mm lengths and once a pattern was established, we cut pieces to fill in the gaps.
Once measured, use a hand or bench saw to cut plenty of blocks. It’s better to have more than you need so you can adjust the pattern to work. Lightly sand the cut edges (B).
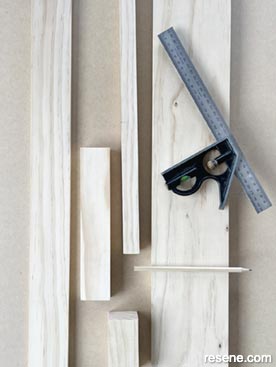
Photo (A)
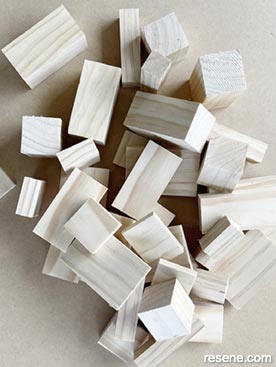
Photo (B)
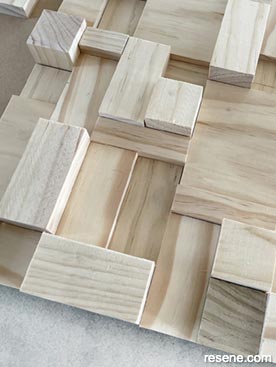
Photo (C)
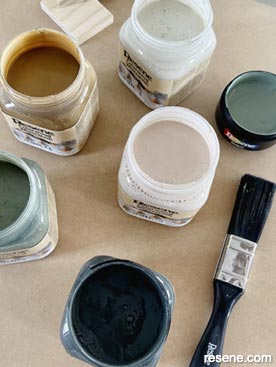
Photo (D)
Cut out an MDF backing board with 4.5mm thickness to the size you’d like your final artwork to be. Ours was 55cm squared, but the bigger you go, the more blocks you’ll need.
Now comes the fun part! Start laying out the blocks on top of the sheet of MDF to create a random pattern, making sure the heights that touch each other vary. Cut extras to fill any spaces (C). Once you are happy, slide your blocks to one side, leaving some space in between but still keeping your pattern visible. Taking a photo beforehand as a reference is a great idea, so if you get messed up, you don’t have to guess where everything fits!
The key to finishing your blocks of wood is to make sure you don’t have the same colours next to each other. The six Resene Colorwood hues from the Resene We Speak Beach series are a perfect mix of shades (D) that complement each other and look perfect as a scattered pattern. To make colouring easy, start with one shade and remove each of these blocks one at a time to coat (E), then place them back in your pattern to dry (F). Make sure you coat the tops and sides of each block. Apply a second coat for a stronger depth of colour.
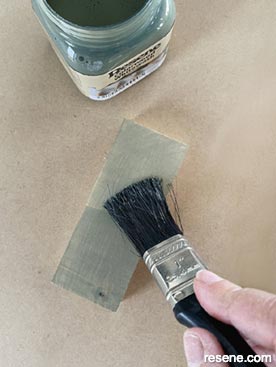
Photo (E)
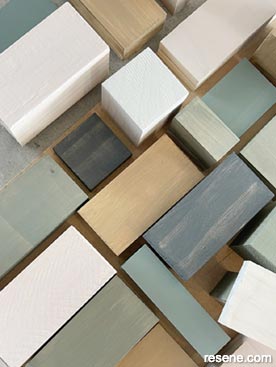
Photo (F)
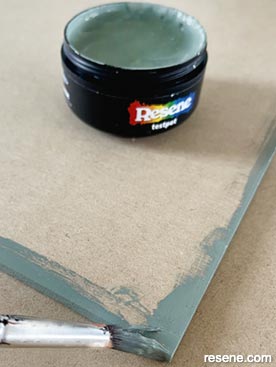
Photo (G)
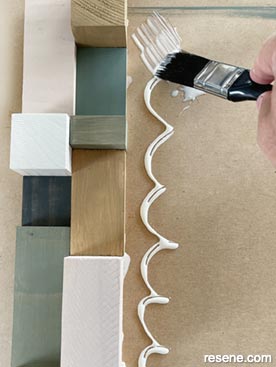
Photo (H)
When all blocks are coated and dried, paint the edges of your MDF backing board with two coats of Resene Yucca using a Resene art brush (G).
Use a strong wood glue and a Resene testpot brush to spread the glue onto the backing board. Do this in small parts at a time (H).
Transfer your painted block pattern onto the backing board, pressing down firmly and making sure there are no gaps (I). Set aside to dry for 24 hours and then you’ll be ready to display your Resene masterpiece.
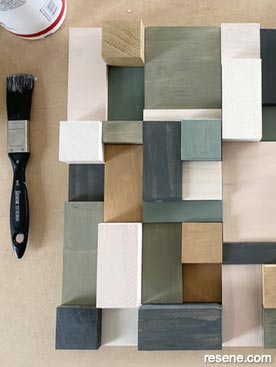
Photo (I)
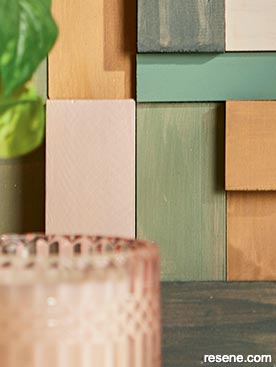
Detail of artwork
Because these are small blocks, you can also try applying the Resene Colorwood wash hue with a clean rag. If you want to show more grain in the wood, use only one coat. The more coats you do, the less translucent and stronger the colour will become.
Craft editor and stylist Marsha Smith. June 2022.
▸ Download a PDF of this article
Craft with Resene from Woman magazine
View more craft ideas from Woman magazine in the Weekend craft projects section.