Craft with Resene, from the Australian Women's Weekly
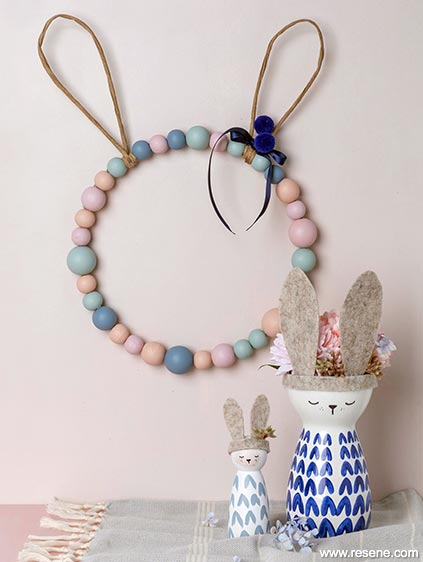
Decorate your house for Easter with this cute wreath. It’s so adorable you may wish to leave it up throughout the entire year.
Paint all the wooden beads, making sure you have enough to fill the wire ring you’ve selected. We used beads in three different sizes for added interest, but you could just use one size. To paint, thread four groups of various-sized beads onto the thinner wire or skewers. Paint each group in the Resene colours suggested. Make sure you cover each bead completely. Use jars or cups to rest your wired or skewered beads on while they dry (A). This set-up also helps when painting, as you are able to spin them round without handling the beads. Allow to dry completely before giving beads a second coat.
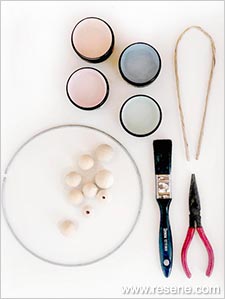
Equipment
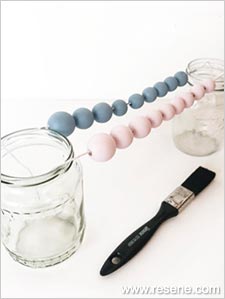
Pic A
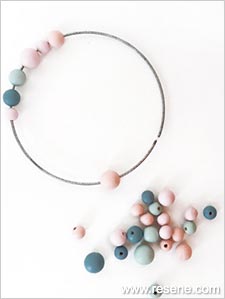
Pic B
Pic C
Use wire cutters to make a break in the main metal ring, so you can thread the beads on. Thread the beads, alternating the colours and sizes. A random mix is ideal (B).
Glue the final bead over the join, also gluing the two beads on either side of it to complete the seal. Remember there needs to be a tiny bit of movement for the wire ears to fit. Aim for approximately 5-10mm gap for each ear.
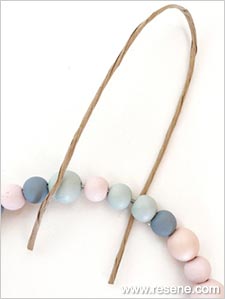
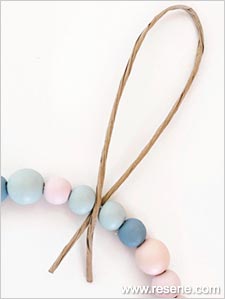
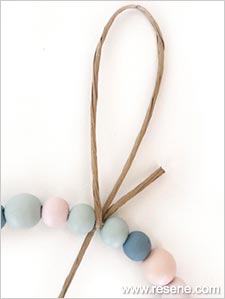
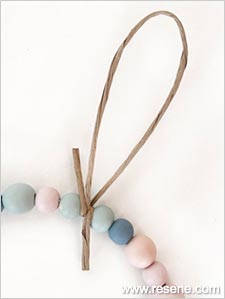
Make the first ear using one piece of the 18-gauge, paper-coated wire. Bend in half so it has a nice curve to it, just like a rabbit’s ear. Bring the two ends together, placing one end under the metal ring and the other over the top (C). Leave 4cm at each end before bending them around the metal ring in opposite directions. Twist one away and one towards you so that they cross over each other, wrapping tightly around the metal ring (D-F). Twist again to tighten, and trim off the excess wire. You can use a little hot glue to hold them in place if needed. Repeat on the other side, about 12cm apart, to create another ear. If you like, embellish the base of one ear with a small ribbon and pompoms. Hook onto the wall or display on a table leaning up against the wall.
Pic D
Pic E
Pic F
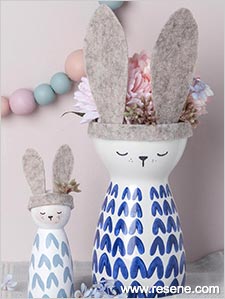
Easter bunny details
Add some extra Easter flair with a couple of cute little bunnies. The large one was made from a vase, and the little one is a peg doll painted as a bunny. We used Resene White as the base colour, Resene Ethereal and a marker pen for the face. Resene Lazy River was used to make the markings on the body. Cut out felt ears and a head band and secure with hot glue. Add a sprig of mini faux flowers for that extra cute touch.
Project by Marsha Smith, April 2020
Projects from the Australian Women's Weekly
View more project ideas from The Australian Women's Weekly magazine in the Resene weekend craft projects section.