Craft with Resene, from the Australian Women's Weekly
These super-cute figures can be used to create a Christmas scene or make a memorable gift for someone special.
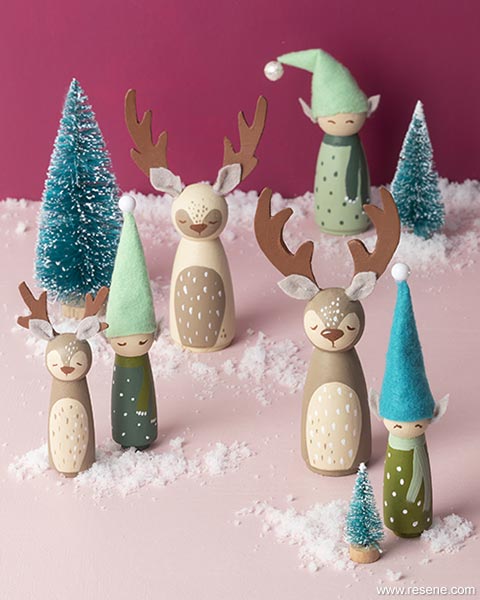
Reindeer:
Elves:
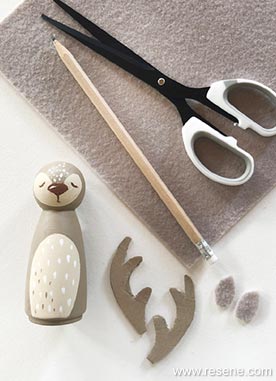
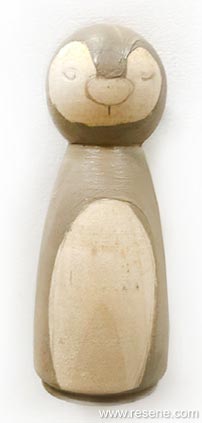
Use pencil to draw the face and belly shape of the reindeer.
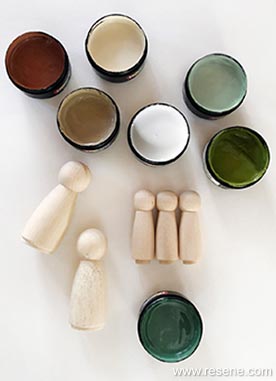
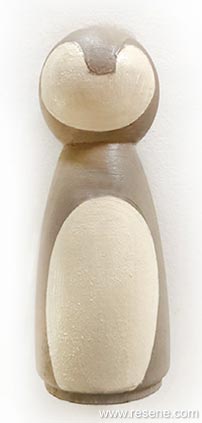
Paint the body and head with Resene Artisan.
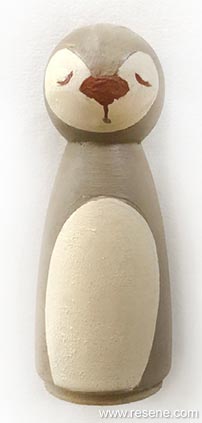
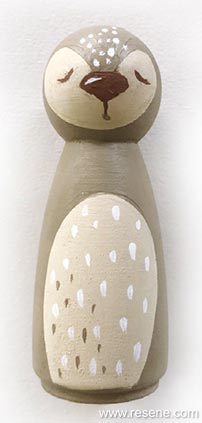
Once dry, use Resene Crowdpleaser to fill in the belly and face. Two coats is best. When completely dry, use a fine art brush to paint the face details in Resene Route 66. Add some small highlights and spots for textural detail using Resene White and Resene Artisan.
Draw antlers onto a thick piece of card – ours were 6cm high. Cut out and paint both sides with Resene Route 66.
To make the ears, cut small triangles from felt, then round off the edges. Pinch the base of the triangle together to create an ear fold and secure with a small dab of glue. When body and antlers are completely dry, use superglue to attach the ears and antlers. Superglue works best as there is only a small surface area on the antlers. If you don’t mind a little visible glue, you can use hot glue.



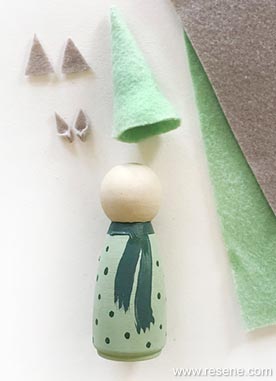
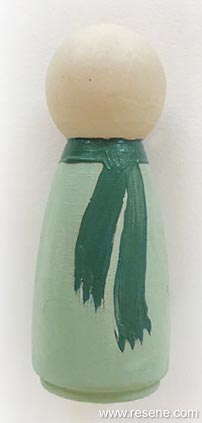
Use pencil to draw a scarf shape around the neck and draping down the body.
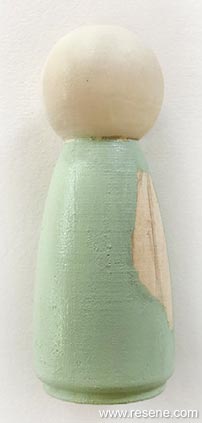
Paint the entire head in Resene Crowdpleaser.
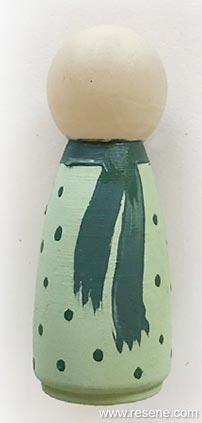
The body and scarf can be painted in any greens you like, but make sure they contrast so the scarf stands out. We used combinations of Resene Nourish, Resene Mother Nature and Resene Untamed, using Resene White to add details, like the spots and pompoms on the ends of the scarf.
Use Resene Route 66 to make U-shaped curves for the eyes. Set aside to dry.
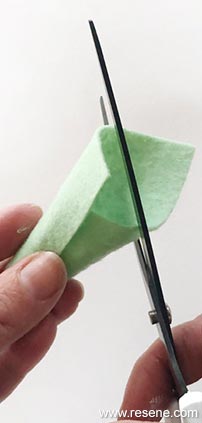
To make the elf’s hat, create a cone with a piece of felt, measuring to make sure it fits the elf's head. Use hot glue to secure the cone and trim the edge. Make elf ears – cut out small triangles and then pinch and glue the base together to make an ear with a pointy tip.
When everything is dry, assemble the elf. Glue the hat on first, followed by the ears, just below the hat line. To finish, glue a small white pompom or bead to the top of the hat.




Project by Marsha Smith, December 2019
Projects from the Australian Women's Weekly
View more project ideas from The Australian Women's Weekly magazine in the Resene weekend craft projects section.