Bright ideas from habitat magazine
Want to add some colour and interest to your place but don’t have a lot of time? Then try these Bright Ideas projects created in conjunction with Habitat magazine
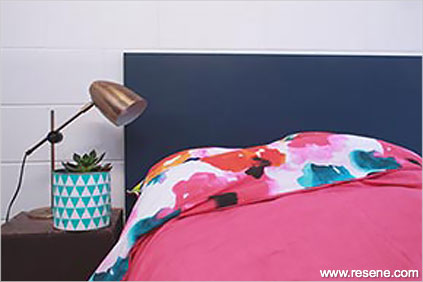
Indigo blue and dark teal are both having a moment and cropping up on interior walls everywhere. If you're hesitant to take the plunge, start small with something like a headboard made from MDF and painted in a deep hue. We've painted ours with Resene Redemption Blue – a dark delicious indigo.
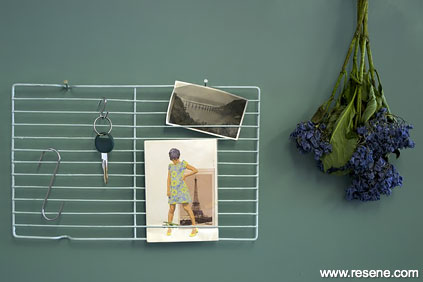
Upcycle an old cooling tray, by giving it a light sanding and brush of Resene Reservoir. The colour looks particularly lovely against a wall in Resene Cutty Sark. Use garden hooks to hang up your keys and scarves, and fold treasured postcards and photographs through the rack.
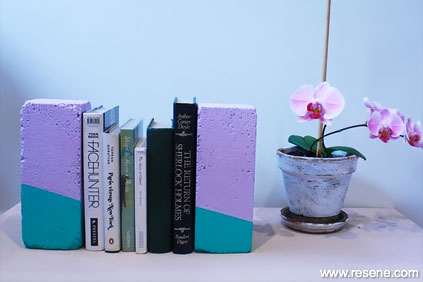
These colourful bookends will look beautiful propping up your beloved tomes. Paint two bricks in Resene Unicorn, from the Resene KidzColour range. Once dry to the touch, place the bricks side by side (horizontally) and use masking tape to section off the slanting stripe, and down the sides if you wish. Paint the bottom half in Resene Dali, and remove tape once dry.
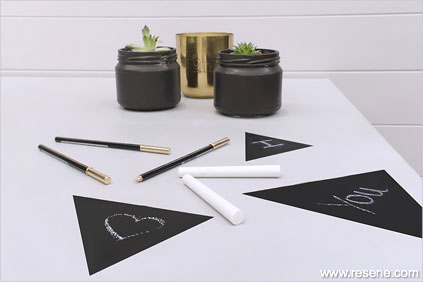
Personalise your study by painting chalkboard paint triangles on your desk with Resene Blackboard Paint. The desk is painted in Resene Transmission. Resene Blackboard Paint comes in other colours too, or use Resene SpaceCote Low Sheen which can also be used as a chalkboard paint finish.
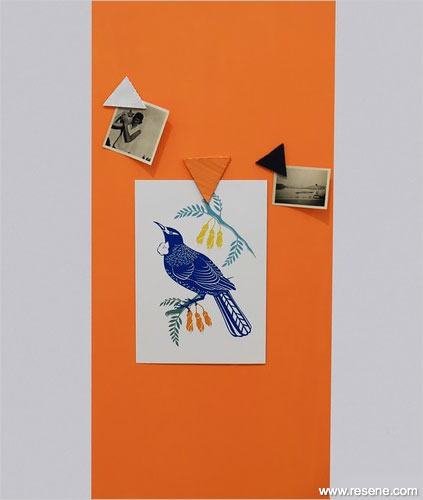
Another way to hang your paintings and photographs is by painting a strip of Resene Magnetic Magic on your wall. Using masking tape, block out a strip on your wall and paint with the magnetic paint. Once completely dry, paint over with a colour of your choice (we’ve used Resene Shirley Temple).
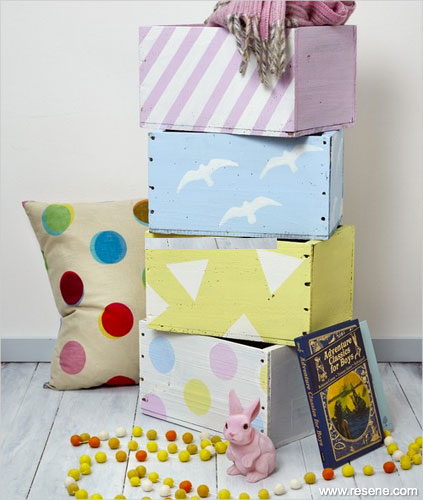
Breathe new life into nail boxes with the Resene KidzColour range. To get the look, paint the boxes in your choice of colours and patterns – we used Resene Flower Power (pink), Resene Smiles (yellow), Resene Splat (blue) and Resene Softly Softly. Finish the boxes in Resene Aquaclear. All other items are from Collected by LeeAnn Yare.
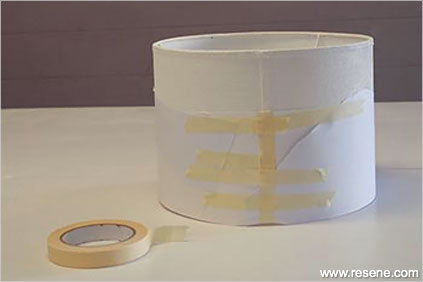
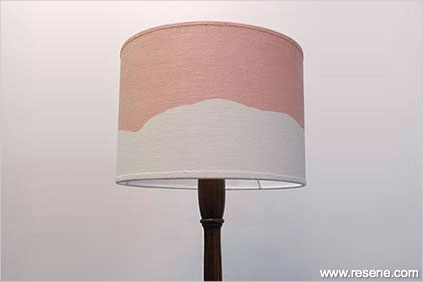
Zigzags and stripes step aside, there's a cool new paint technique in town... and it's so easy.
We call it the 'paper tear effect', which we've applied to this lightshade but it can be similarly applied to walls (use torn wallpaper for a sturdier stencil).
To replicate this look, you'll need: A plain fabric lightshade (available from hardware stores). Resene testpots in Resene Black White and Resene Sakura, two pieces of A4 copy paper, paint brushes and masking tape.
Paint the lightshade in two coats of Resene Black White. Shine a light underneath to see any spots that you may have missed. Leave overnight to dry. Take the pieces of paper and tear in half – your choice as to how jagged you'd like it. Place the pieces around the lightshade, and tape the sides. Ensure they’re tight against the shade. Paint the visible fabric with Resene Sakura, using downward strokes from the paper down to the shade. Give it two coats, and remove the paper once paint is completely dry. Taking a smaller paintbrush, neatly paint the rims inside and paint any spots you may have missed. Leave to dry completely (about 12 hours) before using as a lightshade. Remember to use acrylic, not oil-based, paints for this project – Resene testpots are ideal.
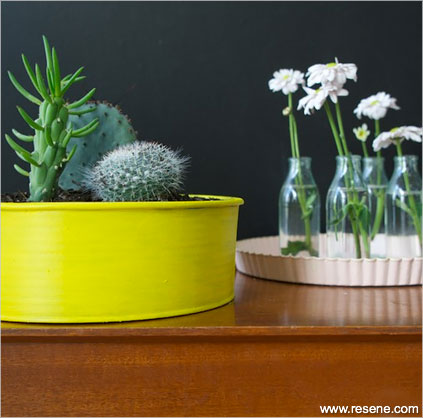
Upcycle your old bakeware. You will need: an old deep round cake baking tin and flan dish – do not buy non-stick bakeware, as sanding the coating can be toxic, 240 grit sandpaper, Resene GP Metal Primer, Resene testpots (we used yellow Resene Turbo and pink Resene Sakura).
Using a drill or punch, make drainage holes in the bottom of the tin. Lightly sand the tin and dish with the sandpaper. Prime both, and leave to dry. Finish with two to three layers of the testpot paint, leaving about ten minutes between each layer. We planted cacti in the tin, as it only needs a light spray of water. If you’re planting something that needs more water, consider buying a terracotta base to fit from your local plant shop, and paint it to match.
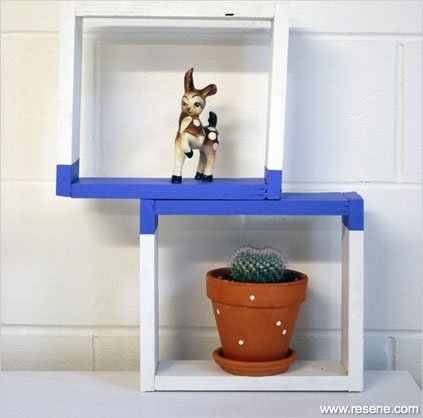
Turn scrap wood into box frames to store small treasures and indoor plants.
Cut the wood pieces to the same length, give them a light sand and clean, and screw four pieces together to make a box shape. Paint the boxes in a neutral base colour (we used Resene Black White). Leave to dry. We really love a bold pop colour, so decided upon Resene Gypsy Queen (described as ‘full of frivolity, fantasy and wild spirits’) to finish it off. Use the masking tape trick to create solid lines and give it a few coats. Leave it to dry, and then fill with pretty ornaments. If you don't have the wood or time to make the boxes, pick up a wooden deep box frame from your local homewares store and give it a paint in your favourite Resene colours.
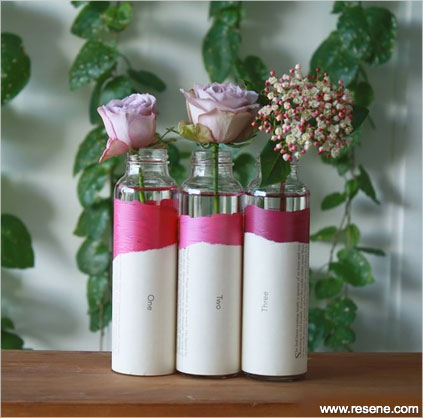
Brighten up your days with these pretty vases – simply made from empty glass bottles, a lick of Resene paint (we chose Resene Smitten, Resene Smooch and Resene Scrumptious) and pages torn from an old book stuck on with adhesive tape.
View more project ideas from habitat magazine...