Habitat bright ideas with Fleur Thorpe – DIY projects
Create your own side table to perfectly fit any space in your home.
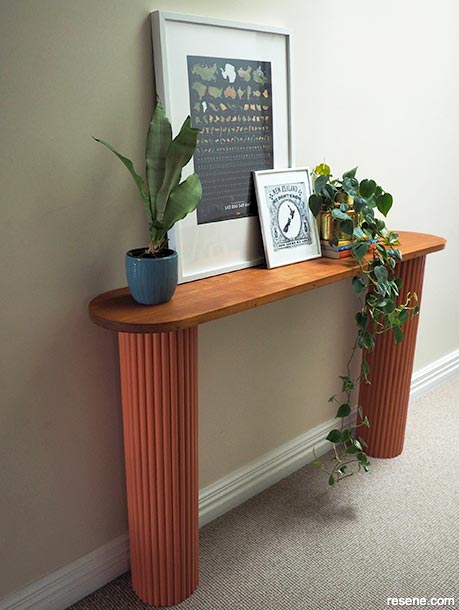
Wall painted in Resene Quarter Canterbury Clay and skirting in Resene Half Rice Cake
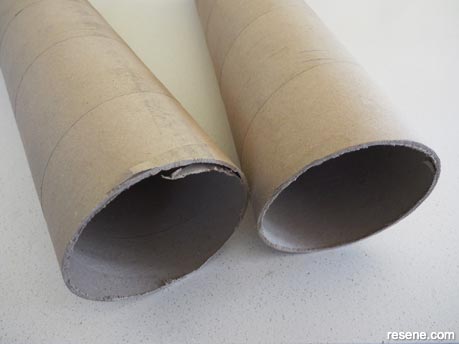 Step 1
Start by measuring the height that you want the finished table to be and mark this on the tube. Remember to subtract the height of the table top when you make your measurements. Fleur made hers 80cm tall. This meant Fleur could buy the half round trim in 2.4m lengths and cut them into three to get 80cm lengths. Use a hand saw to cut your tube to size.
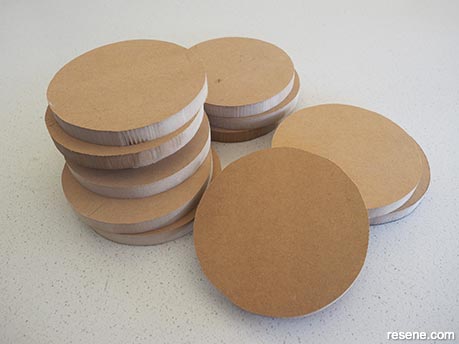 Step 2
Used scrap 18mm MDF for the leg bases. Measure or trace the inside circumference of the tube on to the MDF and use a jig saw to cut out 12 circles.
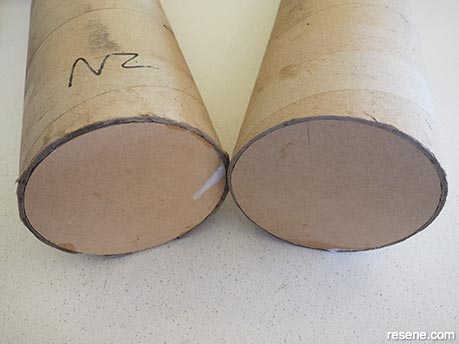 Step 3
Glue four together with wood glue for each leg and push the circle block into the tube so that it becomes flush with the bottom of the leg. This not only gives the base of the leg a nice finish but also provides some weight at the bottom of the table.
 Step 4
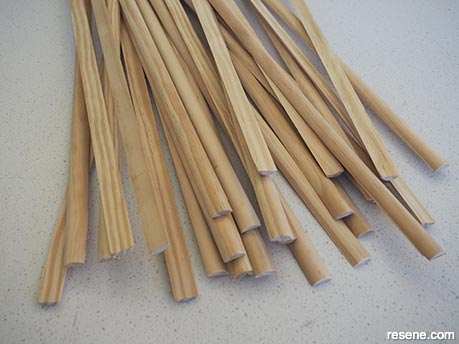
Cut your half round trim to 80cm lengths. Sand off any rough bits with sandpaper. Wipe off sanding dust.
 Step 5
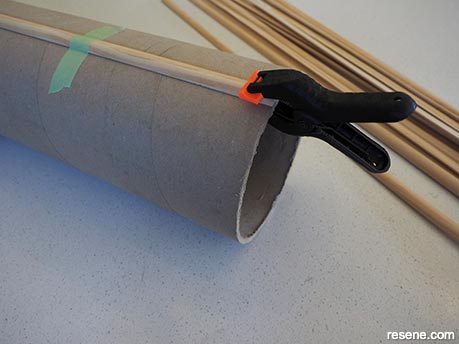
Use wood glue to glue the first piece of trim to the outside length of each tube leg. Fleur found a laser level helpful for this. Clamp and/or tape this in place. Take time to get this as straight as possible as it will make adding the rest of the trim much easier. Leave this to dry for several hours.
 Step 6
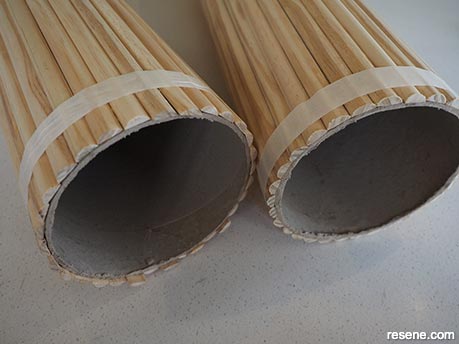
Once the first bit of trim is properly dried, you can start adding the rest of the trim. Run a bead of glue up the length of the trim and add it to the tube. Fleur found that having a large rubber band at each end of the tube helped keep the pieces of trim in place. You could also use clothes pegs to hold them in place. Keep checking that everything is remaining vertical and that your pieces of trim are not creeping off angle. Fleur’s last bit of trim was too wide for the remaining gap, so she cut and sanded it down until it fitted. It’s not particularly noticeable and it can go at the back. Don’t worry too much if you have some gaps between the trim pieces – the coats of paint do wonders for covering them up! Secure the trim in place with some tape and leave to dry overnight.
 Step 7
Remove the tape and paint over the trim with Resene Quick Dry. Once dry, give it a sand with a fine grit sandpaper. This makes a huge difference in the smoothness of the final paint finish. Wipe off the sanding dust with a soft cloth.
 Step 8
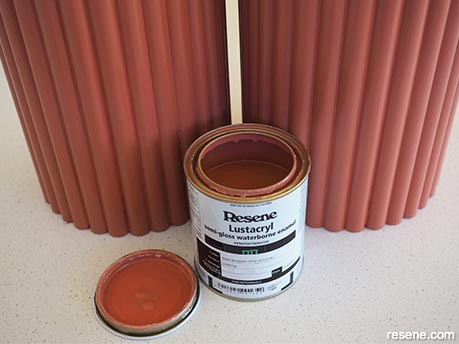
Paint over the primer with two coats of Resene Apple Blossom, allowing for the first coat to dry before applying the second coat.
 Step 9
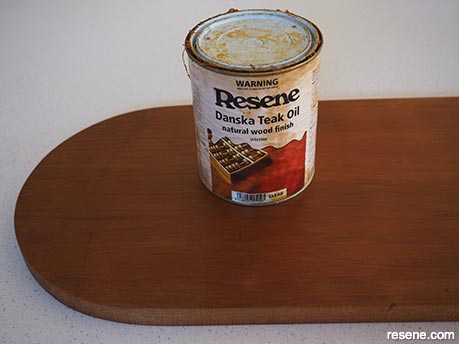
Cut your tabletop to size. Fleur used some scrap native wood that she had on hand, but you could buy any wood. Fleur’s tabletop is 134cm long by 27.5cm wide. Use a jig saw to round off the ends and finish with Resene Danska Teak Oil.
 Step 10
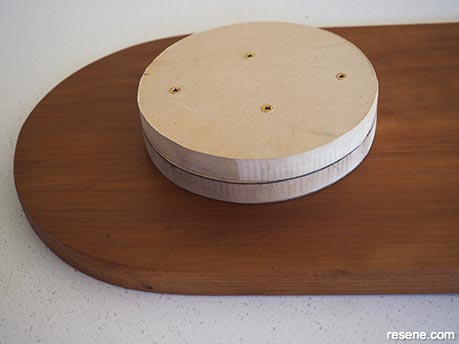
Take the remaining 4 MDF circles that you cut out earlier and glue two together. Screw these at each end to the underside of your tabletop.
 Step 11
Apply some glue to the sides of the MDF circles and push the legs on. If you are concerned that the glue won’t hold, you could add 1 or 2 screws to the back, screwing through the tops of the half round trim and into the MDF circles.
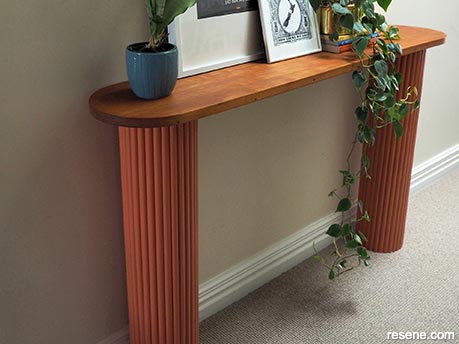 Finished project
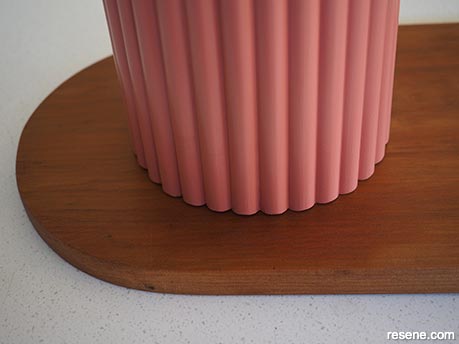
A close-up of the finished dowel side table.
Top tip: If you prefer a pattern effect, you can freehand paint this or else use a favourite Resene wallpaper to finish your table legs. All you need is a little patience to carefully position the wallpaper around the base and into the gaps.
Styling and images by Fleur Thorpe. Aug 2021.
Habitat bright ideas
Need to add colour, pattern or a little creativity to your place? Check out these easy step by step DIY project ideas created in collaboration with Fleur Thorpe. We hope you enjoy making and painting these bright ideas and bringing colour to your home inside or out.
![]() Get inspired ! Subscribe
Get inspired ! Subscribe ![]() Get saving ! Apply for a DIY card
Get saving ! Apply for a DIY card
![]()
Can't find what you're looking for? Ask us!
Company profile | Terms | Privacy policy | Quality and environmental policy | Health and safety policy
Colours shown on this website are a representation only. Please refer to the actual paint or product sample. Resene colour charts, testpots and samples are available for ordering online. See measurements/conversions for more details on how electronic colour values are achieved.
What's new | Specifiers | Painters | DIYers | Artists | Kids | Sitemap | Home | TOP ⇧


