Habitat bright ideas with Fleur Thorpe – DIY projects
Learn how to make a bright and colourful outdoor bench seat.
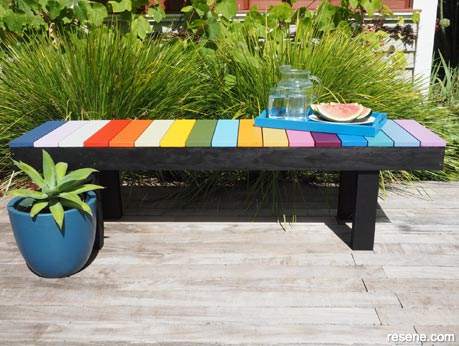
Weatherboards painted in Resene Triple Ash and trim in Resene Quarter Thorndon Cream
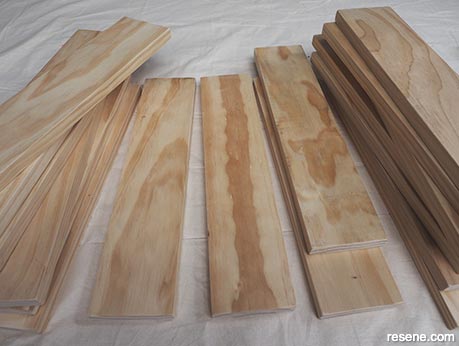 Step 1
Start by cutting the top boards (90mm x 18mm) of the bench into 40cm lengths. Fleur used 17 boards. Sand the ends smooth and wipe any dust away with a soft cloth.
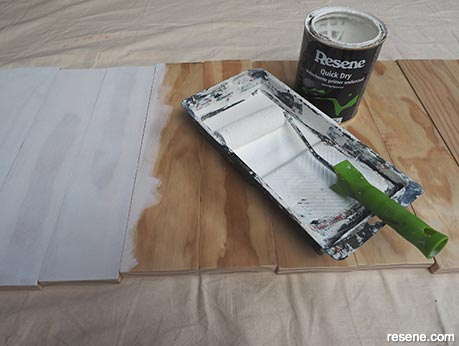 Step 2
Prime the boards with Resene Quick Dry. It can be tedious painting so many boards, so line them all up and use a small foam roller and a painter’s tray to paint them quickly. The same method can be used for the edges and the ends.
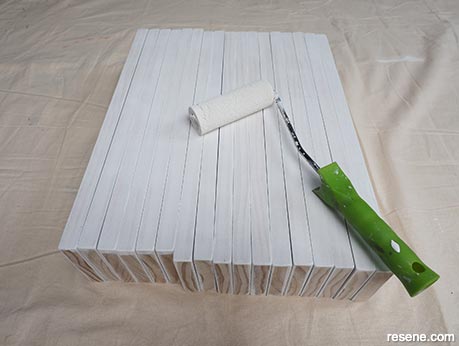 Step 3
Once the primer is dry, give the boards a quick sand with a fine sandpaper. Wipe off all sanding dusts.
 Step 4
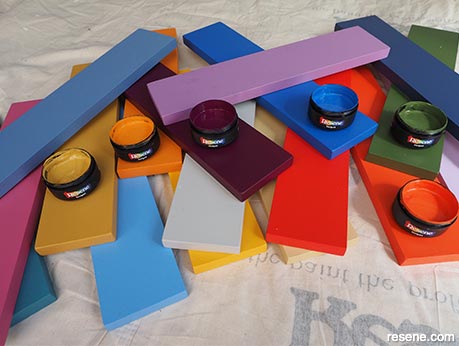
Paint each of the boards in a different colour using Resene testpot. Have fun trying out some of your favourite colours.
 Step 5
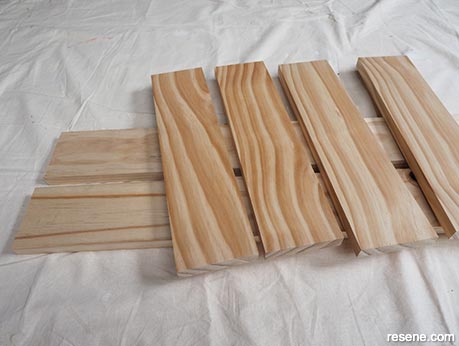
To build the frame of the seat, cut two lengths of 90mm x 18mm HT 3.1 board to 159cm long, and four lengths at 36cm long.
 Step 6
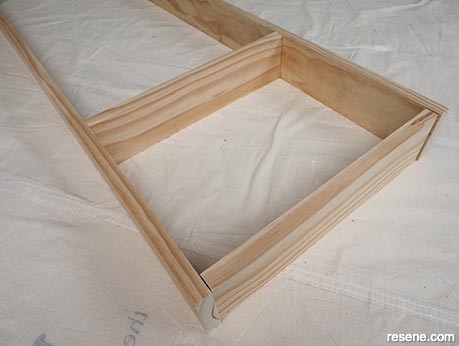
Put the two ends boards on the inside edge of the two longer boards, and place the two remaining short boards set back from the ends by 30cm.
 Step 7
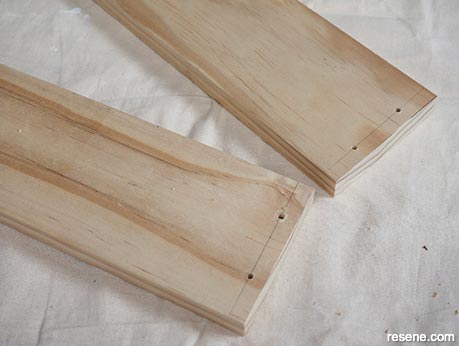
Use an electric drill to pre-drill the pilot holes for the screws. It’s a good idea to counter sink the holes as well.
 Step 8
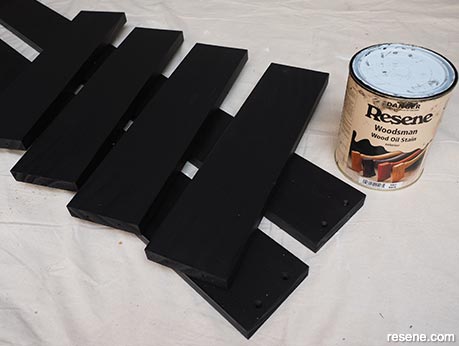
Use Resene Woodsman Wood Oil Stain in Resene Pitch Black to stain the boards for the frame. Do two coats, allowing 24 hours between each coat.
 Step 9
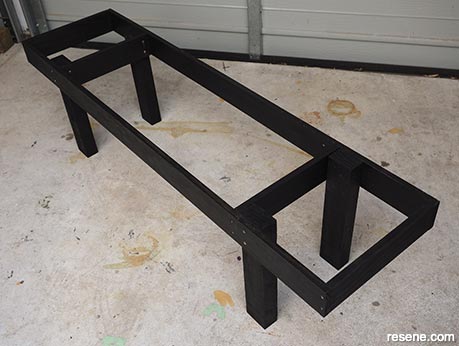
Cut the wood for the legs using 50mm x 80mm HT 4 wood at 42cm long. Fleur used a higher level of treated wood for the legs to give them a higher level of weather protection. This wood was rough sawn so Fleur sanded it down a bit to make it smoother. Stain the legs with the same Resene Woodsman Wood Oil Stain in Resene Pitch Black and attach them as shown.
 Step 10
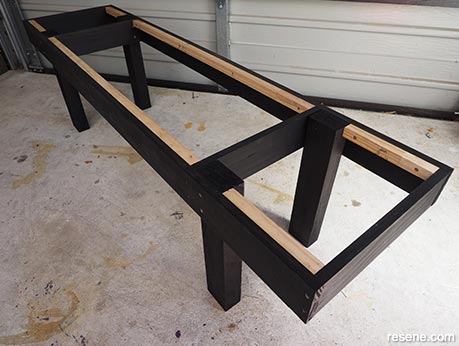
Cut lengths of the 24mm x 24mm wood to fit along the inside edge of the frame and screw this into place. This is the blocking which the top boards will be screwed to.
 Step 11
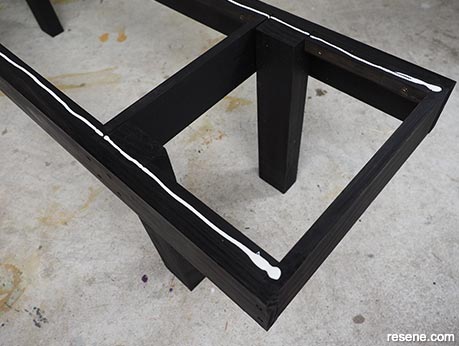
Stain this board and once dry, run a bead of wood glue along both sides. Place your top boards on top. Fleur used 4mm nails for spacers. The glue helps keep the boards in place and makes it easier when you screw the boards on.
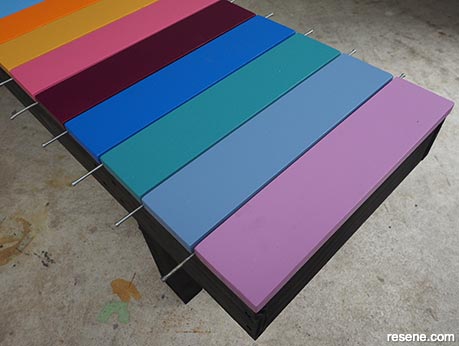 Step 12
Once the glue is dry, flip the bench over, pre-drill pilot holes and screw each of the top boards in place.
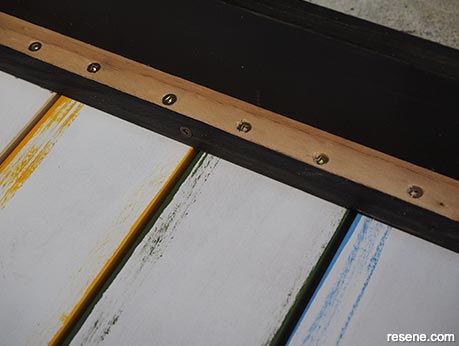 Step 12 (Continued)
Once the glue is dry, flip the bench over, pre-drill pilot holes and screw each of the top boards in place.
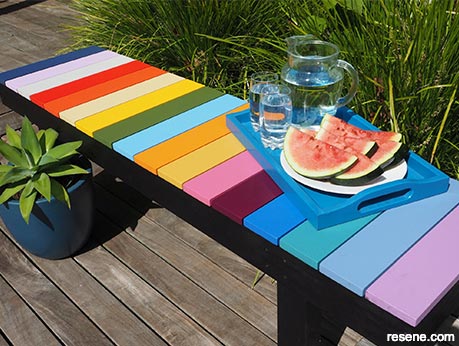 Finished project
A close-up of the finished outdoor bench seat.
Top tip: You can create a rustic version of this bench seat using Resene Woodsman wood stains in a range of wood stain colours in place of the paint and primer. You can then finish the legs in a bolder paint finish or keep them in a wood stain finish.
Styling and images by Fleur Thorpe. Mar 2021.
Habitat bright ideas
Need to add colour, pattern or a little creativity to your place? Check out these easy step by step DIY project ideas created in collaboration with Fleur Thorpe. We hope you enjoy making and painting these bright ideas and bringing colour to your home inside or out.