Habitat bright ideas with Fleur Thorpe – DIY projects
Design your own wall mural to paint in your favourite testpot colours using a paint by numbers system. Fleur Thorpe shows you how.
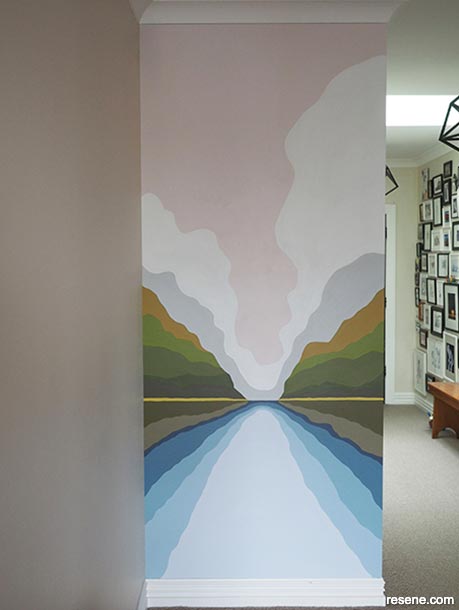
Step 1: It’s a good idea to draw your design on paper first and work out which colours you want to use (Photo 1).
Step 2: Start by taping your wall to protect the surrounding walls, ceiling and skirting board (Photo 2).
Step 3: Use a pencil to draw your design on to the wall (Photo 3).
Top tip: If you make a mistake drawing on your wall, a multipurpose household cleaner usually does a better job of removing the pencil than a pencil rubber/eraser.
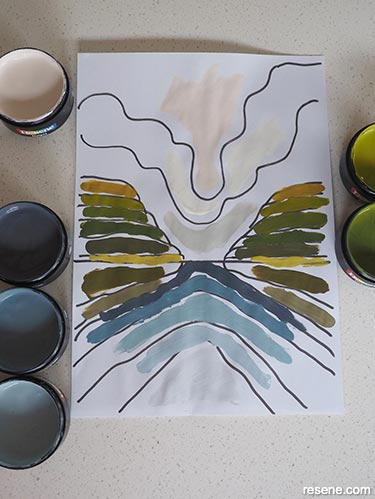
Photo one
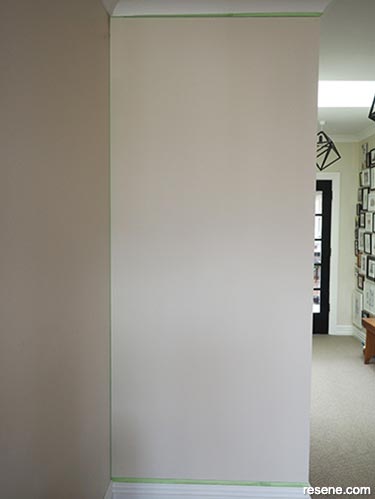
Photo two
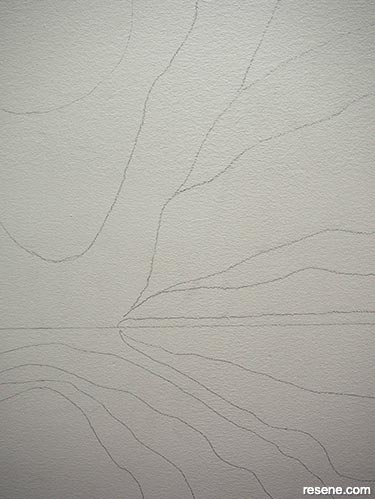
Photo three
Step 4: Start by painting at the top and work your way down the wall, painting every second section of Resene colour. This gives the paint time to dry and it means that you don’t risk the adjacent paint colour mixing with the wet edge of the last paint colour. Paint around the edge of each section with a medium sized artist paintbrush and then fill in the remainder of the area with a bigger paintbrush. Apply two layers of paint for each section to get a good coverage and intensity of colour. (Photo 4). Repeat the process by painting the remaining sections of colour. (Finished project).
Top tip: For a subtler finish, use a range of tone on tone hues. See the Resene Multifinish collection palettes – each is arranged by colour to make it easier for you to find similar colours that will work well together.
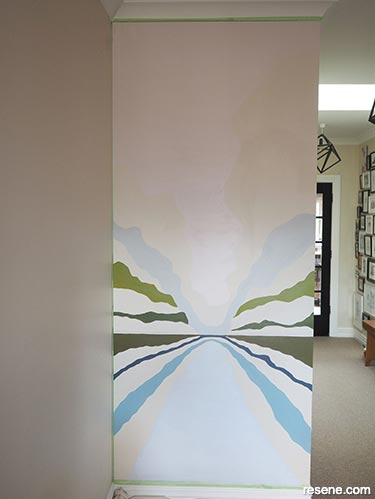
Photo four
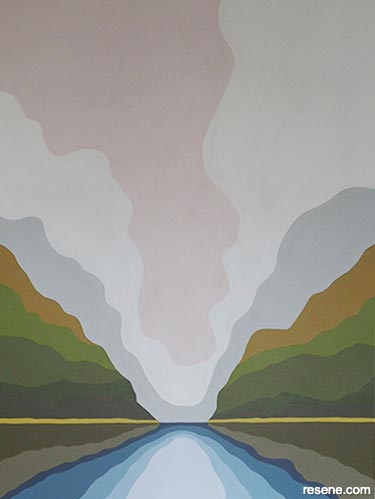
Finished project – Detail

Finished project
Original wall colour – Resene Eighth Canterbury Clay | Ceiling – Resene Half Rice Cake | Skirting – Resene Half Rice Cake | Door – Resene Black
Styling and images by Fleur Thorpe. July 2020.
Habitat bright ideas
Need to add colour, pattern or a little creativity to your place? Check out these easy step by step DIY project ideas created in collaboration with Fleur Thorpe. We hope you enjoy making and painting these bright ideas and bringing colour to your home inside or out.