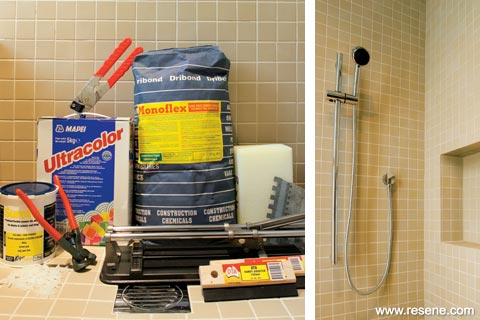
You’ll need: Flexible tile adhesive; notched adhesive trowel; reinforced fibre mesh; brush and waterproofing system; grout (coloured to match tiles); tiles; plumb line; sponge; plastic spacers; flat rubber stamp; fine-tooth scraper; rotary tile cutter and/or straight nipper or wet saw; silicone; corking gun.
Tip: When buying tiles, measure your surface and allow 5-10% extra for wastage. Don’t be tempted to seal the grout, as moss and mould can grow under the sealer.
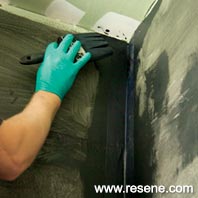 Step one
 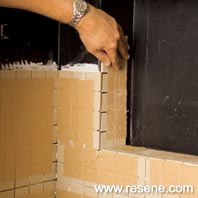 Step two
 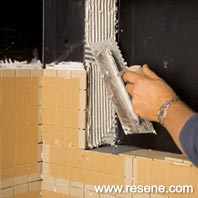 Step three
 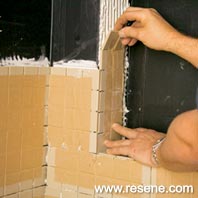 Step four
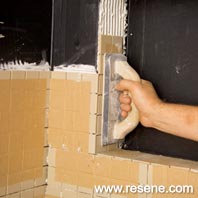 Step five
 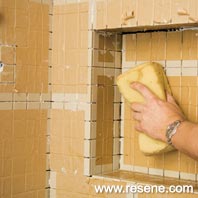 Step six
 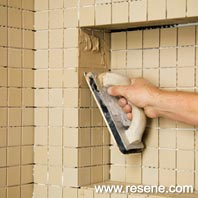 Step seven
 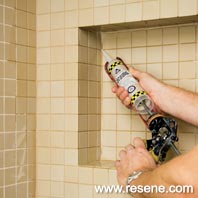 Step eight
To finish your bathroom, paint the ceiling and any untiled walls in Resene waterborne enamels – Resene Zylone SpaceCote (low sheen), Resene Lustacryl (semi-gloss) or Resene Enamacryl (gloss). Porcelain mosaic tiles in 50x50mm module – colour beige. Other colours and modules available from Artedomus (NZ) Ltd. For more ideas on tiles, see www.tilewarehouse.co.nz.
words: with thanks to Tony Hamilton
pictures: Lucent*Media
Search habitat magazine stories
Printed copies of habitat highlights are available from late March 2024 at Resene ColorShops and resellers, while stocks last. You can view back issues of habitat magazine online.
Specifiers:
If you have an idea, project or story that you think would suit habitat, we’d love to hear from you. Please drop us an email with your details and include photos if submitting a project.
Sign up for a DIY card and Save! Australia | New Zealand
Order online now:
Testpots |
Paints |
Primers and Sealers |
Stains |
Clears |
Accessories
![]() Get inspired ! Subscribe
Get inspired ! Subscribe ![]() Get saving ! Apply for a DIY card
Get saving ! Apply for a DIY card
Can't find what you're looking for? Ask us!
Company profile | Terms | Privacy policy | Quality and environmental policy | Health and safety policy
Colours shown on this website are a representation only. Please refer to the actual paint or product sample. Resene colour charts, testpots and samples are available for ordering online. See measurements/conversions for more details on how electronic colour values are achieved.
What's new | Specifiers | Painters | DIYers | Artists | Kids | Sitemap | Home | TOP ⇧
