DIY with Resene, from OHbaby! magazine
Your little groms will love spending time together in this surf-themed shared bedroom.
Sometimes your children outnumber your bedrooms, or maybe your kids insist on sharing a room, which can be one of the real joys of childhood – one they'll look back on with fond memories.
When it comes to decorating, the options are endless! The key is creating a room which is fun, functional and shows both of your children's personalities.
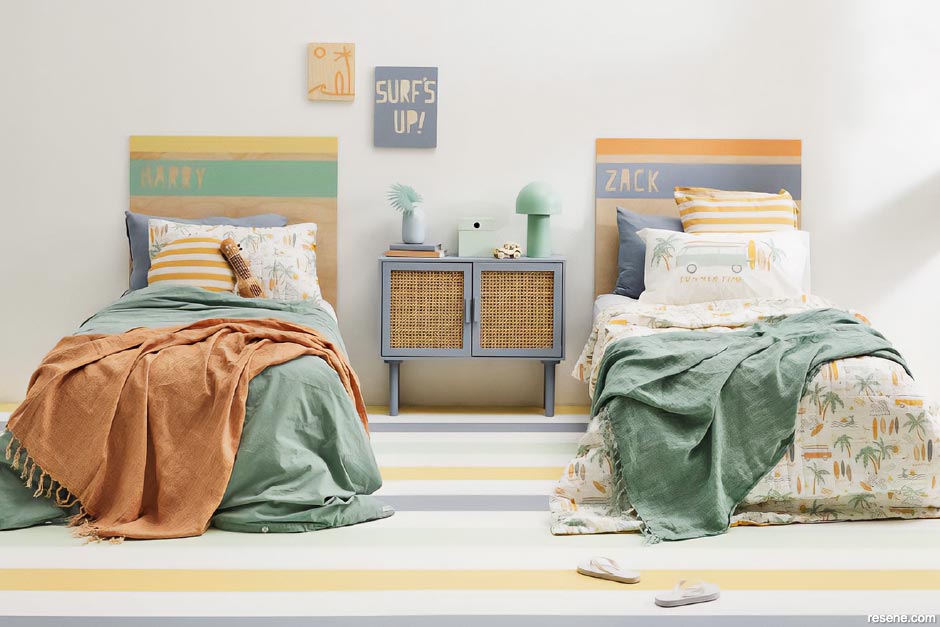
In this surf-themed room, we've chosen to keep the walls plain (painted in Resene Alabaster) and create a feature of the floors, painting 20cm wide stripes. Plywood has been used through the room in the headboards and wooden artworks and surfboards. Ply is an inexpensive wood product which is great for making projects and also adds warmth to the room with its soft, natural tone.
Most successful shared rooms tend to have matching beds and furniture that can be shared. The DIY headboards with personalised names keeps the room fun and adds some personality, while the upcycled rattan sideboard has two sides, one for each child to put there bits and pieces away and display their treasures on top.
Keeping the bedding style similar does help make a shared room cohesive, however, you don’t have to have the same duvet or bedding on both sides. In this room we've used a patterned surf themed quilt on one bed and on the other a plain-coloured duvet, throw and pillows which tie in with the colours of the patterned duvet. We've then layered the bed with throws and cushions using the colours from the surf print duvet.
In this corner of the room we've included another upcycled rattan cabinet, which is great for storing toys and games and all the other stuff kids seem to accumulate. The round table and stools are perfect for doing colouring, playing board games and the like. We painted the table and stools in colours that tie into the room and bedding colour scheme.
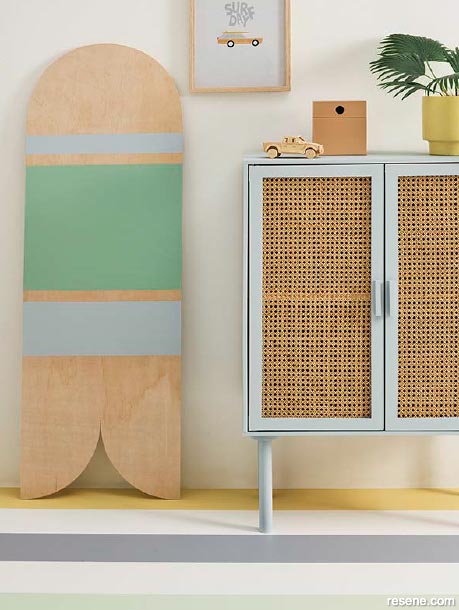
For decoration in the room we have made some inexpensive wooden surfboards out of plywood. These boards tie in well with the surf theme and also add some great visual interest to the space.
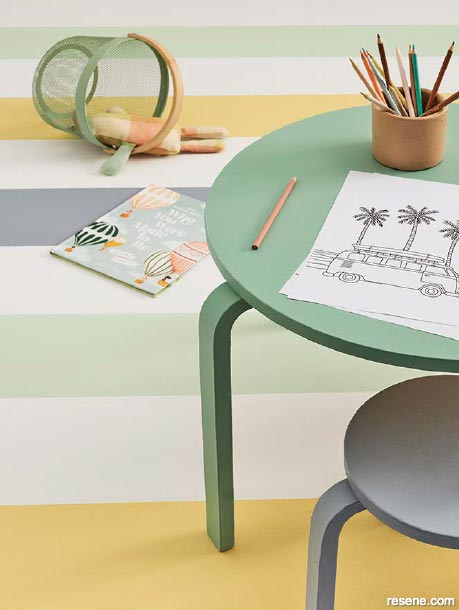

"To keep the floors from looking too busy we painted white (Resene Alabaster) in between each stripe. This also allows the colours to really pop."
To create our personalised headboard we got a piece of 12 mm plywood which is cut to 92 cm wide and 1.2 m high. Using Resene painters masking tape we created some stripes on the board and allowed a big stripe to include the name. Using some sticker adhesive we cut out the letters of the child's name and stuck them onto the plywood. Ensure the edges are all pressed down so no paint will bleed through. Then we used two Resene paint colours for the two stripes. Once dry, peel off the letters to reveal the name. This is a very inexpensive way to create headboards and can be personalised in a matter of hours.
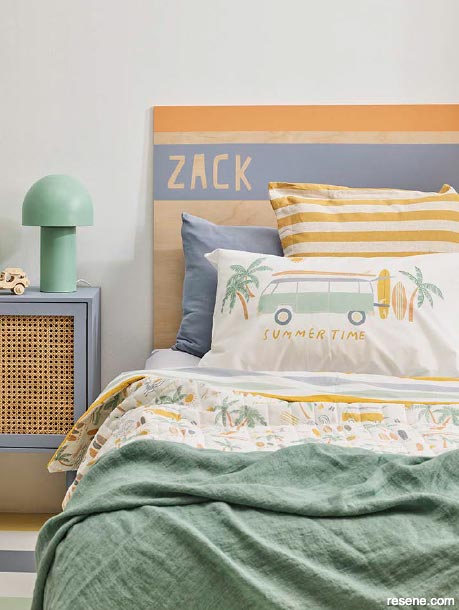
Headboard
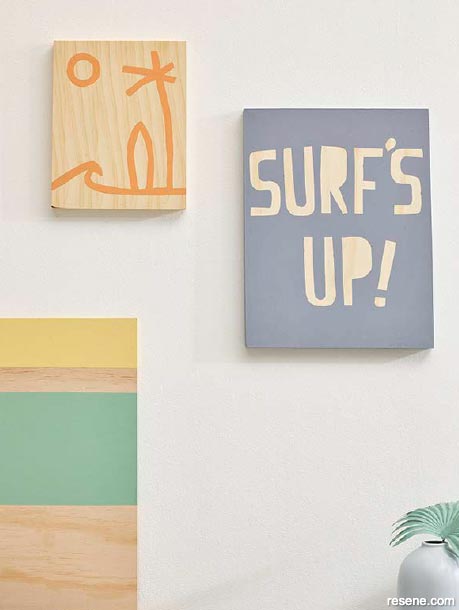
DIY ply art
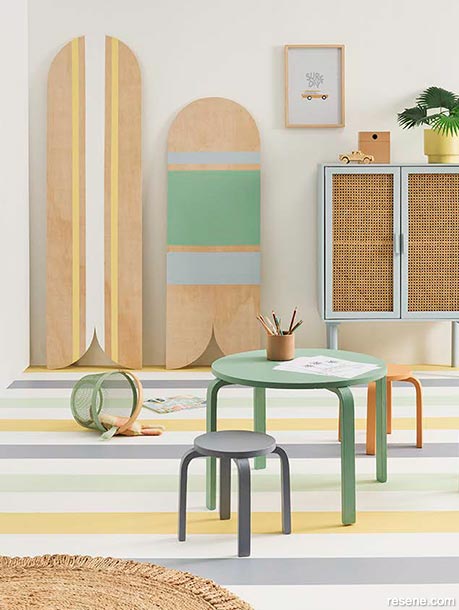
Decorative surfboard
Nice art prints and artworks can be costly, so if you like to be creative then we suggest giving these pieces a go. We simply used inexpensive wooden ply paint boards which can be bought from numerous stores.
Surf's up
Using the same technique as the headboard we cut out letters from sticker adhesive to make the saying, 'surf’s up'. We then stuck it onto the ply paint boards and painted over the top in Resene Neutral Bay. We gave two coats for best coverage. When dry we peeled the sticker letters off to reveal the ply board underneath.
Surfboard and tree
This small DIY art uses a simple child-like design that was drawn on freehand and then painted over the top. You can use the image as a guide to replicate.
These fun and decorative wooden surfboards are made from 12 mm plywood. The tall board is 1.8 m in length and 50 cm wide. The shorter board is 1.5 m in length and 50 cm wide. Find the middle of the board between the top and bottom and put a pencil mark. Then either freehand or using a plate, create a curve on each side for the top part of the board. To create the fins we measured the middle of the board (25 cm) and then measured 25 cm up from the bottom. We then used a plate as a template to draw the curved fins. We cut the fins and the rounded edges at the top with a jigsaw and gave a light sand. We then gave each board a stripe detail using Resene paints, however you can do any design you like.
Wall painted in Resene Alabaster, resene.co.nz/colorshops. Surfboards painted in: small – Resene Envy and Resene Longitude, and tall – Resene Golden Sand and Resene Alabaster; Byron Floor Rug, and Hudson Round Kids Stool (the other in the set of 2) painted in Resene Whisky Sour, mocka.co.nz; other items previously listed.
Created and styled by Vanessa Nouwens. Photography by Wendy Fenwick.
March 2023
Kid's Bedroom Decorating Ideas
View more decorating ideas for kids from OHbaby! magazine in the Resene kid's bedroom inspiration gallery.