DIY project from NZ Gardener magazine
Use one bin for fresh scraps, one for decomposing material and one for usable compost, says Rose Hughes.
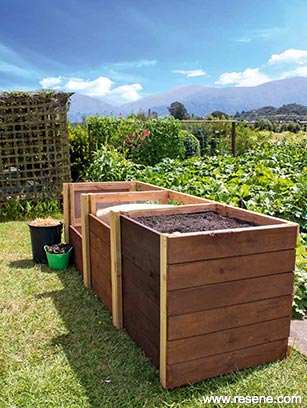
You will need:
• 26m – 100 x 50mm dressed untreated timber (Douglas fir preferred). • 12m – x 50 x 50mm posts. • 18m – 150x 25mm untreated timber. • Optional: 11m – 150 x 25mm (for end caps). • 10g x 100mm screws. • 8g x 65mm screws. • Chisel and wood rasp or sandpaper. • Screwdriver / drill and bits. • Clamps. • Drop saw / skillsaw. • Staple gun and staples. • 8m chicken wire. • Resene Waterbourne Woodsman Stain and a paintbrush.
Cutting List:
Cost: $470 (excluding paint)
The slats at the front can be built up or removed one by one as material builds up, or as fresh compost is used.
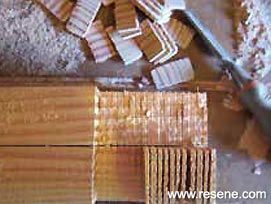 Step one
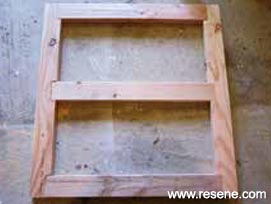 Step two
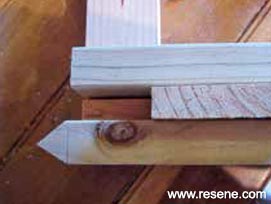 Step three
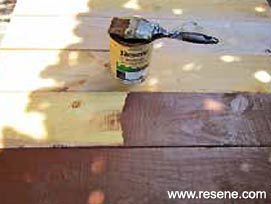 Step four
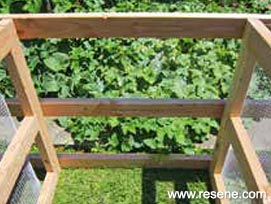 Step five
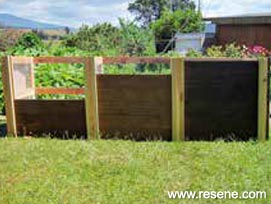 Step six
Order online now:
Testpots |
Paints |
Primers and Sealers |
Stains |
Clears |
Accessories
![]() Get inspired ! Subscribe
Get inspired ! Subscribe ![]() Get saving ! Apply for a DIY card
Get saving ! Apply for a DIY card
Can't find what you're looking for? Ask us!
Company profile | Terms | Privacy policy | Quality and environmental policy | Health and safety policy
Colours shown on this website are a representation only. Please refer to the actual paint or product sample. Resene colour charts, testpots and samples are available for ordering online. See measurements/conversions for more details on how electronic colour values are achieved.
What's new | Specifiers | Painters | DIYers | Artists | Kids | Sitemap | Home | TOP ⇧
