DIY project from NZ Gardener magazine
Rose Hughes re-imagines the classic flying bird whirligig as our favourite feathered fauna.
You will need: (for 1 bird) Bird body – 230mm x 19mm pine, Bird wings – 6mm plywood sheet, 18mm pine dowel, jigsaw, hand saw, small chisel, sander/sandpaper, 4.5mm, 6.5mm & 9mm drill bits and drill, 18mm paddle bit, M5 x 50mm gutter bolts & washers, 6mm clear vinyl tube, pencil/paper/ double-sided tape, 6.3mm galvanised steel rod, wood glue/filler, primer, test pots & brushes. Instructions are the same for all the birds.
Top coat colours:
Cost: $50 (excluding paint).
 Step one
 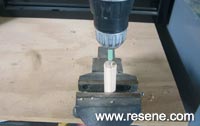 Step two
 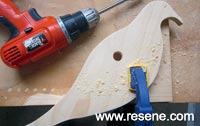 Step three
 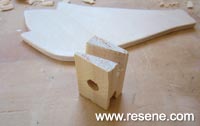 Step four
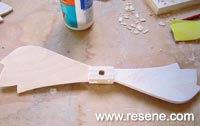 Step five
 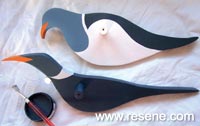 Step six
Drill a 6.5mm hole into the bottom
of the bird body for the metal rod.
Top coat in the colours listed above.
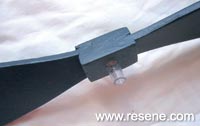 Step seven
 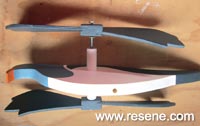 Step eight
 Order online now:
Testpots |
Paints |
Primers and Sealers |
Stains |
Clears |
Accessories
![]() Get inspired ! Subscribe
Get inspired ! Subscribe ![]() Get saving ! Apply for a DIY card
Get saving ! Apply for a DIY card
Can't find what you're looking for? Ask us!
Company profile | Terms | Privacy policy | Quality and environmental policy | Health and safety policy
Colours shown on this website are a representation only. Please refer to the actual paint or product sample. Resene colour charts, testpots and samples are available for ordering online. See measurements/conversions for more details on how electronic colour values are achieved.
What's new | Specifiers | Painters | DIYers | Artists | Kids | Sitemap | Home | TOP ⇧

