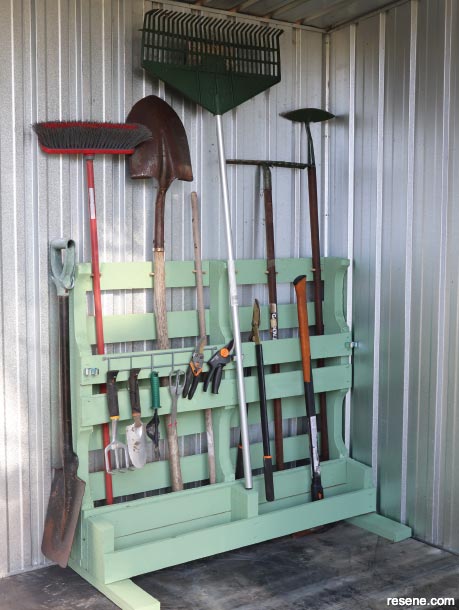
Repurpose an old pallet into freestanding storage for your shed or garage.
Materials:
Tools:
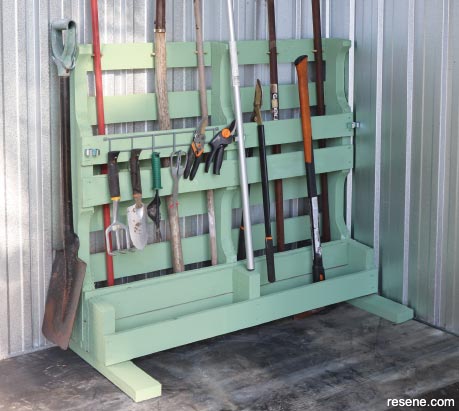
The lower front slats mean you don’t need to lift your tools too high when you get them out.
How to build a tool organiser:
 Step one
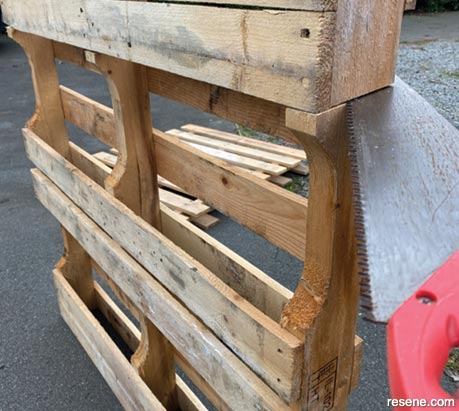
Stand your pallet on its side with the slats running horizontally and the side with fewer slats facing forward. Cut off the top of the pallet, just under the top front-facing slats.
 Step two
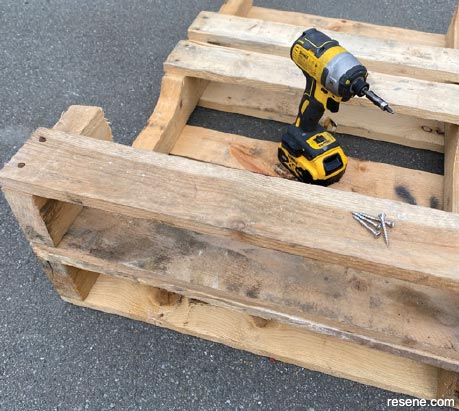
Lay the pallet down on its back (the side with the most slats). Screw the removed top of the pallet to the bottom of the pallet to create a low shelf. Use this space to stand heavier tools, such as axes.
 Step three
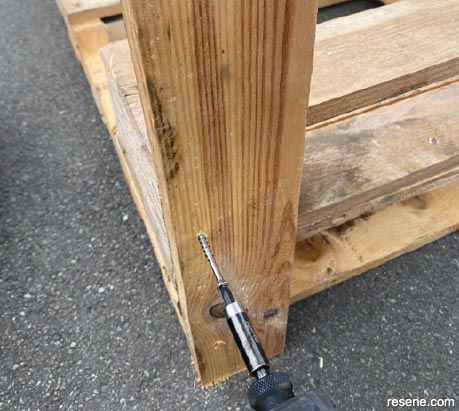
Remove a slat from the back of the pallet and cut it in half. Screw each half onto the base of the pallet, aligning each half to the back corners of the base, to create two feet that stick out at the front.
 Step four
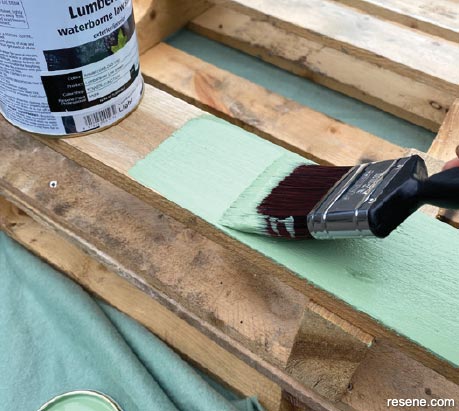
Sand down any extra rough or dirty spots and apply two coats of Resene Lumbersider in your choice of colour. Allow each coat to dry.
 Step five
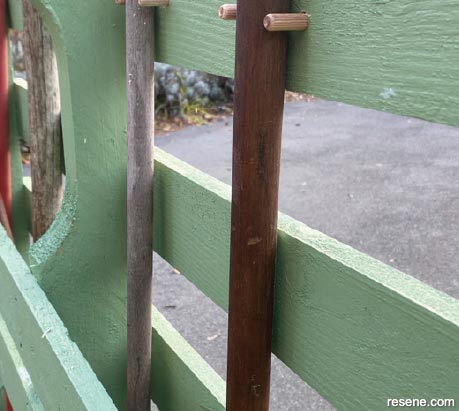
Work out where you want each of your long tools to stand in the pallet and drill a hole in the top slat, one on each side of where the tool handles will stand. Slot a dowel into each hole to hold the tool in place. Use wood glue to secure the dowels if it isn’t a tight fit.
 Step six
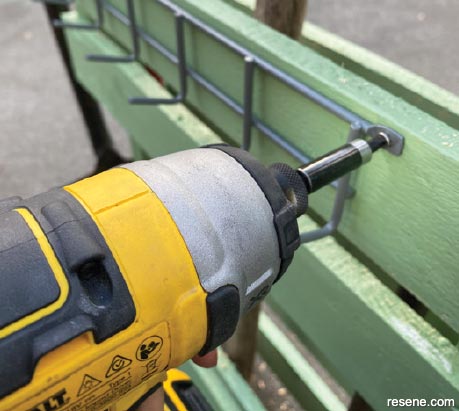
Screw various hooks and clips into position on the front and sides of the pallet as needed to suit your collection of tools.
 Step seven
Move the pallet into position and enjoy organising your garden tools by standing and hanging them in their place.
Order online now:
Testpots |
Paints |
Primers and Sealers |
Stains |
Clears |
Accessories
![]() Get inspired ! Subscribe
Get inspired ! Subscribe ![]() Get saving ! Apply for a DIY card
Get saving ! Apply for a DIY card
Can't find what you're looking for? Ask us!
Company profile | Terms | Privacy policy | Quality and environmental policy | Health and safety policy
Colours shown on this website are a representation only. Please refer to the actual paint or product sample. Resene colour charts, testpots and samples are available for ordering online. See measurements/conversions for more details on how electronic colour values are achieved.
What's new | Specifiers | Painters | DIYers | Artists | Kids | Sitemap | Home | TOP ⇧

