Tool rack
Get organised over winter with our space-saving tool holder – a project that can be easily completed in a day.
You will need
- Assorted screws and cup hooks for hanging tools
- 75mm wood screws
- 2 x 1200mm fence palings
- 2 x 1800mm fence palings
- 50mm x 50mm timber (approx. 360mm)
- 50mm x 100mm x 1200mm timber
- Paintbrush
- Piece of tongue and groove landscaping timber cut to 1200mm
Safety tip: Firmly fix the unit to a shed or garage wall with appropriate screws or bolts to keep it secure and in position.
To get the look: Mark painted the background shed wall with Resene Lumbersider tinted to Resene Pipi.
Here's another idea: Add a few more shelves to this project and it would make an ideal storage unit for tins of paint, brushes and any other home decorating equipment.
Handy Hint: Have a look at the tools you want to store before starting this project and make adjustments as necessary – you may require fewer (or smaller) holes or more cup hooks and screws.
How to build a tool rack
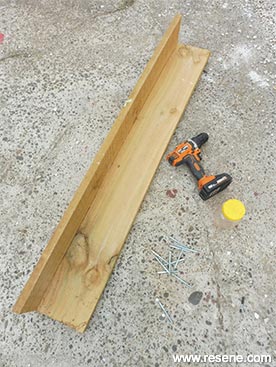 Step one
Fix the two 1200mm fence palings together, as shown. Use 75mm wood screws, drilling pilot holes first.
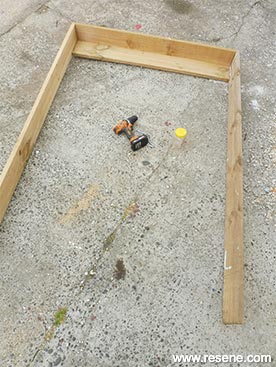 Step two
Attach the two 1800mm fence palings into position, as shown. Again, use 75mm wood screws, drilling pilot holes first.
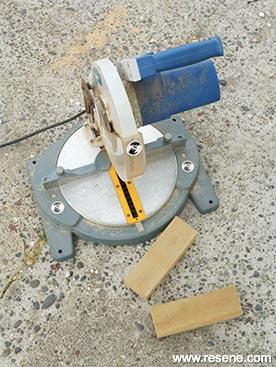 Step three
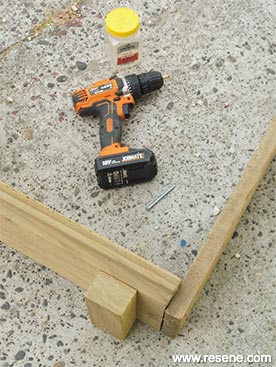
Measure, mark and cut the 50mm x 50mm timber into two 180mm lengths and smooth rough edges with sandpaper.
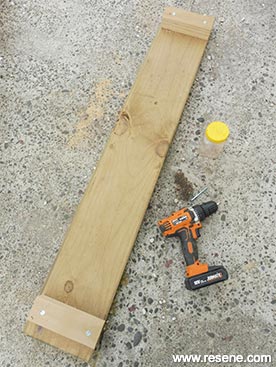 Step four
Fix these to the underside of the piece of tongue and groove landscaping timber, as shown, using 75mm wood screws, drilling pilot holes first.
 Step five
Fix the piece of tongue and groove landscaping timber into position to form the base of the unit. Again, use 75mm wood screws, drilling pilot holes first.
 Step six
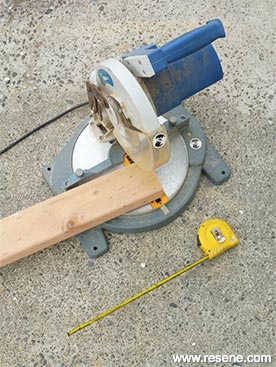
Measure, mark and cut the 50mm x 100mm timber to the length listed above and smooth rough edges with sandpaper.
 Step seven
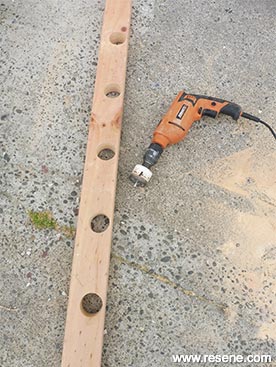
Using the 55mm hole cutting attachment, drill a series of holes along the length of the 50mm x 100mm timber – ours were spaced approximately 200mm apart.
 Step eight
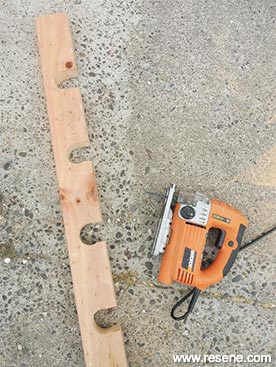
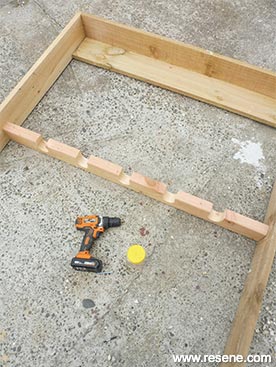
Cut through the side of each hole using the jigsaw, as shown. Smooth any rough edges with sandpaper.
 Step nine
Attach the piece of 50mm x 100mm timber into position, as shown, approximately 700mm from the top of the unit. Fix with 75mm wood screws, drilling pilot holes first.
 Step ten
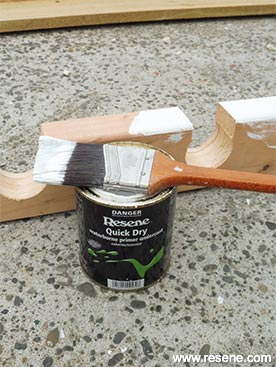
Apply one coat of Resene Quick Dry to the entire unit allowing two hours to dry.
 Step eleven
Apply two coats of Resene Lustacryl tinted to Resene Pewter to the entire unit, allowing two hours for each coat to dry.
 Step twelve
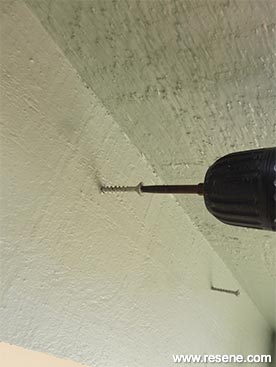
Stand the unit upright and then position screws and cup hooks where you want the tools to hang.
 Step one
  Step two
  Step three
  Step four
 Step five
  Step six
  Step seven
  Step eight
  Step nine
 Step ten
 Step eleven
 Step twelve