Wheelbarrow planter
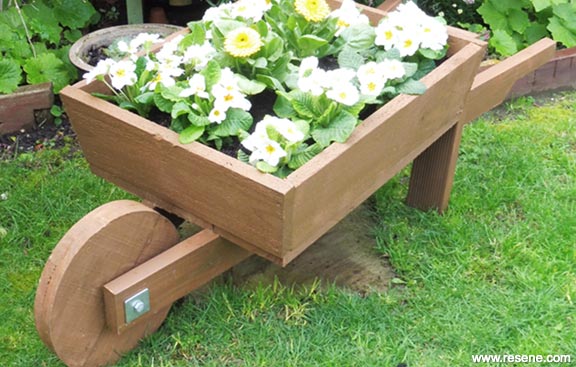
It’s easy to create this fun wheelbarrow planter – perfect for showing off a display of seasonal colour.
You will need: 10mm x 150mm galvanised bolt with washer, 30mm x 90mm decking (approx 3.5m), 50mm exterior screws, 100mm exterior screws, 300mm plate for tracing circle, drill with 10mm drill bit, exterior PVA glue, galvanised washers, jigsaw, paint stirrer, paintbrush, pencil, Resene Waterborne Woodsman tinted to Resene Nutmeg, sandpaper, saw, screwdriver, spanner, tape measure, treated fence palings (approx 6m).
Top tip: Timber dimensions may vary slightly so some of these measurements may need adjusting.
To get the look: Mark filled the barrow with good-quality potting mix and planted with polyanthus and calendula.

 Step one
Measure, mark and cut four 320mm lengths from the fence paling.
 Step two
Position two of these pieces across the other two pieces and fix together with PVA glue and 50mm screws. Allow glue to dry.
 Step three
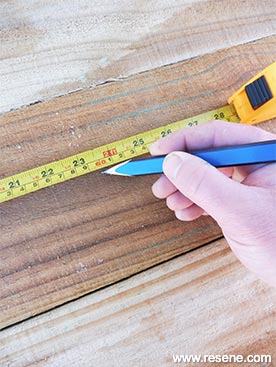
Measure three 600mm lengths from the fence paling.
 Step four
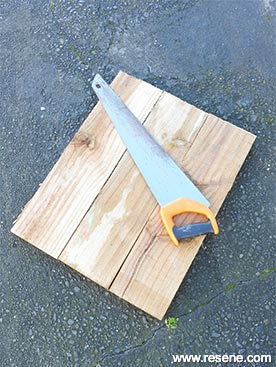
Cut to size, using pencil lines as a guide.
 Step five
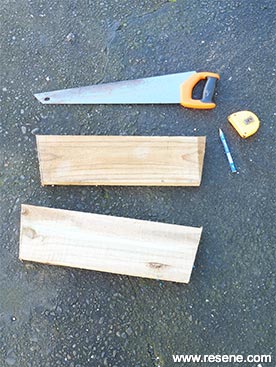
Measure, mark and cut two pieces of fence paling, as shown, to form the front and back ends of the planter. The bottom edge should measure 475mm and the top edge should measure 535mm.
 Step six
Measure, mark and cut two pieces of fence paling, as shown, to form the sides of the planter. The bottom edge should measure 560mm and the top edge should measure 600mm.
 Step seven
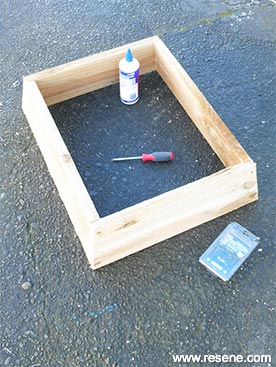
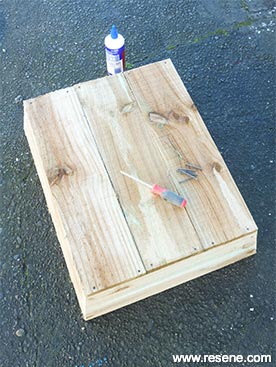
Attach these four pieces together, as shown, fixing at each corner with PVA glue and 50mm screws.
 Step eight
Fix the three 600mm pieces of paling into position to form the base of the planter, as shown. Again, fix with PVA glue and 50mm screws.
 Step nine
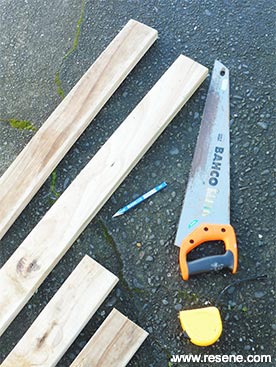
Measure, mark and cut two 1300mm lengths of decking to form the handles and two 410mm lengths of decking to form the legs.
 Step ten
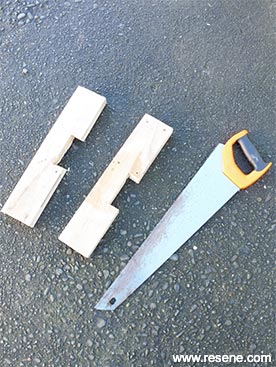
Measure, mark and cut out two 30mm x 90mm sections from each of the legs, approximately 170mm from the top edges.
 Step eleven
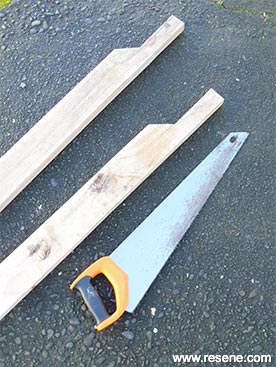
Measure, mark and cut two 170mm sections from the end of each handle, as shown.
 Step twelve
Fix the legs into position using 50mm screws and PVA glue, and then fix the two handles into position using 100mm screws and PVA glue (drilling pilot holes first). Turn the barrow over and secure the handles further by fixing through the base with 50mm screws.
 Step thirteen
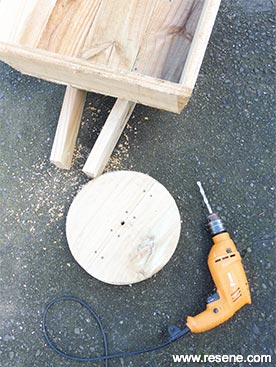
Using the piece of wood from step two, trace around the plate to create a 300mm diameter circle and cut this out with a jigsaw. Smooth all rough edges on the wheel and barrow with sandpaper.
 Step fourteen
Drill a 10mm hole through the centre of the wheel and front wheel supports, as shown.
 Step fifteen
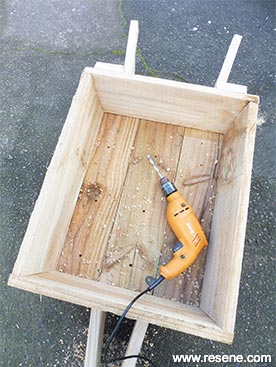
Drill 10mm drainage holes in the base of the barrow.
 Step seventeen
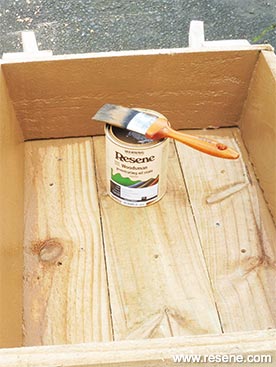
Apply two coats of Resene Waterborne Woodsman tinted to Resene Nutmeg to the barrow, ensuring the first coat is completely dry before applying the second.
 Step eighteen
Fix the wheel into position with the 150mm bolt and washers, as shown.
 Finished project
 Step one
  Step two
  Step three
  Step four
 Step five
  Step six
  Step seven
  Step eight
  Step nine
 Step ten
 Step eleven
 Step twelve
 Step thirteen
 Step fourteen
 Step fifteen
 Step seventeen
 Step eighteen
 Finished project