DIY cold frame
It’s surprisingly easy to create a handy cold frame from a large recycled window and some fence palings – perfect for protecting seedlings or cuttings during cold weather.
You will need: Wooden-framed window (ours measured approx. 710mm x 1500mm) with old hinges and fittings removed, 1.8m fence palings cut to the following sizes (depending on the size of the window):
- 1.5m (x 3)
- 710mm (x 6)
- 300mm (x 3)
- 1.5m x 70mm (1 or 2 pieces, depending on the thickness of the window frame)
Also required: 50mm exterior screws, 30mm exterior screws, bucket, cloth, electric screwdriver, exterior filler, exterior hinges, garden hose with clean running water, pencil, tape measure, paintbrushes,
Resene Lustacryl tinted to
Resene Permanent Green,
Resene Quick Dry,
Resene Paint Prep and Housewash, sandpaper (coarse), saw, set square, stiff-bristled brush.
Top tip: Placing a layer of thick cardboard or newspaper in the base of the cold frame will help to prevent any weeds from growing through. Position your cold frame in a sunny but sheltered spot and check regularly to see if watering is needed. Prop the lid open from time to time to increase ventilation, but always ensure the lid is closed at night in the cooler months.
To get the look: Mark painted the background fence and shed wall with Resene Lumbersider tinted to Resene Soft Apple.
Here's another idea: To create a larger-scale cold frame, construct the base from landscaping timber or macrocarpa sleepers and use an old exterior glass door as a lid.

 Step two
Scrub the window frame vigorously with the solution using a stiff-bristled brush, and then rinse with clean water. Allow to dry.
 Step three
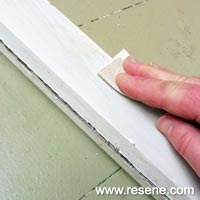
Fill any holes in the window frame with exterior filler and allow to dry. Lightly sand the window frame to ‘key’ the paint surface. Wipe off any sanding residue with a clean cloth.
 Step four
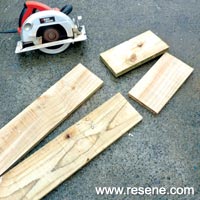
Measure, mark and cut the fence palings to the dimensions listed. Smooth any roughsawn edges with sandpaper.
 Step five
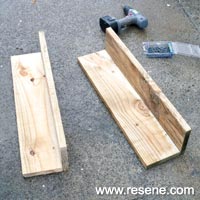
Fix four of the 710mm pieces of timber together at right angles, as shown, using 50mm screws.
 Step six
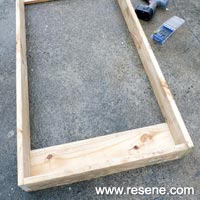
Attach two of the 1.5m lengths of timber into position, as shown, to form a rectangular frame. Use the set square to ensure corners are at right angles.
 Step seven
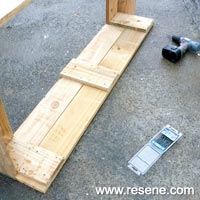
Turn the frame on its back and attach the third 1.5m length of timber into position, bracing with the three 300mm pieces of timber, as shown (trimmed to fit, if necessary).
 Step eight
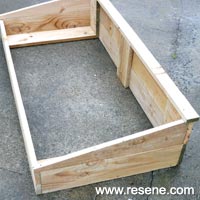
Measure, mark and cut the two remaining 710mm pieces of timber into identical triangular shapes to form sloping side edges, and fix into position. Attach the 1.5m x 70mm piece of timber along the back edge of the cold frame.
 Step nine
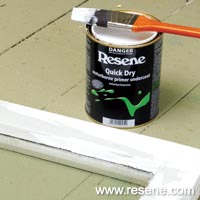
Spot-prime any areas of bare timber on the window frame with
Resene Quick Dry and allow two hours to dry.
 Step ten
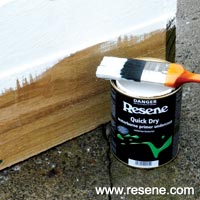
Apply one coat of
Resene Quick Dry to the cold frame base and allow two hours to dry.
 Step eleven
Apply two coats of
Resene Permanent Green to the window frame, allowing two hours for each coat to dry.
 Step twelve
Apply two coats of
Resene Permanent Green to the cold frame base, allowing two hours for each coat to dry.
 Step two
  Step three
  Step four
 Step five
  Step six
  Step seven
  Step eight
  Step nine
 Step eleven
 Step twelve
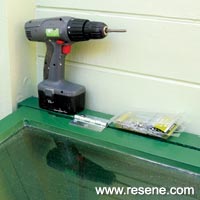 Step thirteen
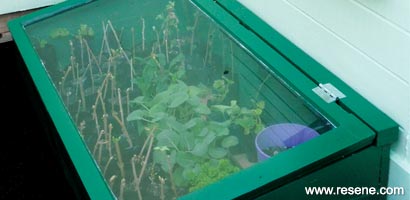 Completed project