Habitat bright ideas with Fleur Thorpe – DIY projects
Can’t find a headboard to suit your bedroom? Why not create your own with a favourite Resene wallpaper.
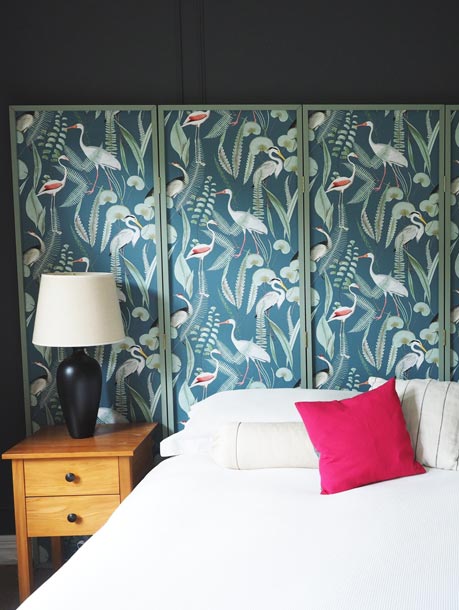
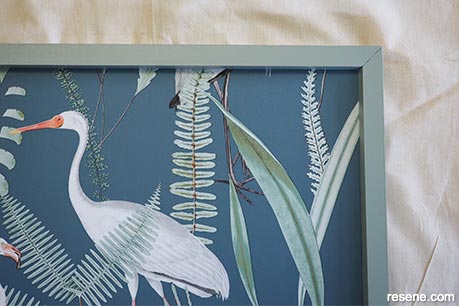
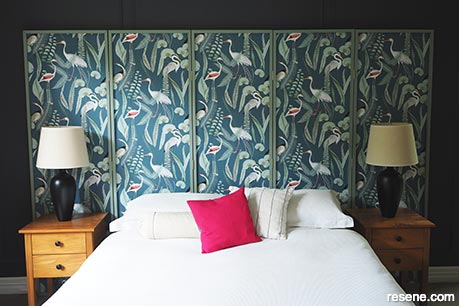
This headboard makes a striking room feature finished in elegant Resene Wallpaper Collection M37414. Wall painted in Resene Tuna and skirting in Resene Half Rice Cake
How to create a patterned DIY headboard:
 Step 1
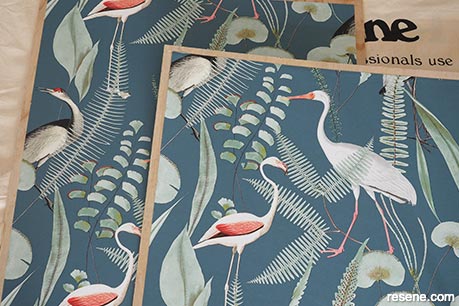
Start by working out how big you want your headboard panels to be. Fleur wanted to make hers as big as possible, as well as factoring in trying to get a rough pattern match across the panels. Her panels ended up being 1.85m tall and 53cm wide (the width of the wallpaper). First, cut your wallpaper to length (Fleur needed five lengths). Then cut your 4mm plywood to a similar size, allowing for a bit of an overlap. Her plywood was about 13mm wider than the wallpaper on all four sides. Glue your wallpaper on to the plywood. You might find it helpful to draw a line down one edge so that you can get the wallpaper lined up straight. Your local Resene ColorShop can supply the right kind of glue for the wallpaper you choose.
 Step 2
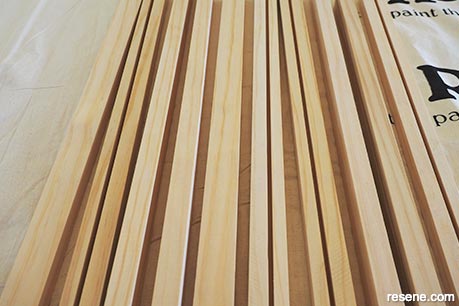
Cut all your wood frames to fit around each of your panels. Fleur cut a 15mm deep groove/slot into hers so that the plywood would slide into the grove. Make sure that the groove is slightly deeper than the margin of plywood around the wallpaper is wide.
 Step 3
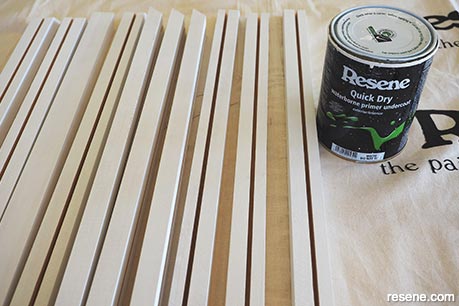
Use Resene Quick Dry to prime the frames. Once this is dry, give it a light sand with a fine grit sandpaper. Wipe off all sanding dusts.
 Step 4
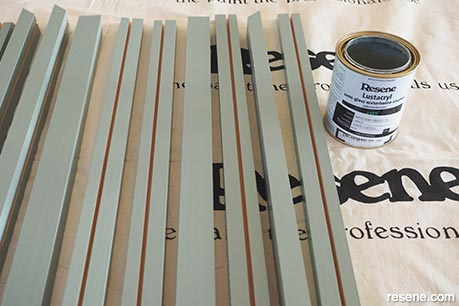
Paint the frames with two coats of Resene Spanish Green, allowing for the first coat to dry before applying the second coat.
 Step 5
Attach the frames to the plywood panels, securing them in place with wood glue.
 Step 6
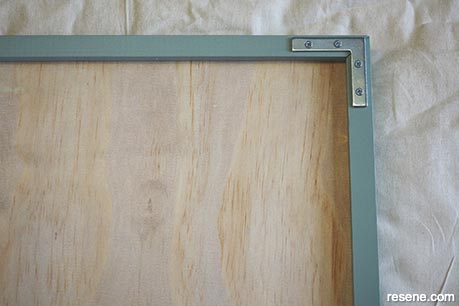
Flip the frame over and screw an “L” shaped corner bracket to each corner. Fleur also drilled a few screws in along the length of the long edges to hold the plywood in the frame.
 Step 7
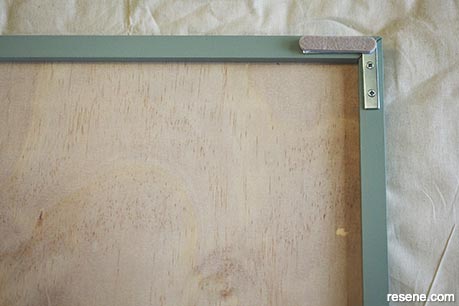
Add a felt pad over each of the brackets to help prevent damage to the wall when the headboard is installed.
 Step 8
Join all the panels together with hinges. Fleur finished by joining each of the panels together with a 64mm brass hinge. She decided to face all the hinges in the same direction – which means it can’t fold up into a concertina – but she liked seeing the detail of the shiny hardware, and the spacing that it provided between each of the panels. Secure the headboard to the wall with screws.
Top tip: If you’re opting for a faux timber finish Resene wallpaper, using Resene Colorwood wood stain followed by Resene Aquaclear for a subtle stained timber finish, or use Resene Colorwood Whitewash as is or tinted to a colourwash finish.
Styling and images by Fleur Thorpe. Jun 2022.
Habitat bright ideas
Need to add colour, pattern or a little creativity to your place? Check out these easy step by step DIY project ideas created in collaboration with Fleur Thorpe. We hope you enjoy making and painting these bright ideas and bringing colour to your home inside or out.
![]() Get inspired ! Subscribe
Get inspired ! Subscribe ![]() Get saving ! Apply for a DIY card
Get saving ! Apply for a DIY card
![]()
Can't find what you're looking for? Ask us!
Company profile | Terms | Privacy policy | Quality and environmental policy | Health and safety policy
Colours shown on this website are a representation only. Please refer to the actual paint or product sample. Resene colour charts, testpots and samples are available for ordering online. See measurements/conversions for more details on how electronic colour values are achieved.
What's new | Specifiers | Painters | DIYers | Artists | Kids | Sitemap | Home | TOP ⇧


