How about bringing the beach to you – break out the Resene paints and stains, and create a magical wall that’s a cross between a mural and a paint effect.
Most of us would like to live permanently at the beach or be able to gaze at the ever-changing sea and wide open skies, which are filled with hundreds of shades of blue and grey, evolving and changing as the weather blows through and the tides change.
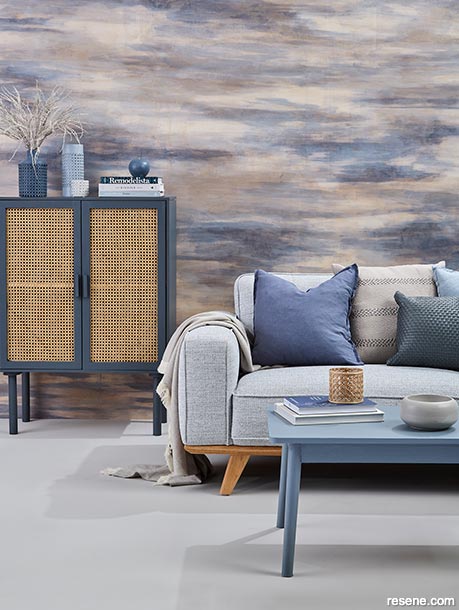
How about bringing the beach to you – break out the Resene paints and stains, and create a magical wall that’s a cross between a mural and a paint effect. Because of the freeform look of this wall, it’s very hard to get it wrong so it doesn’t call for tonnes of artistry. Just a bit of courage.
The beauty of paint, or wood stain in this case, is that it’s so flexible to work with and change as the mood takes you. Want a bit more blue in your finished effect? No problem, it’s easy to add.
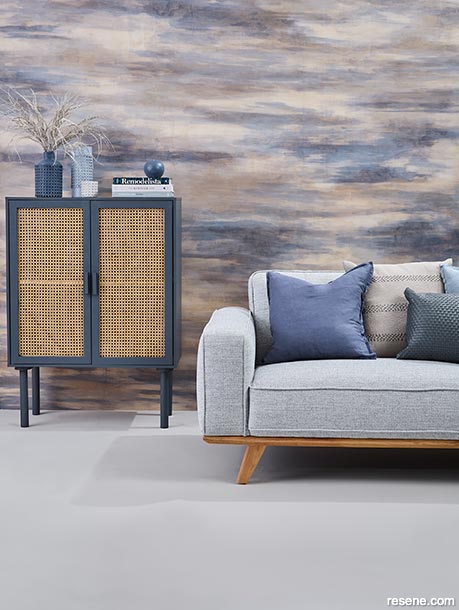
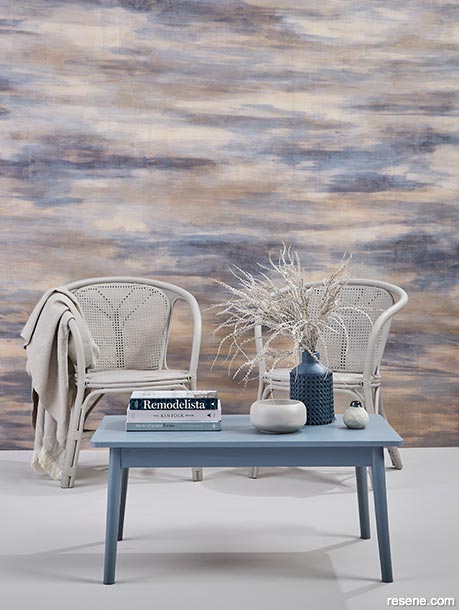
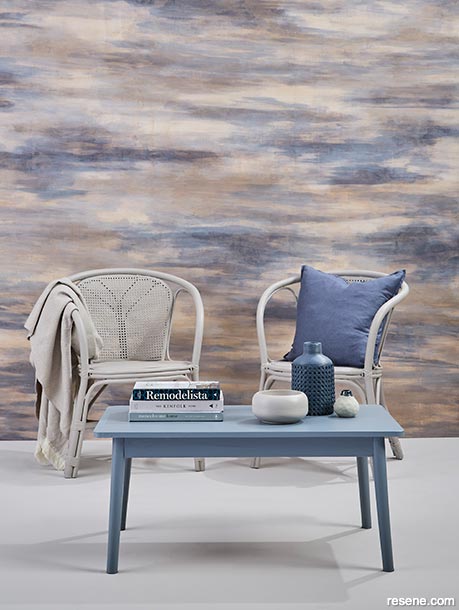
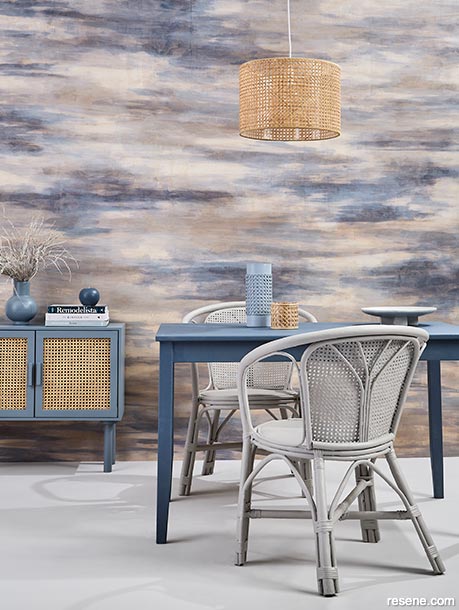
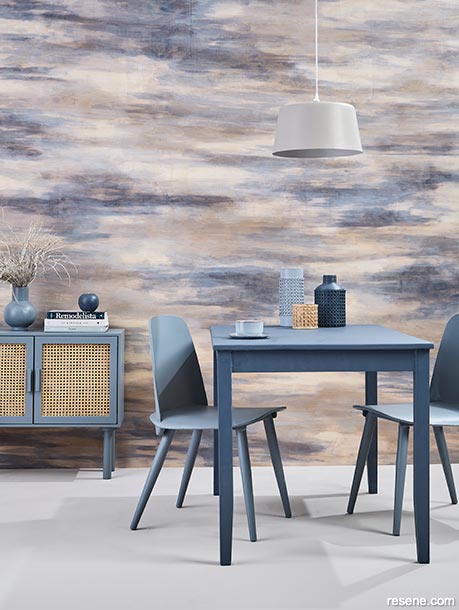
This look is inspired by the watercolour works of the Impressionist masters, such as Monet, Degas and Van Gogh used brushstrokes to create airy skies and dreamy garden spaces. Using Resene wood stains to achieve the look also means that you can echo the colours through paint used elsewhere in the room. All it takes is a little forethought and preparation, armed with colour and stain charts from your local Resene ColorShop. In this instance, the stormy blues of the wall are used as accents around the room, on the coffee table, painted in Resene Quarter New Denim Blue, and large vase in Resene Rhino. If you wanted a more neutral look, you could use sand-toned colours like Resene Drought, Resene Pavlova or Resene Bison Hide. Or in Resene Half Stonehenge which is used to paint the rattan chairs.
And if a sea or sky-inspired colour scheme isn’t to your liking, both the Resene Colorwood range (for interior use) and the Resene Woodsman range (for exterior use) come in a wide range of colours from natural tones to brights as well as whitewash and greywashes.
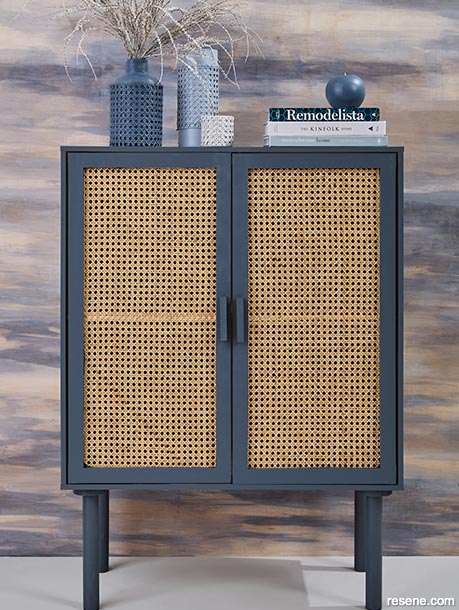
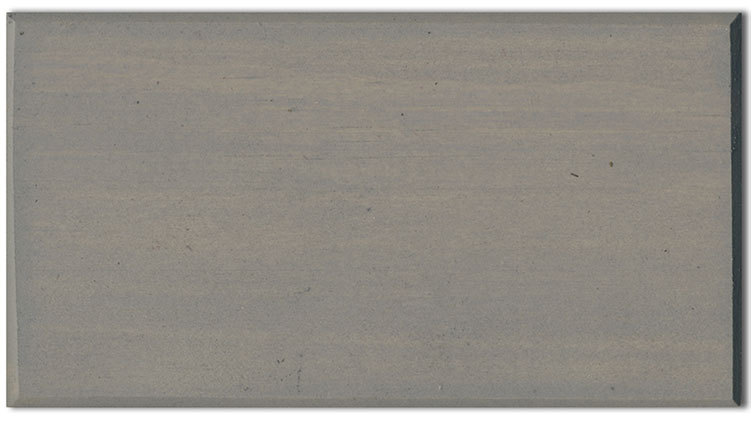
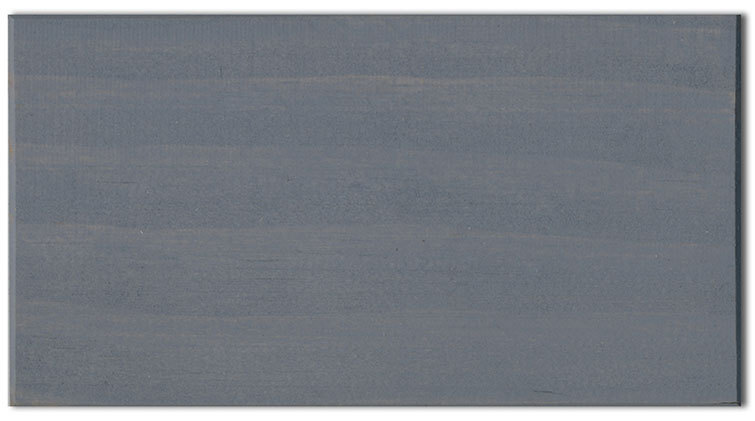
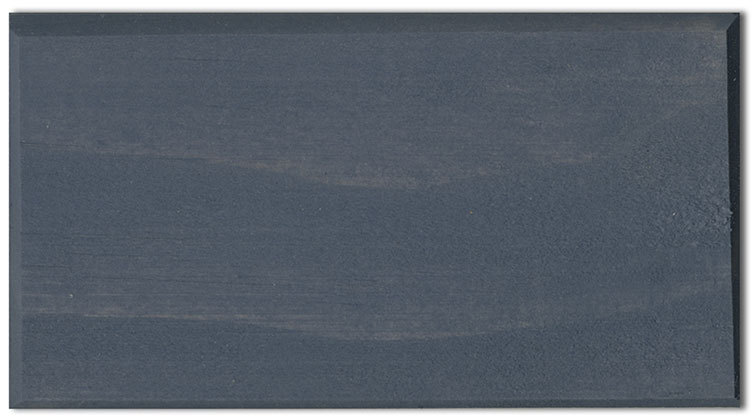
All you need is a plywood wall or panels, a paintbrush, a soft rag and Resene wood stains of your choice – we used Resene Colorwood Skywater, Resene Colorwood Silvered Grey, Resene Colorwood Riverstone and Resene Colorwood Whitewash.
First, start with your brightest coloured stain, which in this case is Resene Colorwood Skywater, a warm slate blue. Use a paintbrush to roughly brush the stain in random strokes onto the plywood following the grain of the timber before using a rag to rub the stain to soften the edges of the strokes. Blend duller coolers into the first stain to create the look of rolling waves – we used the grey-toned Resene Colorwood Silvered Grey and the grey-brown Resene Colorwood Riverstone.
Add additional coats of your chosen Resene Colorwood colours to make the colour appear darker.
Finish with Resene Colorwood Whitewash to fill in any unstained plywood and to brush over the top of any blue or grey stains that are looking too dark.
Overcoat the wall using Resene Aquaclear satin clear urethane.
You will need:
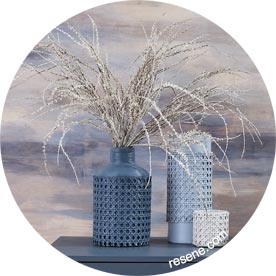
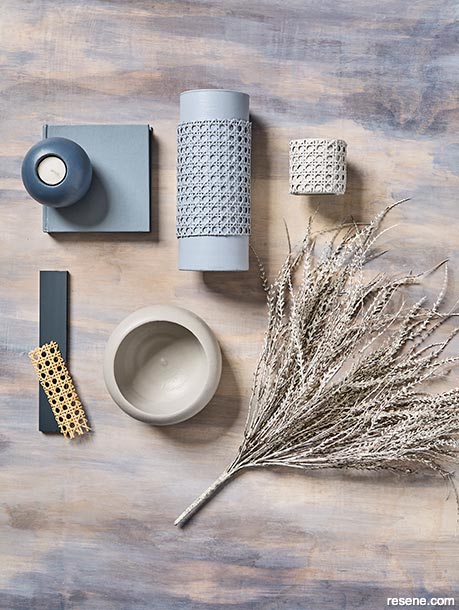
Rattan vases
Step-by-step instructions:
Cut the rattan webbing to the size of the vase or pot so the webbing wraps around the vase or pot with a slight overlap.
Glue the webbing to the vase or pot.
Paint the vase or pot and the webbing. You will need at least two coats of paint. Allow to dry completely.
Add foliage or flowers and enjoy your handy work.
Project by Vanessa Nouwens. Photography by Bryce Carleton. May 2022
Colour inspiration - latest looks gallery
Get inspired with colour and the latest decorating and colour trends! Select just the right look and mood for your space.
Filter: kids & teens | greens | blues | yellows | neutrals | oranges/browns | pinks/reds | greys/blacks | violets | pops-of-colour/multi-colour
Time to tool up
Handy storage solutions and a cool sign for the garage
Home-base
Re-evaluating our home office situation
![]() Get inspired ! Subscribe
Get inspired ! Subscribe ![]() Get saving ! Apply for a DIY card
Get saving ! Apply for a DIY card
![]()
Can't find what you're looking for? Ask us!
Company profile | Terms | Privacy policy | Quality and environmental policy | Health and safety policy
Colours shown on this website are a representation only. Please refer to the actual paint or product sample. Resene colour charts, testpots and samples are available for ordering online. See measurements/conversions for more details on how electronic colour values are achieved.
What's new | Specifiers | Painters | DIYers | Artists | Kids | Sitemap | Home | TOP ⇧