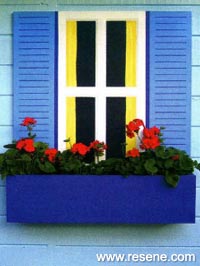
Paint a planter to create a clever optical illusion.
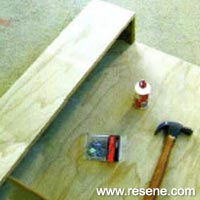
You will need: 22mm exterior ply wood cut as follows:
• 780mm x 900mm (main backing board)
• 780mm x 200mm (window box front)
• 2 of l45mm x 200mm (box sides)
• 736mm x 145mm (box base)
hammer and saw, drill with large wooden drill bit, 50mm galvanised jolt head nails, pencil, long ruler, exterior PVA glue, sandpaper, 25mm low-tack masking tape, paintbrushes (including artist's brush), Resene Quick Dry waterborne primer undercoat, Resene Lumbersider tinted to Resene Torea Bay, Resene testpots in the following colours in Resene Alabaster, Resene Havelock Blue (x 2), Resene House White, Resene Indian Ink, Resene Paris Daisy, and Resene Wild Thing.
Top tip: If using in a very sunny spot, apply a coat of Resene Clearcoat UVS to the unit to preserve the colour intensity.
![]()
 Step one
 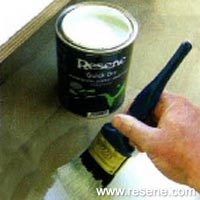 Step two
 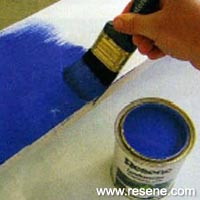 Step three
  Step four
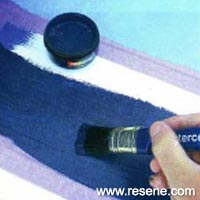 Step five
 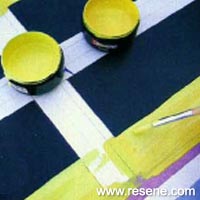 Step six
 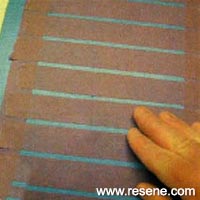 Step seven
 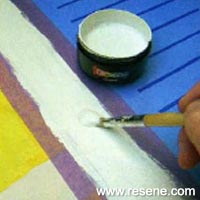 Step eight
 ![]() Get inspired ! Subscribe
Get inspired ! Subscribe ![]() Get saving ! Apply for a DIY card
Get saving ! Apply for a DIY card
![]()
Can't find what you're looking for? Ask us!
Company profile | Terms | Privacy policy | Quality and environmental policy | Health and safety policy
Colours shown on this website are a representation only. Please refer to the actual paint or product sample. Resene colour charts, testpots and samples are available for ordering online. See measurements/conversions for more details on how electronic colour values are achieved.
What's new | Specifiers | Painters | DIYers | Artists | Kids | Sitemap | Home | TOP ⇧