Easy to assemble and easy to store, and now no longer relegated to the garage as they become increasingly fashionable as home office desks, dining tables and more. Thankfully, as well as being practical and stylish, they are quite simple to make too.
For this project you will need
- Untreated pine 90mm x 20mm cut into the following lengths:
- 8 x pieces cut to 780mm long
- 8 x pieces cut to 650mm long
- Large plywood sheet cut to measure 1500mm x 750mm (15mm thickness is sufficient)
- 4 x 65mm hinges and 6 x screws for each hinge
- Additional screws to fasten the table legs together, general purpose rope
- Resene Quick Dry Primer Undercoat, Resene Lustacryl paint in Resene Indian Ink, Resene Lustacryl paint in Resene Zircon, Resene testpot paint in Resene Chenin
- Paint roller kit and paintbrushes. Skill saw to cut table top and legs. Battery drill to cut holes and insert screws
 Step one
Cut all your timber to size and then sand. Prime all pieces and leave to dry.
 Step two
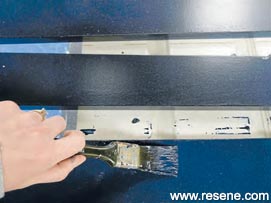
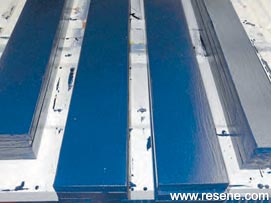
Apply two coats of your chosen paint colour to all the pine pieces that will make up your table leg frames. I used
Resene Indian Ink. Make sure you allow each face to dry before you turn the pieces over to paint another side. I used a paintbrush to apply my colour as I found it achieved a thicker application. It is a slow process but worth it!
 Step three
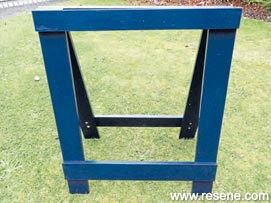
Once all your table leg pieces are painted and dried, it’s time to assemble them. Laying them out in front of you, you will need to position all your short and long pieces to make up the shape of your leg frames. It’s best to look at the photos at this point to recreate the placement – the exact measurements aren’t important. The long pieces are your legs (vertical) and the short pieces are the supports (horizontal). The short pieces are placed at the top and approx. 100mm from the bottom of the legs in my example.
 Step four
Once you have the positioning right, drill your pilot holes and then drill your screws into the holes to assemble all the pieces into place. Repeat the process until you have all four parts made up.
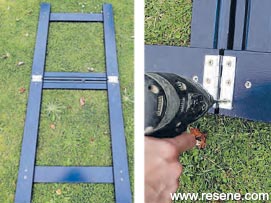 Step five
Now that you have the four pieces of your leg frames made, it’s time to pair them up and add the hinges. Place two of your assembled frames top to top, good face down. Screw the hinges in flush to the top of the frame. Repeat until both your A-frame table legs are complete.
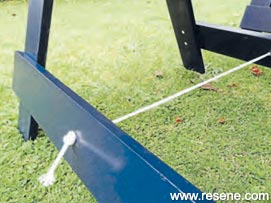 Step six
Add your rope supports by drilling central holes in the base of each leg frame. Tie a knot at each end to secure. I used a white general purpose rope from the hardware store. The thicker the rope, the better it looks.
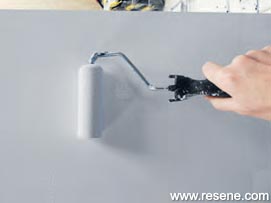 Step seven
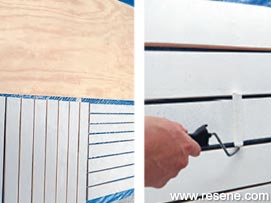
Paint your plywood table top in your chosen colour. I applied two coats of
Resene Zircon using a roller. Zircon is a nice alternative to stark white, and has a lovely grey tone that complements the Indian Ink.
 Step eight
Once dried, place your table top on your leg frames. Around the outside edge of the table top, I applied a pop of yellow paint with
Resene Chenin.
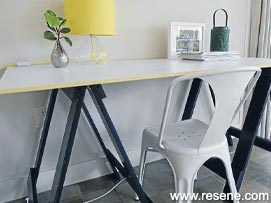 Finished project


