Projects from Your Weekend magazine
Sarah Withell explains how to make your own rustic wooden pallet-style bookshelves.
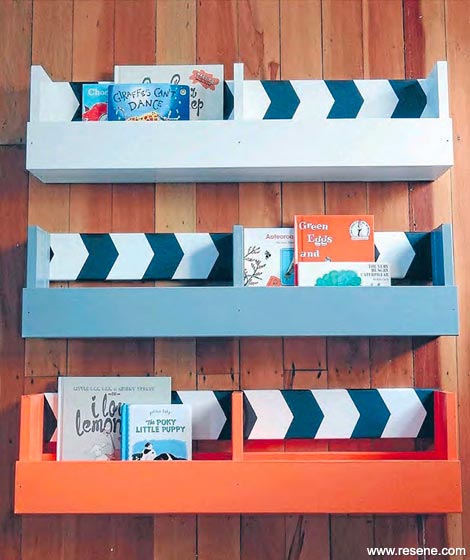
Repurposed pallets have been making waves in interior decorating for a while now, and they look particularly effective as rustic coffee tables, bed headboards and bookshelves. If like me, you love the look but either can't get your hands on any pallets or want a cleaner finish, then try making these pallet-style bookshelves yourself.
I have deliberately chosen a fun colour scheme that works for a children's bedroom, but of course you could customise them to suit any room or purpose. They could house cookbooks, potted herbs, laundry supplies, glass jars - the list is endless. Make them, and then make them your own.
For this project you will need
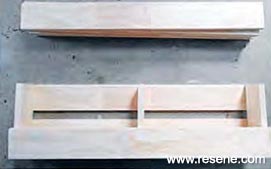 Step one
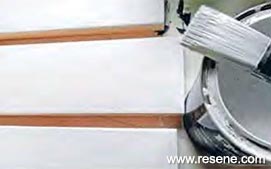 Step two
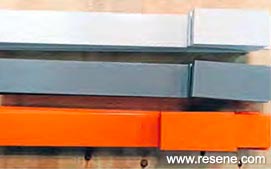 Step three
 Step four
 Step five
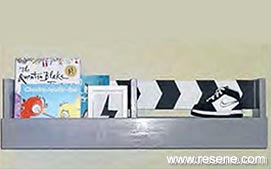 Step six
Words and pictures by Sarah Withell. 2015
▸ Download a PDF of this article
Projects from Your Weekend magazine
View more project ideas from Your Weekend magazine in the Resene weekend DIY projects section.
![]() Get inspired ! Subscribe
Get inspired ! Subscribe ![]() Get saving ! Apply for a DIY card
Get saving ! Apply for a DIY card
![]()
Can't find what you're looking for? Ask us!
Company profile | Terms | Privacy policy | Quality and environmental policy | Health and safety policy
Colours shown on this website are a representation only. Please refer to the actual paint or product sample. Resene colour charts, testpots and samples are available for ordering online. See measurements/conversions for more details on how electronic colour values are achieved.
What's new | Specifiers | Painters | DIYers | Artists | Kids | Sitemap | Home | TOP ⇧


