Projects from Your Weekend magazine
Children's furniture is easily revived and refreshed, writes Sarah Withell.
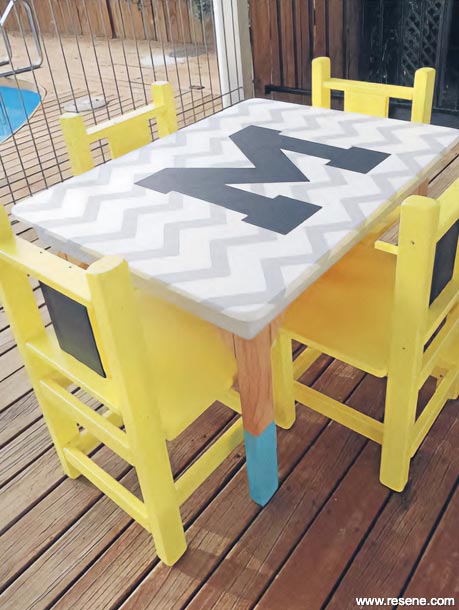
Give your old furniture a whole new look
Every home has a piece of well-loved furniture that could use a spruce up. Refreshing those tired old items can be a great way to try out new decorating trends and paint colours, with the option to create a completely personalised piece you can't buy in a store.
For this month's project, I have refurbished a kids' table and chair set that we inherited recently from family. I've tried to incorporate a few different effects that you can try at home, and show you just how easy it is to give your old furniture a whole new look.
Prepare your items for painting by giving them a good sand. You can either use an orbital sander or sand by hand depending on the scale of the job. Once sanded, prepare all the surfaces you plan to paint with a coat of primer. Preparation is key when refurbishing.
Paint your chairs in the colour of your choice. I chose Resene Shooting Star from the Resene Kidz Colour range. It's worth looking at paint ranges designed specifically for kids' projects; there are some brilliant colours to choose from.
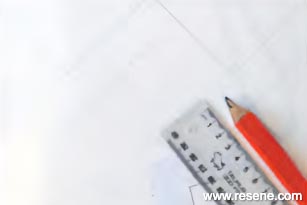
I painted my table top with a fashionable and fun chevron design. To achieve a chevron finish, you need a base colour and an accent colour, as well as a bit of patience and a lot of masking tape. Start by painting the table top in your base colour. Mine was Resene Alabaster. Once dried, you need to mark out your chevron design with a pencil. The easiest way to do this is to download a printable chevron pattern, cut it out and use it as a stencil to mark all your points with pencil. Connect the dots with the help al a ruler, then repeat until the design covers your table top.
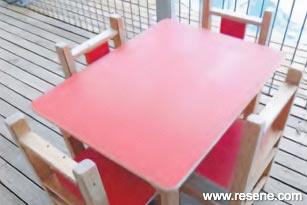 Step one
 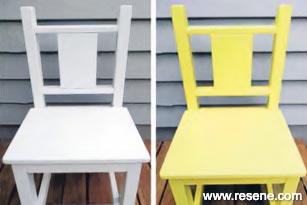 Step two
 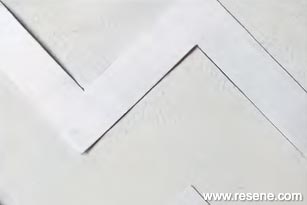 Step three
  Step three
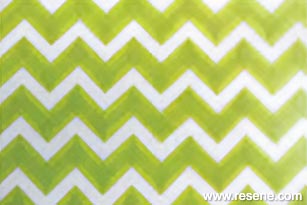
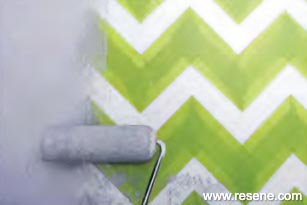
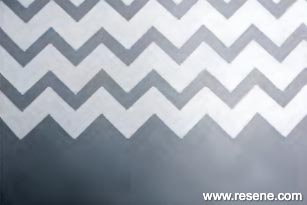
After marking out your design, mask out the alternate stripes that you want to remain in the base colour. Press down tape edges firmly to prevent any bleeds. Use an eraser to remove the remaining pencil lines. Now you are ready to paint on your accent colour. My choice was Resene Mischka. I used a roller to apply the colour: the trick is to not load too much paint on to the brush. Once dried, remove the masking tape to reveal your chevron print. You can touch this up with a small paintbrush if needed.
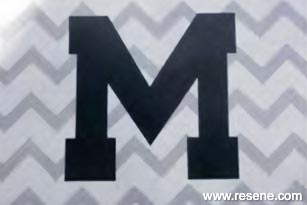
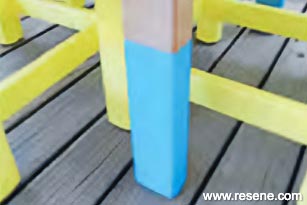
To finish, I used my blackboard paint to paint a large letter M on the table top for my son to draw on. M is his initial, but you could paint shapes or anything you like. I also added blackboard paint the back panels of the yellow chairs. Finally, I painted the lower legs of the table in Resene Yabbadabbadoo for an extra pop of colour. This effect is known as dip-eye, and is a very easy way to update an old piece of furniture in a flash.
Handy hint: When painting in warm weather, I recommend using Resene Hot Weather Additive to achieve a better application and finish.
 Step four
  Step four
 Step four
 Step five
 Step five
 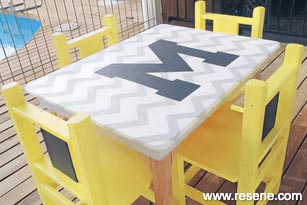 Finished project
▸ Download a PDF of this article
Projects from Your Weekend magazine
View more project ideas from Your Weekend magazine in the Resene weekend DIY projects section.