A Weekend DIY project with Sarah Herring
Here’s a fantastic Summer project for the kids that they can attempt on their own, or at least almost on their own (adult supervision is always recommended)!
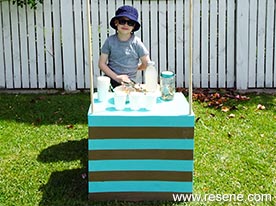
When six year old Milo asked his Mum Sarah (who normally does Upcycling for Good projects for Resene) if he could make a lemonade stand over the school holidays, he had a very specific idea in mind of what it was he wanted to create. With minimal assistance from Sarah, who was more than happy to supply the materials and document the process, Milo worked hard to paint and build his dream lemonade stand all by himself. The result was not only exactly what he’d hoped for, but Milo was also able to enjoy a sense of pride in completing a creative project himself from start to finish and have heaps of fun along the way! Sometimes a project doesn’t have to be perfectly executed to be perfect, it just has to be made with love. Let your kids tackle a lemonade stand like Milo’s this summer. Here’s how he did it!
Nb. Milo was proud to make a donation to Harbour Hospice with his lemonade stand earnings.
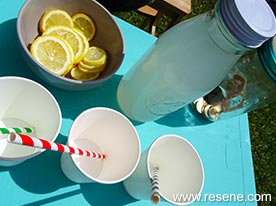

You will need:
Top tip: While Milo made this into a lemonade stand, you could easily turn it into a fruit and vegetable stand and sell any extra produce from your garden that you don’t need.
If you have multiple children who are going to be selling, each can choose a colour and use multi-coloured stripes using Resene testpots to work it into the design.
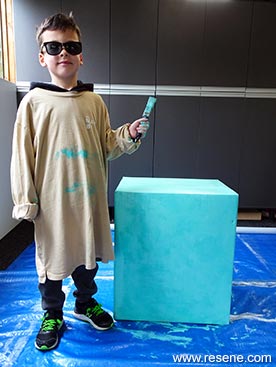
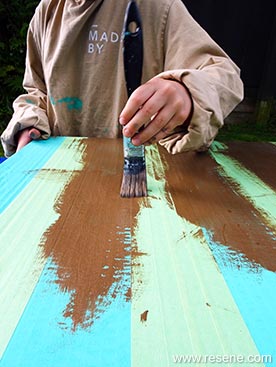
Step one: Secure the large cardboard box with masking tape along the joins. Then apply two coats of paint to the whole box (except the bottom). Milo used a testpot brush to apply his paint. He used Resene SpaceCote Flat paint in Keppel - conveniently his Mum had some leftover from a previous project. Milo’s Mum made sure that the area he was painting in was well covered with drop sheets – because when kids paint things can get very messy!
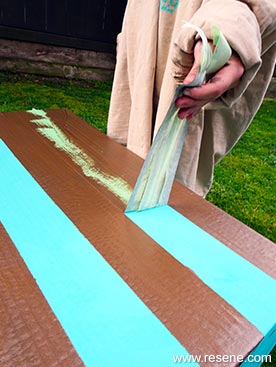
Step two: Use masking tape to mark out stripes. Then paint using a Resene testpot. Milo really wanted stripes on his lemonade stand, so his Mum showed him how to use masking tape to block out a striped design. Milo painted his stripes with a Resene testpot in metallic Resene Spark – to make his stand extra snazzy.
Step three: Once touch dry, peel off the masking tape to reveal the striped design.
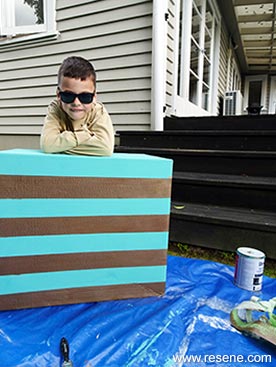
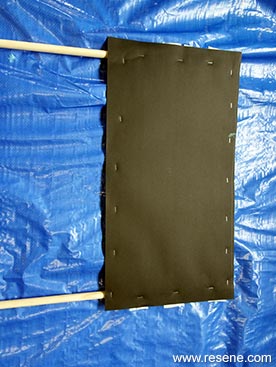
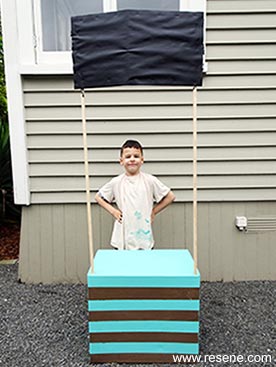
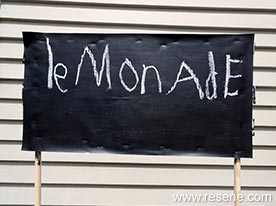
Step four: To create your sign, tape two long pieces of dowel to an old piece of cardboard. Milo’s dowel was approx. 18mm in diameter. Punch two holes in the top of the painted lemonade stand with a screwdriver to hold the sign upright – we recommend an adult helps with this.
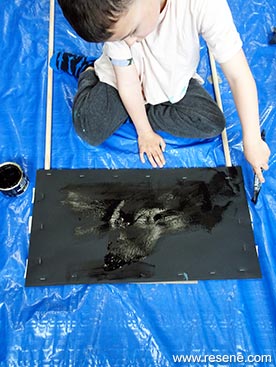
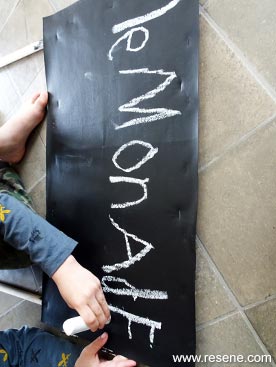
Step five: Paint the sign with two coats of Resene FX Blackboard Paint so that it can be re-useable chalkboard.
Step six: Once touch dry, peel off the masking tape to reveal the striped design.
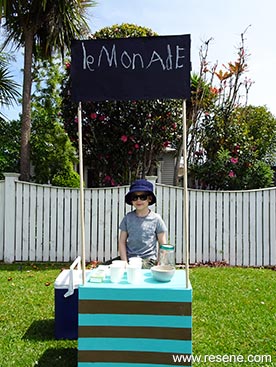
Step seven: Start selling! Milo placed his lemonade stand outside his house and waited patiently with Mum for the customers to arrive. And boy did they arrive! Milo was so proud to show everyone what he had made, and the local community gave him lots of support.