Resene – Paint project, from Homestyle magazine
Sample all kinds of cocoa-ish colours and textures for an entry that’s an all-around treat.
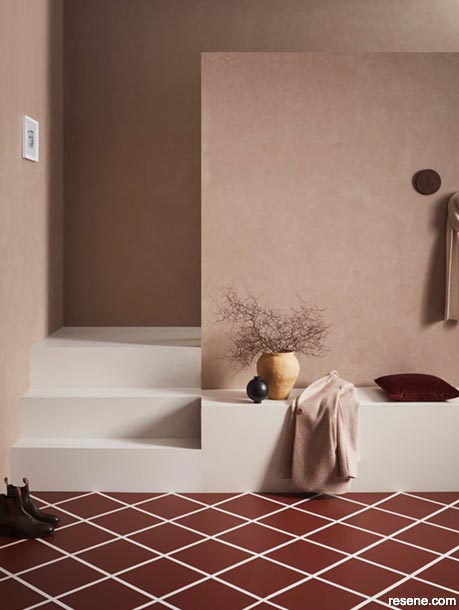
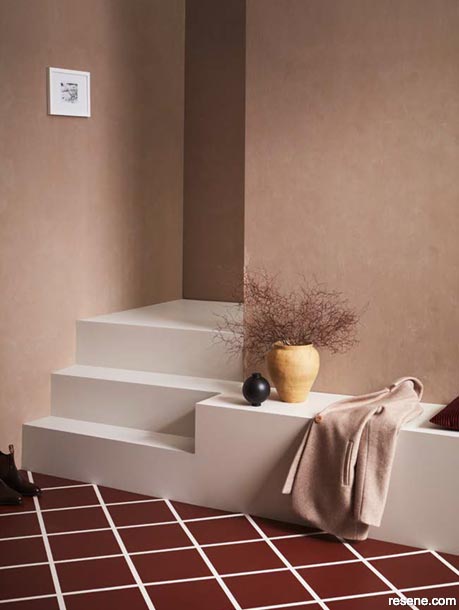
Let your colours be led by your entryway’s architecture, allowing them to transition where the different forms meet. For visual cohesion, opt for a palette of paints that have a warm base, using the strongest shade on the floor – its effect will be more grounding and less intense than if you use it at eye level on the walls.
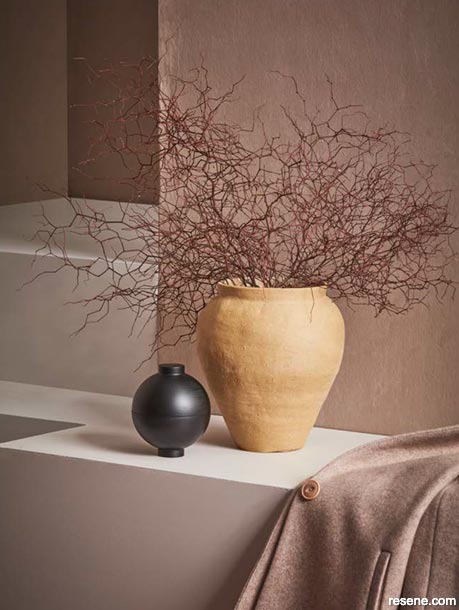
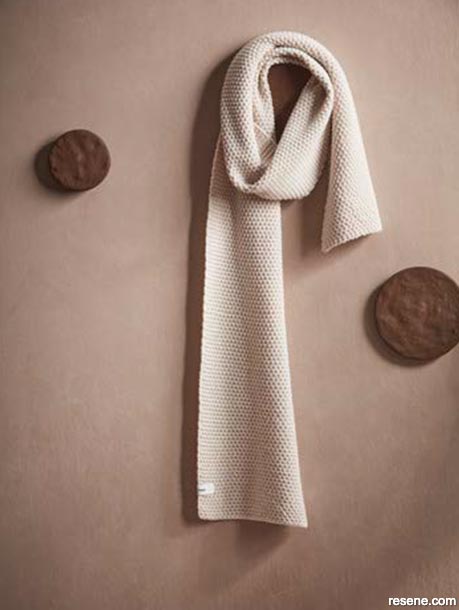
Use your styling smarts to make an entrance that’s chic and functional, complete with a ‘drop zone’ for keys, coats and boots, plus sculptural twigs that echo the outside world.
A ripped-up old sheet is ideal for adding this textural rag-rolled finish to your walls. We applied two coats of Resene SpaceCote Low Sheen tinted with Resene Almond Frost, then when dry used a large brush to apply Resene FX Paint Effects Medium mixed with Resene Half Joss in a criss-cross motion, before rolling a rag in random directions over the wet paint. Working on 1m of wall at a time, aim to create an irregular pattern but achieve a uniform finish.
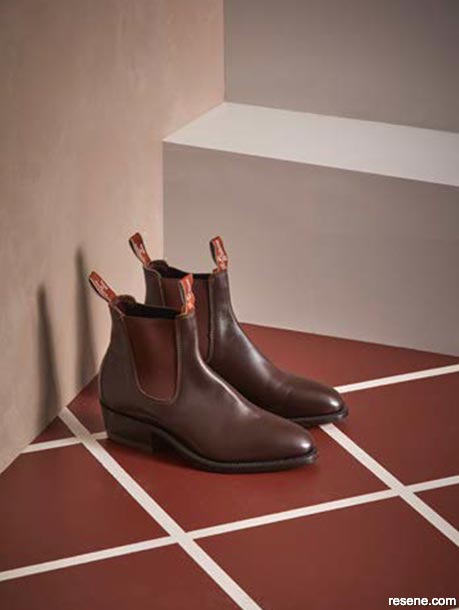
Create this tile effect on your floor using Resene Walk-on tinted to your chosen colours. Paint the entire floor with two coats of your ‘grout’ colour (we used Resene Swirl), leave to dry, then use painter’s tape to mask a grid pattern over the top. Paint the entire floor with two coats of your ‘tile’ colour (we used Resene Espresso), then when dry remove the tape before applying Resene Concrete Wax for added protection.
Styling: Sam van Kan. Photography: Wendy Fenwick. 2021
▸ Download a PDF of this article
Projects from Homestyle magazine
View more project ideas from Homestyle magazine in the Resene weekend DIY projects section.