Craft with Resene, from the Australian Women's Weekly
Add an ornament every day for an advent calendar with a difference.
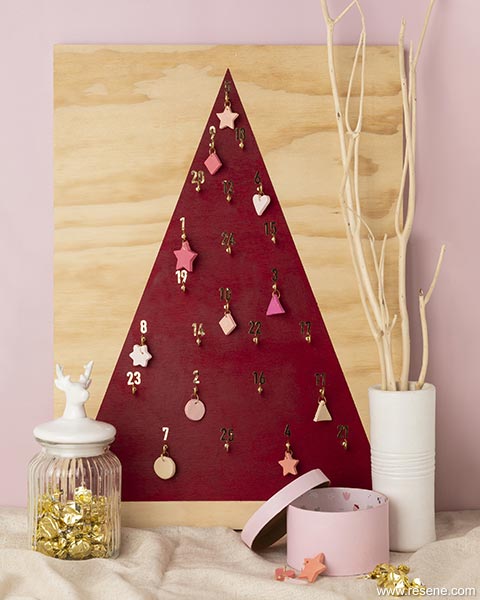
Add an ornament every day!
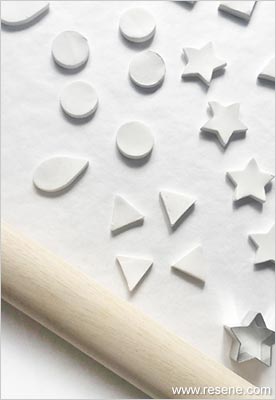
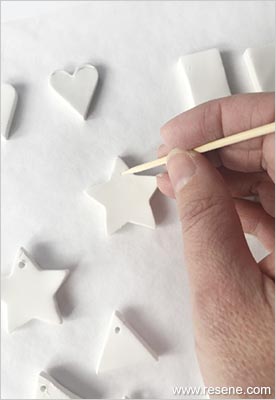
Use a rolling pin or jar with no embossing to roll out the baking clay on a clean surface to about 6mm thick. Use miniature cookie cutters to cut out an array of shapes. Before baking, make a hole near the top of each shape using a wooden skewer. Bake at 1600C fan forced for 10 minutes or according to the clay baking instructions. Remove from oven and let cool.
Paint ornaments on both sides using a range of pink Resene hues (see Resene colour list above).
Note: Make extra ornaments, in case of breakages. Leftover ornaments can be threaded onto presents with ribbon.
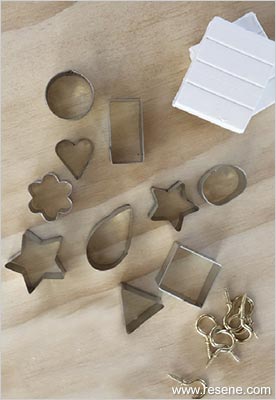

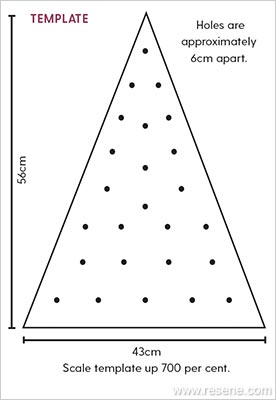
You can make your own tree shape using our template as a guide, or scale and print it onto four sheets of A4 paper taped together.
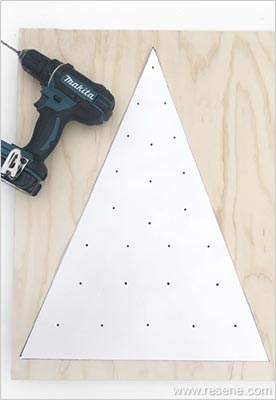
Centre the template on the wood and tape in place. Mark the three corners of the triangle on the board and, using a ruler, draw the lines of the triangle in pencil.
Using the black dots on the template as a guide, drill holes for the small hooks. Drill right through the paper.
Remove the template and, following your pencil marks, tape the triangle with Resene masking tape.
Paint the inside of the triangle (the tree) with two coats of Resene Salsa and set aside to dry. Remove tape once dry.
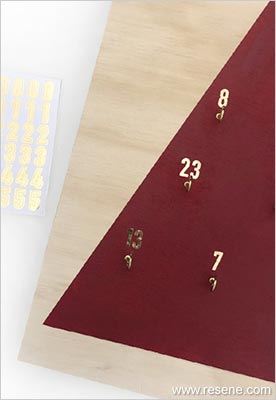
Screw in small hooks.
Attach number stickers for the dates 1-25 just above each screw. Place numbers randomly around the tree. Every day during December add one ornament, until your tree is fully decorated for the big day. If you’d like a little treat each day as the excitement builds, have a box of sweets on one side. We painted a circular box in Resene Gelato to go with our pink and red theme.
Project by Marsha Smith, December 2019
Projects from the Australian Women's Weekly
View more project ideas from The Australian Women's Weekly magazine in the Resene weekend craft projects section.