Resene DIY project #10
How to paint like a professional - training videos and project sheets
Applying Resene Aquaclear waterborne urethane varnish to a panel door
Resene Aquaclear (see Data Sheet D59) is a single pack, waterborne polyurethane that is available in three gloss levels – full gloss, semigloss and satin. It is straightforward to apply and the techniques and information shown in the video can be easily adapted to other projects including varnishing windows, shelving and furniture.
| View video |
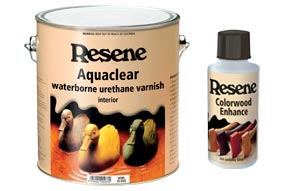
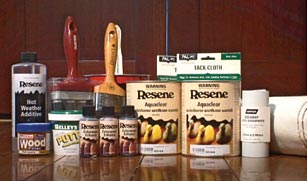
It is ideal as a coating over Resene Colorwood (see Data Sheet D50a) and Resene Danska Teak Oil (see Data Sheet D507) or directly onto timber, MDF and Strandboard.
The product will appear milky in the can but will dry to a hardwearing, clear finish.
Additionally Resene Colorwood Enhance can be added to Resene Aquaclear to subtly add colour to the surface, intensifying the colour as well as evening out the finish (ideal if the wood stain used has any patchy areas as a result of inconsistencies in the timber or the application process).
Resene Colorwood Enhance is available in three natural timber shades – walnut, jarrah and red/brown, which is ideal for many timbers including rimu, as well as white and black. It will restore and enhance timber without the need to strip old tired polyurethanes and varnishes. Simply brush two to three coats of Resene Aquaclear with added Resene Colorwood Enhance over the timber or MDF’s old clear finish.
For more information refer to the samples on the Woodcare stand in your local Resene ColorShop or Reseller as a guide.
Remove hardware such as handles etc. This makes sanding and polyurethaning easier. Doors can be polyurethaned (or painted) without taking them off their hinges. Many professional painters adopt this approach, but do still remove the door hardware.
You will need to sand new timber to remove any surface imperfections. If re-applying a polyurethane, sand to ensure a good key is achieved on the old film. Usually this means sanding until the surface has a dull look to it with any gloss removed. Fine sandpaper usually 220-400 grit is ideal for this purpose. Avoid sanding through the existing polyurethane as this will result in different colours on any bare areas.
Only sand between coats on the penultimate (second to last) coat to remove dust and any resin nodules from the surface. The surface should be smooth to touch before the final coat is applied. Remember to always sand with the grain of the timber.
Clean any surface contaminants off the old polyurethane before sanding – Resene Interior Paintwork Cleaner is ideal for this purpose.
Between each coat use a dusting brush or a vacuum cleaner with a brush attachment to remove general and sanding dust before giving the surface a final wipe with a tack cloth.
Stir well and decant into a manageable sized container.
Use a good quality brush – we recommend the PAL Legend brush in a size you are comfortable with. The painter is using a 63mm brush.
On warm days add Resene Hot Weather Additive. If the substrate is very absorbent add up to 5% clean water.
Carefully plan your approach and the application sequence as it is important to maintain the wet edge of the Resene Aquaclear as you apply it.
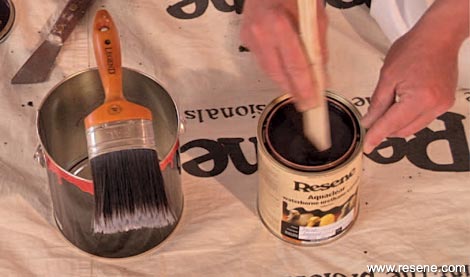
The door has been prepared and stained with Resene Colorwood Natural wood stain – the colour selected is Resene Jarrah. For application advice refer to the video and project sheet on the Resene website for Resene Colorwood.
Ensure the surface is clean and dust free.
After removing the lid, stir carefully. In our example we have added Resene Colorwood Enhance to the Resene Aquaclear semi-gloss that is being applied. The application techniques demonstrated in the video using the modified Resene Aquaclear also apply when using the unmodified, standard material.
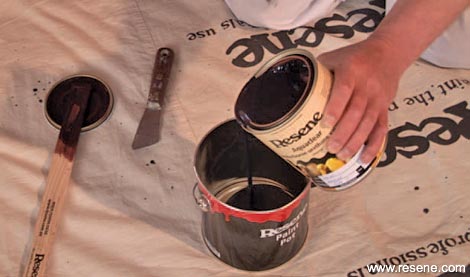
Carefully decant a quarter to half a litre into a paint pot.
Wipe any excess polyurethane with your brush and replace the lid.
Work the brush well into the polyurethane. As noted earlier the painter is using a PAL Legend 63mm brush.
It is very important that a wet edge is maintained so plan the application sequence to follow the joins in the timber, working away from the lower hinged corner.
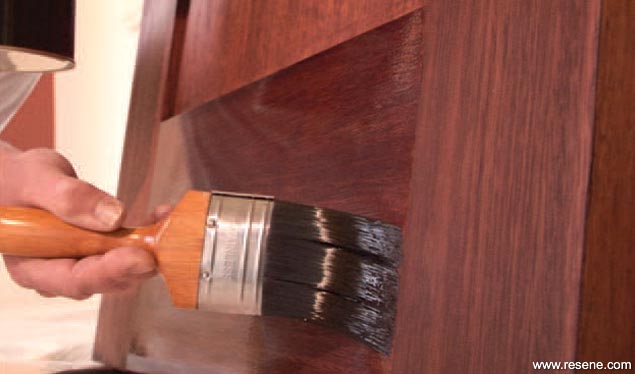
Use the edge of the brush to complete the small reveals on the bottom rail – alternatively a small cutting in brush could be used.
The door has been propped on two blocks to keep it above the drop sheet. This allows better access to the door and reduces the risk of dust pick up.
Now complete the bottom rail using the joins of the frame as the start and finish points.
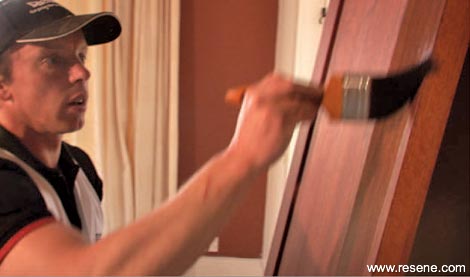
Apply the Resene Aquaclear liberally before laying off, using the tip of the brush. This helps reduce brushmarks ensuring a smoother more even finish.
Continue around the door completing the door rails and the small reveals of each section before finishing in the lower left of the door.
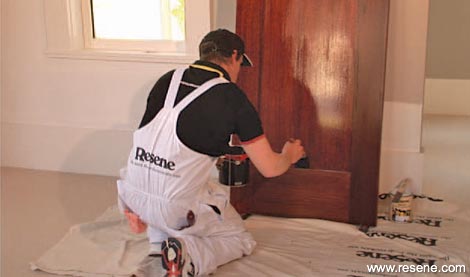
Once completed, start on the centre panel of the door.
Apply the Resene Aquaclear to the top of the door, working across and then down – laying off as you progress down the door.
Apply Resene Aquaclear to the next section of the door and lay off back up into the completed area – work quickly and carefully to ensure the wet edge is maintained.
Apply a second coat of Resene Aquaclear using the same techniques ensuring the surface is dust free. A third and an optional fourth coat should be applied using the same time frame.
Before applying the final coat of Resene Aquaclear, lightly sand the surface with 220 grit sandpaper to remove any dust or resin nodules. Before sanding allow the previous coat of Resene Aquaclear to harden overnight.
Dust and wipe using a tack cloth before applying the final coat.
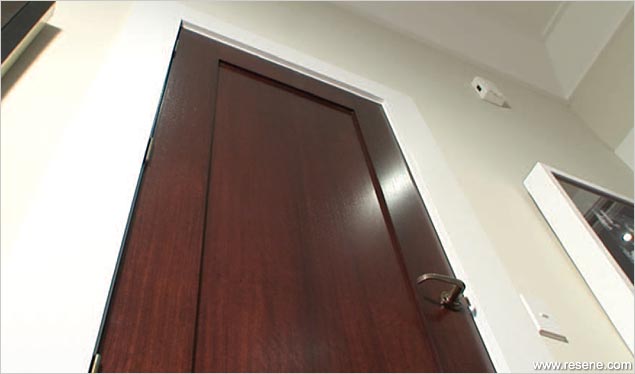
For the deeper more intense colour featured here, Resene Colorwood Enhance has been added to the Resene Aquaclear.
Polyurethaning with Resene Aquaclear is easy to do and can rejuvenate and beautify timber. The use of Resene Colorwood Enhance offers additional variety and options.
Resene Aquaclear is easy to use, dries quickly and is very low odour compared to conventional solventborne varnishes.
Please take the time to carefully read through the instructions on the label. More information including Data Sheets for the Resene products mentioned and Safety Data Sheet/s (SDS) can be found on the Resene website.
› Download this project sheet as a PDF
Training Videos and Project Sheets
Learn how to prepare surfaces and apply paint to get the best from your paint finish with these handy videos and project sheets.