Resene DIY project #14
From how to paint like a professional - training videos and project sheets
Resene Woodsman Decking Oil Stain is a tough, easy to use stain for Kwila and other hardwoods as well as treated pine decks. It was developed to be applied in relatively thin applications, annually or bi- annually depending on exposure, the colour selected, and the wear it receives.
| View video |
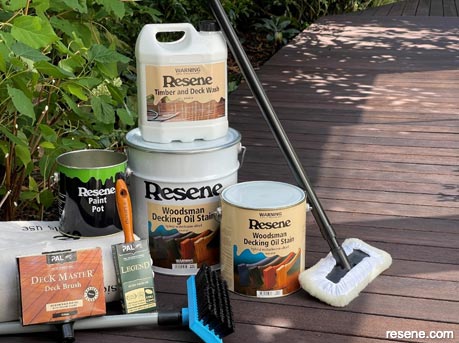
How to wash and stain a timber deck with Resene Woodsman Decking Oil Stain
Resene Woodsman Decking Oil Stain is designed to erode rather than flake or delaminate. It is important to be careful not to apply too much! This can occur if the stain is applied too thickly or in multiple, repeat applications which can result in a stain 'overbuild' - typically in low wear areas.
Regular use (at least every 2-3 years) of Resene Timber and Deck Wash before future stain re-applications helps control excess stain build-up and reduce the potential for premature failure.
Resene Woodsman Decking Oil Stain is available in a wide range of colours as well as Resene CoolColour alternatives - which are recommended if dark shades are selected.
Resene Woodsman Wood Oil Stain can also be used for decking and is applied similarly to Resene Woodsman Decking Oil Stain. It is slower drying and is contains strong solvents.
Scrubbing the deck with Resene Timber and Deck Wash is the best preparation before applying Resene Woodsman Decking Oil Stain.
Determine the best sequence to apply the decking stain, remembering that you will need to work lengthways and not across the decking timbers.
New or previously uncoated decking is best completed using the MacGyver Deckmaster brush as it enables you to apply stain to the sides or edges as well as the top of the decking timber. A good quality brush such as the 63mm PAL Legend is ideal for edges, step risers etc.
It is good practice to protect plants and adjoining surfaces such as paving with a drop sheet if there is risk of dripping or splashing when applying the decking stain or when preparing the surface
A wide variety of timbers are used for decking ranging from very dense hardwoods through to the softer timbers such as pine. The surface of new hardwoods in particular can be so dense that penetration of stains into them is significantly curtailed. It is for this reason that we recommend that hardwoods be left for 8-12 weeks to naturally weather and for the grain to start to open up.
Treat old, weathered and/or previously unstained timber decking for moss and mould using Resene Moss & Mould Killer.
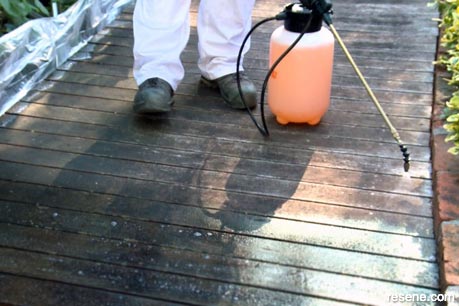
Use a garden sprayer to saturate the timber surface using a 1:3 mix of Resene Timber and Deck Wash and fresh water. Avoid direct sunlight and ensure the surface remains damp for approximately 15 minutes. Lightly reapply if needed.
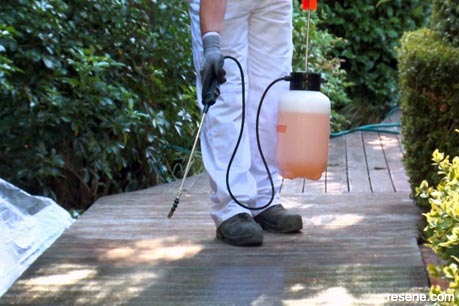
Scrub using a short-bristled, long-handled scrubbing brush using fresh water to remove any mould and other detritus. Working in smaller, more manageable areas, will help ensure the Resene Timber and Deck Wash does not dry out as it can be difficult to remove once it has.
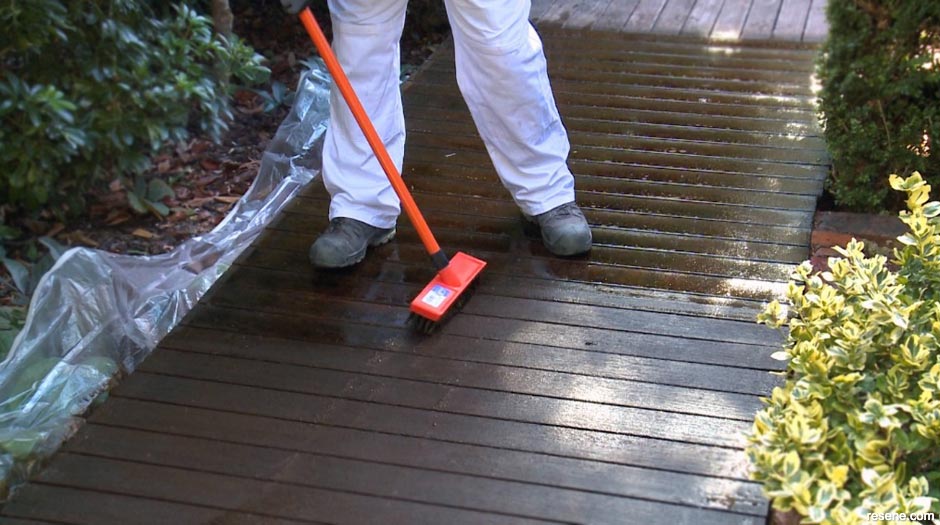
Once complete rinse thoroughly with fresh water and allow to dry. Lightly sand any 'furred' timber or marks to a smooth finish
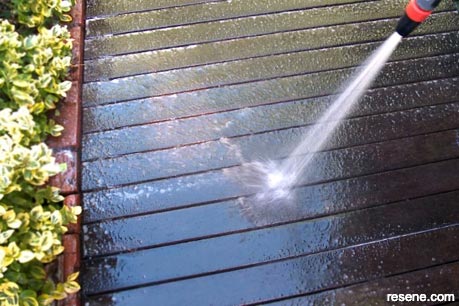
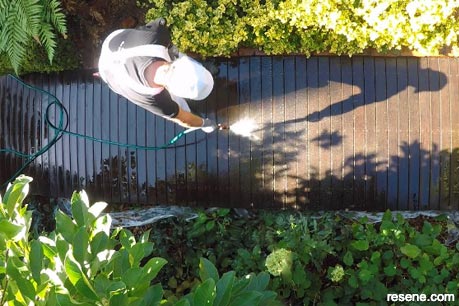
Note 1: Water blasting timber can cause serious damage to the surface and is not normally recommended. It can be done successfully however in the hands of a good operator. If this is the chosen method, then water blast at medium pressure (1200 to 2000 psi) after having applied the Resene Timber and Deck Wash (as above). Take care to avoid damaging the timber surface by keeping the nozzle approx. 200 to 250mm above the surface depending on the water pressure and spray arc used. Any timber damaged by the water blaster will require sanding to remove burrs and furred areas.
Note 2: For previously stained decking the preparation required will depend on the type of stain and its condition. Splash water onto the existing stained decking - if the water beads up, the stain will need to be stripped/sanded back to bare or allowed to undergo further weathering. Stains will not penetrate through an existing stain layer. In most cases, if a penetrating stain was previously applied, scrubbing using Resene Timber and Deck Wash as per weathered timber above should suffice. However, the water splash test should still be used.
Note 3: Garapa, a Brazilian hardwood is increasingly being used for decking. Unfortunately, when cleaned using Resene Timber and Deck Wash the timber takes on a green tinge. This is easily removed by washing with a white vinegar solution.
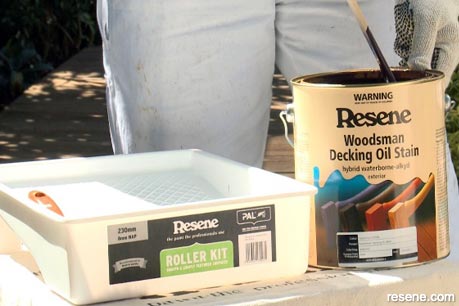
Once opened carefully stir the Resene Woodsman Decking Oil Stain to ensure an even consistency and colour. The stain has a thin consistency and will require regular stirring as you progress, typically before refilling the paint tray and/or paint pot.
Carefully tip approximately 750 mL to 1 litre of Resene Woodsman Decking Oil Stain into a paint tray. Add a smaller amount into a paint pot if required for cutting in.
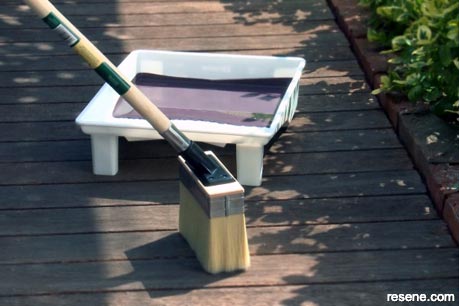
Note 4: This may not be required when using the PAL Deckmaster but will be if using the Lambswool applicator as you will usually need to brush edges etc.
Dip the Deckmaster into the stain and wipe off any excess. The 150mm width of the Deckmaster is sufficient to coat 2 standard widths of 75mm decking timber at a time.
Working in a planned sequence apply the stain to the tops of the decking timber before applying to the edges and ends (a cutting in brush may be required for the edges and ends and to cut in around any balustrade upstands etc.) Lay off in a uniform direction down the length of the boards. Apply along the entire length of the timber to a natural break.
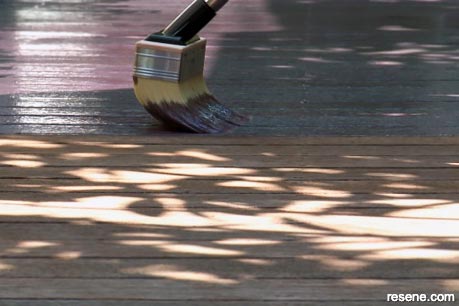
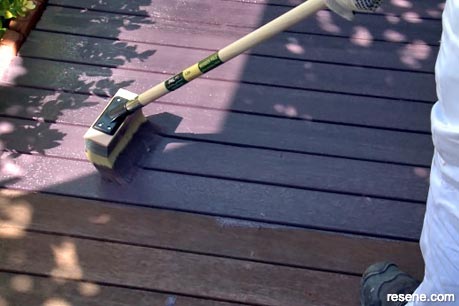
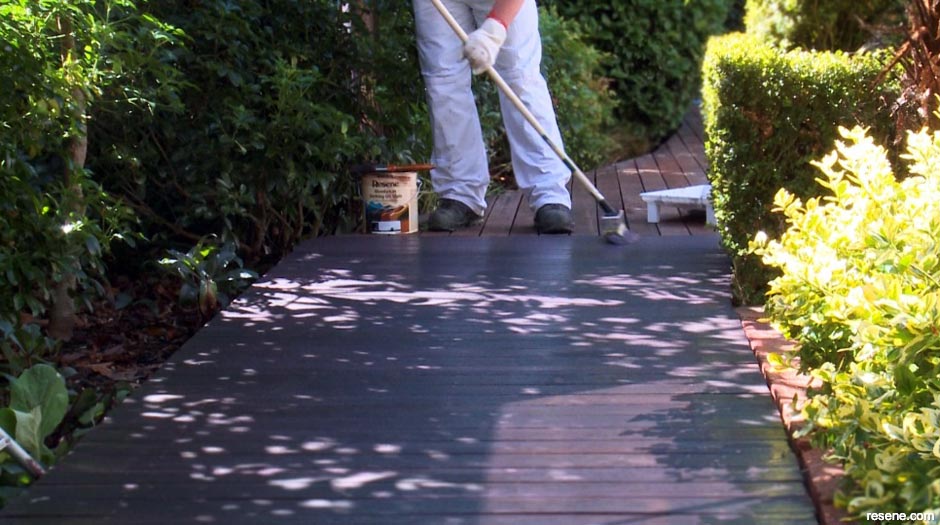
If needed apply a second thinner coat, following the same sequence as per the first coat.
Note 5: A second coat may not be required if a dark colour is selected and if the initial application dries to an even, satisfactory finish.
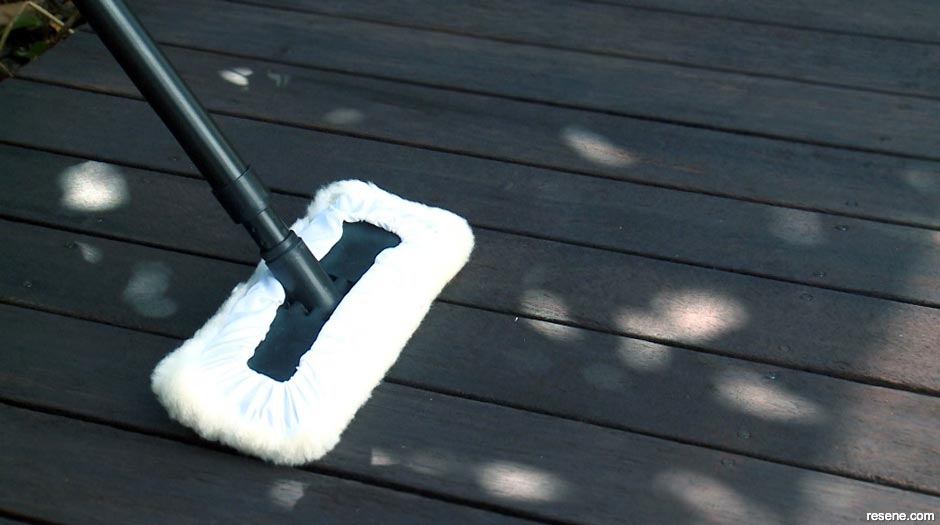
Note 6: A lambswool applicator such as the one shown in the photo below can be used as an alternative to the Deckmaster, however it is less effective at coating edges and for cutting in.
Note 7: Under normal drying conditions the deck can be walked on after the 2-hour curing period after application. However, it is advisable to avoid heavy work boots or sharp heels etc and walk on in socks or bare feet for a 24-hour period.
Note 8: Thinner applications, applied annually or biannually are preferable to applying thicker film builds which can result from applying Resene Woodsman Decking Oil Stain too heavily or in multiple coats. This can result in future flaking where the stain is not able to penetrate the timber.
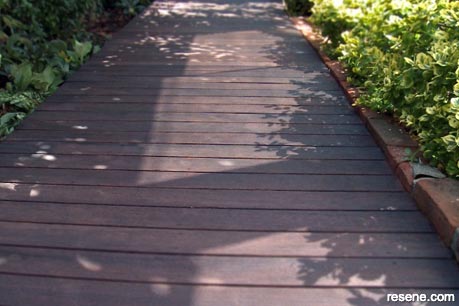
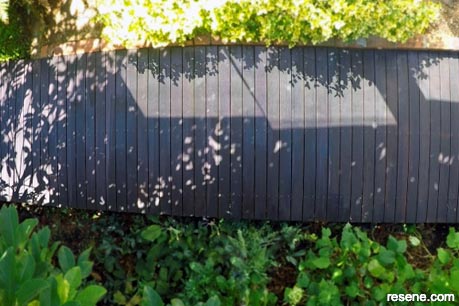
Note 9: The colour used in the video and photos is Resene Woodsman Tamarind from the exterior wood finishes range
Training Videos and Project Sheets
Learn how to prepare surfaces and apply paint to get the best from your paint finish with these handy videos and project sheets.