Resene Timber and Deck Wash is a quick and easy way to clean surfaces, such as weatherboards, decks and fences, prior to staining or painting.
Before you restain a deck you first need to clean it. While many automatically get out the waterblaster, this can actually damage your deck.
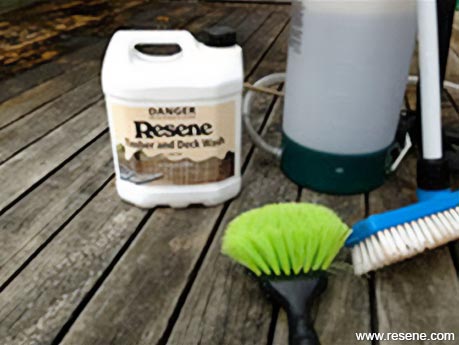
Cleaning a deck with Resene Timber and Deck Wash
You will need:
Instructions:
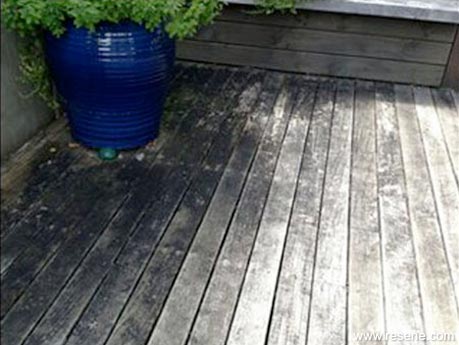 The existing deck in this project was very mouldy and quite slippery when wet.
 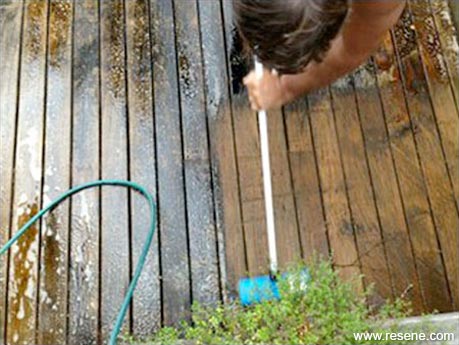 After spraying Resene Timber and Deck Wash onto the timber and keeping it wet and ‘active’ for 15 - 20 minutes, the deck was scrubbed vigorously.
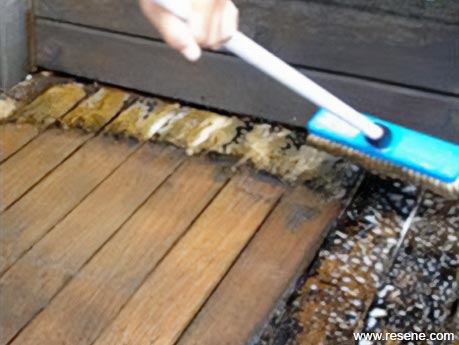 Do manageable areas at a time, as you need to keep the surface damp – so avoid direct sunshine and high winds.
 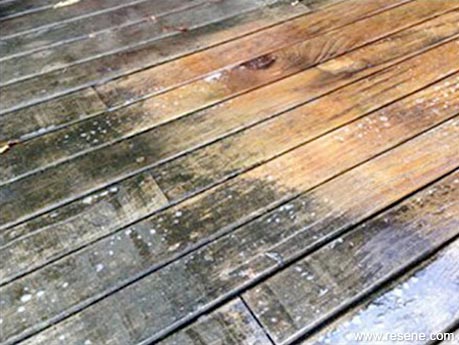 Still wet but you can see the notable difference after scrubbing. Once the rest is cleaned and dry, the full deck will be ready for restaining.
Cleaning a wooden fence with Resene Timber and Deck Wash that was 18 years old and had never been painted or cleaned. It was very faded and starting to look very black in places, especially in shaded areas. With a long driveway, the fence was the first impression to the house. Keen to improve the fence, the homeowners decided to clean the fence down using Resene Timber and Deck Wash, before staining. Once the cleaning was done, the fence looked much like a brand new fence.
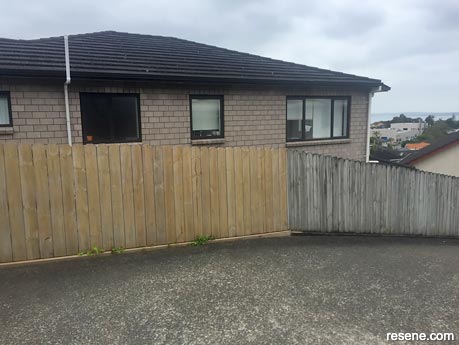
The left part of the fence was washed with Resene Timber and Deck Wash. The right part of the fence shows the original weathered fence before cleaning.
The process followed was:
Paint on the Resene Timber and Deck Wash with a wide brush. Be generous with the application as it needs to stay wet. Leave for 10-15 minutes.
Scrub the full fence pale using a hand scrubbing brush, rubbing up and down with the grain, with a general scrub on all areas and rinse with water. This will get off the worst of the staining.
Rescrub the entire fence pale being more thorough, with extra focus on areas that are still showing staining. Rinse thoroughly with water. By doing the scrubbing in two phases – one quick and then one more thorough, you end up with a cleaner fence.
Apply to sections of fence pales and do them as a block, rather than one fence pale at a time. Generally 4-6 fence pales was a good manageable amount.
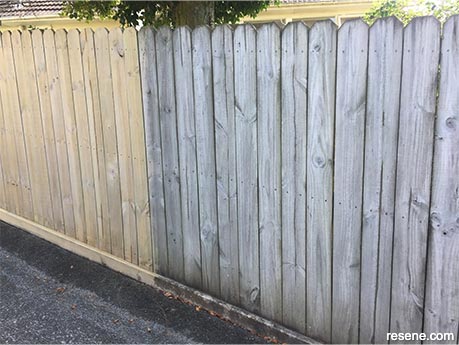
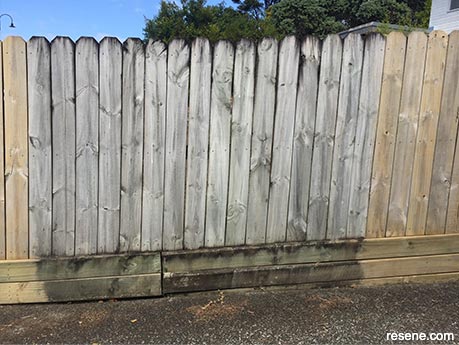
Top tips:
Work in shady areas wherever possible and out of the hottest part of the day, to allow the cleaner to stay wet.
Encourage family members to help. This was a very large fence so it helped having extra pairs of hands to help get the work done.
Break the job into smaller manageable parts. This makes the project less daunting and it is easier to keep on track. Plus if you have a day off from prepping the fence you can easily catch up on the lost time.
Work with the wind direction. As you scrub small particles will come off the fence so work so these blow away from you not towards you.
Wear all safety gear needed, including sun protection.
 Get inspired ! Subscribe Get saving ! Apply for a DIY card

Can't find what you're looking for? Ask us!


Company profile | Terms | Privacy policy | Quality and environmental policy | Health and safety policy
Colours shown on this website are a representation only. Please refer to the actual paint or product sample. Resene colour charts, testpots and samples are available for ordering online. See measurements/conversions for more details on how electronic colour values are achieved.
What's new | Specifiers | Painters | DIYers | Artists | Kids | Sitemap | Home | TOP ⇧