Resene paint effects projects, project 15
The use of facial tissues is a quick and easy way to build texture and create a leather look finish.
The play of light on the texture and the feel of the surface makes it interesting and also provides a very good base for dry brushing, antiquing or a washed effect.

Create a leather look on a book box
The tissues are usually 2 ply. They can be used as is or separated into a single thickness for a finer texture, which may work better on smaller items.
Apply one or two coats of Resene Aquaclear satin to the finished book to give a soft sheen and protect the finish. Before you start your project try out different combinations and practice your application method on a piece of card until you are happy with the result.
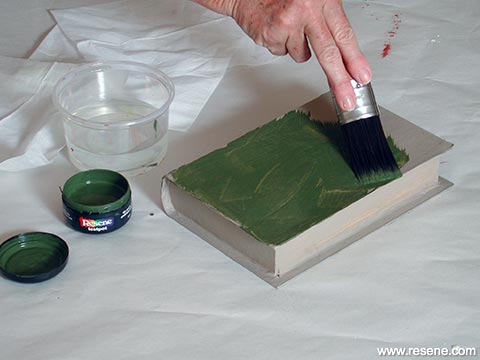
Step 1: Apply a thin coat of Resene English Holly to one side of the book box.
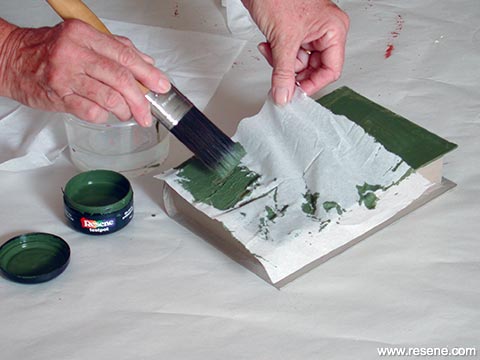
Step 2: Place a layer of tissue lightly on top. Carefully apply more paint and gently push the tissue into wrinkles with your brush. If it tears, place a small piece of tissue over the gap and paint on top.
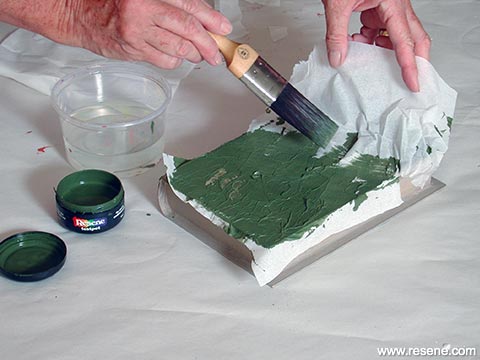
Step 3: When placing the next tissue, overlap the previous one slightly. Continue around the box, tucking the tissues neatly over the edges of the cover but not onto the page areas. Leave to dry.
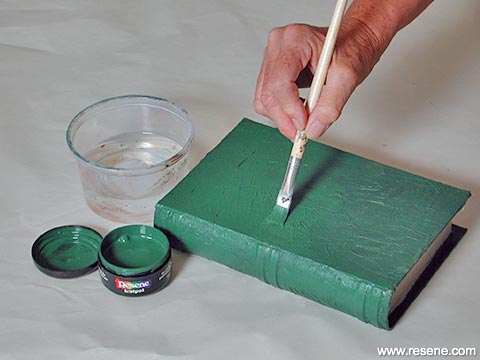
Step 4: Apply a second coat of Resene English Holly to the tissue area. Allow to dry.
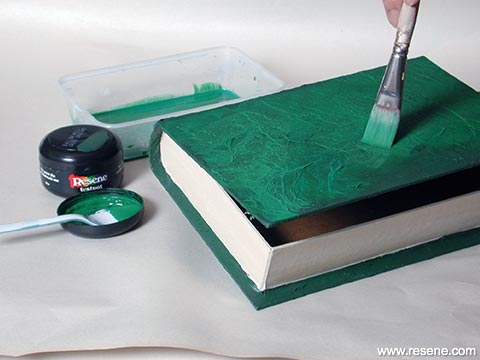
Step 5: Mix one teaspoon of the Resene Kaitoke Green with one teaspoon of water to make a thin wash, and brush over the box.
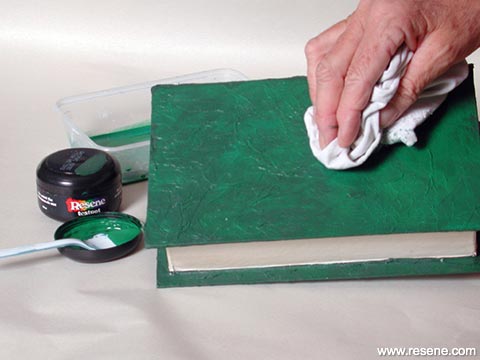
Step 6: Lightly dab with a cloth to allow some of the basecoat to show through.
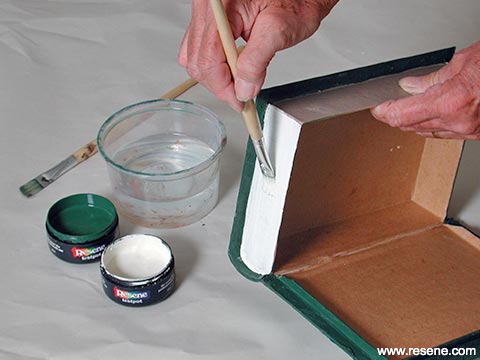
Step 7: With one of the small brushes paint the “pages” of the book with two coats of Resene Double Spanish White.
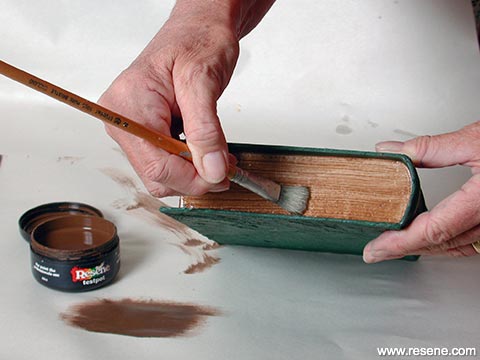
Step 8: Thin the Resene Dark Rum down with a little water and paint onto the pages area. Do one side at a time. While it is still wet, drag a small dry brush through the paint, creating the ”pages” of the book. Each time you drag the brush through, wipe off the excess paint on a tissue or cloth.
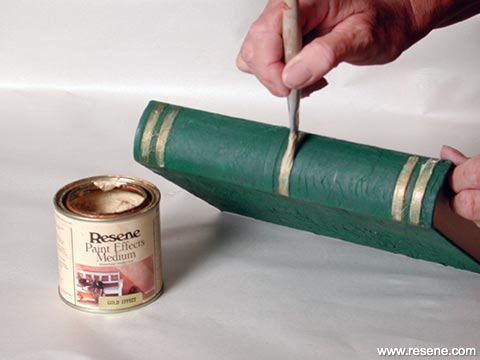
Step 9: Paint bands of gold on the raised areas of the spine.
› Download this project as a PDF
Project by Janet Scard. Photography by Joseph Zou.
Order online now:
Testpots |
Paints |
Primers and Sealers |
Stains |
Clears |
Accessories
![]() Get inspired ! Subscribe
Get inspired ! Subscribe ![]() Get saving ! Apply for a DIY card
Get saving ! Apply for a DIY card
Can't find what you're looking for? Ask us!
Company profile | Terms | Privacy policy | Quality and environmental policy | Health and safety policy
Colours shown on this website are a representation only. Please refer to the actual paint or product sample. Resene colour charts, testpots and samples are available for ordering online. See measurements/conversions for more details on how electronic colour values are achieved.
What's new | Specifiers | Painters | DIYers | Artists | Kids | Sitemap | Home | TOP ⇧

