Habitat bright ideas with Fleur Thorpe – DIY projects
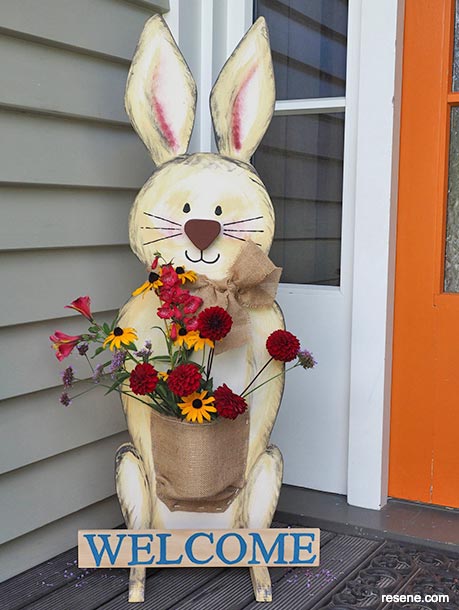
Make an Easter bunny to welcome your guests at the front door with a handy pot plant holder. Fleur Thorpe shows you how.
 House colours
Weatherboards – Resene Triple Ash
Trim – Resene Quarter Thorndon Cream
Door – Resene Clockwork Orange
Step 1: Start by using a pencil to sketch out the bunny shape on to your piece of board. (Photo 1).
Step 2: Use a jig saw to cut out the bunny and sand the edges smooth with a piece of medium grit sandpaper. (Photo 2).
Step 3: At the bottom of the bunny, make two square notches 24mm x 24mm on either side. This is where the legs for the stand will go. (Photo 3).
Step 4: Use Resene Quick Dry to prime the bunny. (Photo 4).
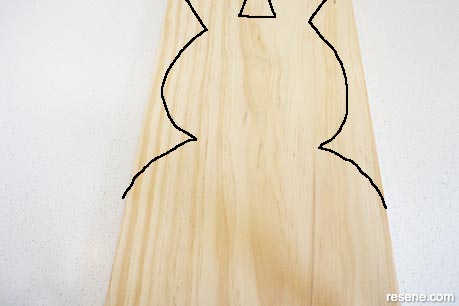
Photo one
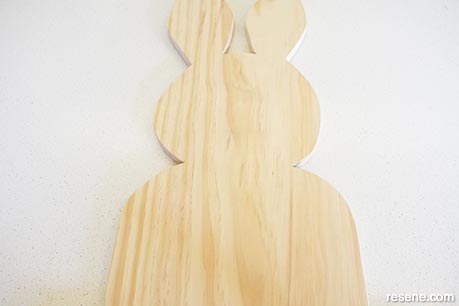
Photo two
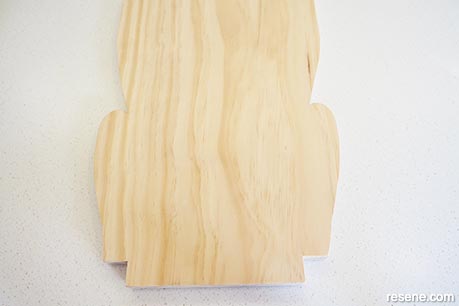
Photo three
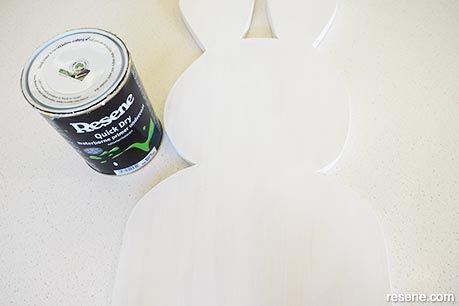
Photo four
Step 5: Paint the entire bunny with Resene Quarter Canterbury Clay. Then, with a dry brush, paint on Resene Putty, following the outline of the shape and giving form and contour. (Photo 5).
Step 6: Repeat this again but this time using Resene Ebony Clay to outline the body shape and to give definition to shadow areas. (Photo 6).
Step 7: For the face, use Resene Black for the eyes and use a dry piece of foam to dab on Resene Burnt Crimson for the cheeks and the inner ears. (Photo 7).
Step 8: Add a nose by cutting out a piece of left over scrap wood into a soft triangular shape. Sand any rough edges smooth and paint it Resene Burnt Crimson. Once dry, use wood glue to glue it to the face. Finish by painting on a mouth and whiskers. (Photo 8).
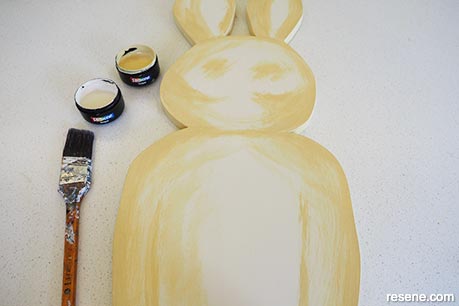
Photo five
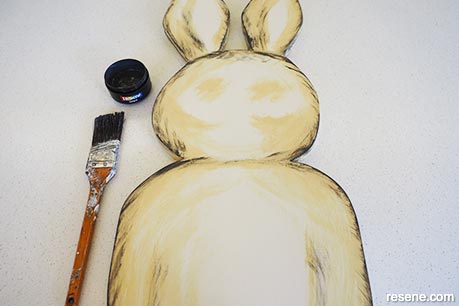
Photo six

Photo seven
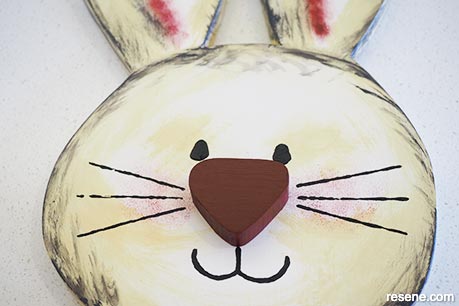
Photo eight
Step 9: For the tummy pouch, Blu Tack a tin can to the front of the bunny to stop it rolling around while you sort out the hessian. (Photo 9).
Step 10: Stretch a piece of hessian over the tin and use a staple gun to hold the tin in place. (Photo 10).
Step 11: To make the legs for the stand, cut 24mm x 24mm untreated pine into two 30cm lengths. I rounded the ends to give it a more finished look. Paint the legs in Resene Putty and use a dry brush to add some Resene Ebony Clay. (Photo 11). Screw the legs into the notches that you cut earlier. (Photo 12).
Step 12: Measure the height of the piece of wood that you’ll use for the sign and print out the word WELCOME so that it will fit on the wood. (Photo 13).
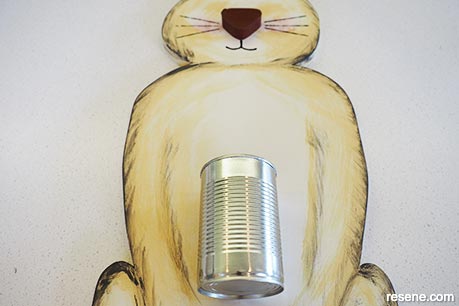
Photo nine
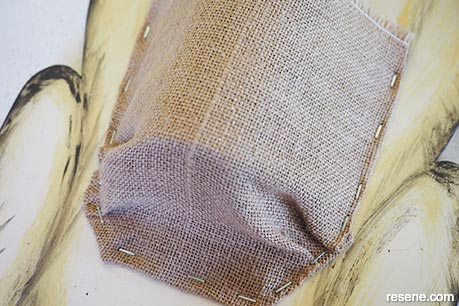
Photo ten
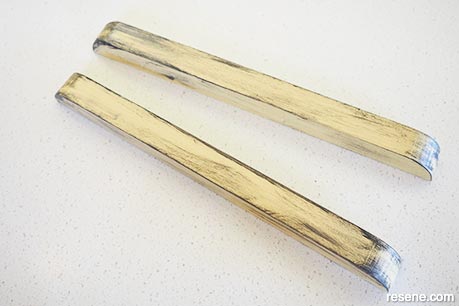
Photo eleven
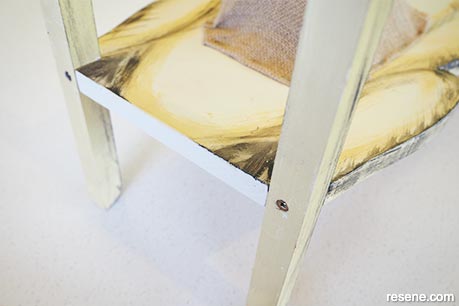
Photo twelve
Step 13: Cut your bit of wood to size and then sellotape your print-out to the wood. Use a ballpoint pen to trace around the letters, pressing hard so that it leaves an imprint on the wood. (Photos 14 and 15).
Step 14: Use a small artist paintbrush to fill in the letters with Resene Blumine and glue the sign to the top of the legs. Fleur used a bit of scrap wood at the back of the sign to help hold it in place. (Photo 16).
Step 15: Finish off with a bow of hessian around the bunny’s neck, fill the tin can with some water and get the kids to choose some favourite flowers from the garden. Happy Easter! (Finished project).
Top tip: As an alternative to dry brushing, you could mix the second colour with Resene FX Paint Effects and apply in a random brushing motion to add a two tone effect to your bunny.
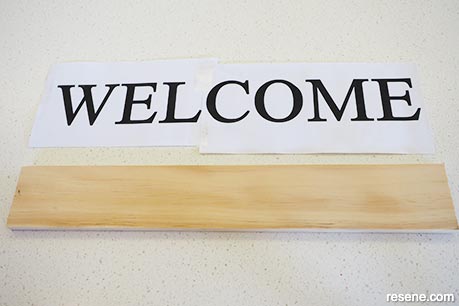
Photo thirteen

Photo fourteen
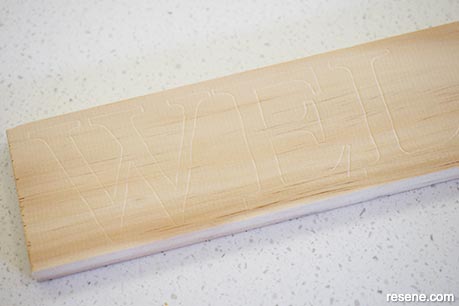
Photo fifteen
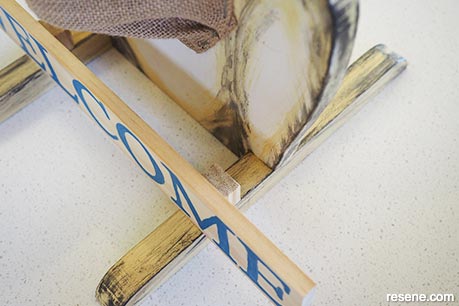
Photo sixteen
Project and images by Fleur Thorpe. March 2021.
Habitat bright ideas
Need to add colour, pattern or a little creativity to your place? Check out these easy step by step DIY project ideas created in collaboration with Fleur Thorpe. We hope you enjoy making and painting these bright ideas and bringing colour to your home inside or out.
![]() Get inspired ! Subscribe
Get inspired ! Subscribe ![]() Get saving ! Apply for a DIY card
Get saving ! Apply for a DIY card
![]()
Can't find what you're looking for? Ask us!
Company profile | Terms | Privacy policy | Quality and environmental policy | Health and safety policy
Colours shown on this website are a representation only. Please refer to the actual paint or product sample. Resene colour charts, testpots and samples are available for ordering online. See measurements/conversions for more details on how electronic colour values are achieved.
What's new | Specifiers | Painters | DIYers | Artists | Kids | Sitemap | Home | TOP ⇧


