Habitat bright ideas with Fleur Thorpe – DIY projects
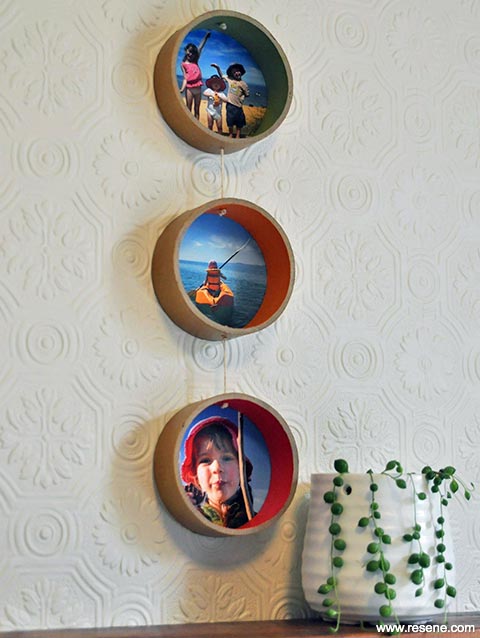
Follow these step-by-step instructions to create hanging photos and mini tube shelves out of old postal tubes.
Wall colour: Resene Cararra
Wallpaper: Resene Anaglypta 2011 Wallpaper Collection RD0151
Step 1: Using a saw, cut off 3 equal lengths of the cardboard tube, each 2.5cm long. Use a medium grit sandpaper to remove any rough bits. Use an electric drill to make a small hole through the top and bottom of each piece of tube.
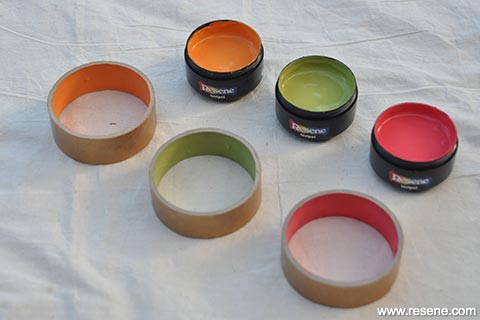
Step 2: Paint the outside of each of the tubes in your choice of colour; Fleur used Resene Apache. This makes a good base colour for the metallic paint. Once this is dry, paint over this with Resene FX Metallic Gold Dust.
Step 3: Paint the inside of each tube a different colour – Fleur used Resene Tango, Resene Vibe and Resene Kombi. Be careful not to get any paint on the cut edge. If you do, you can sand it off with sandpaper once the paint is dry.
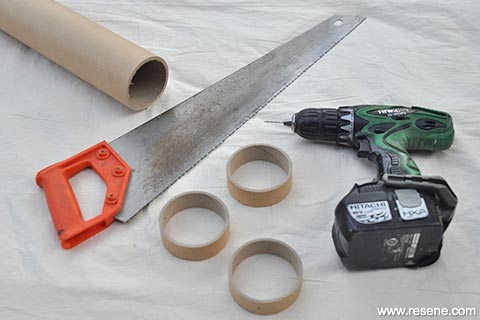 Step one
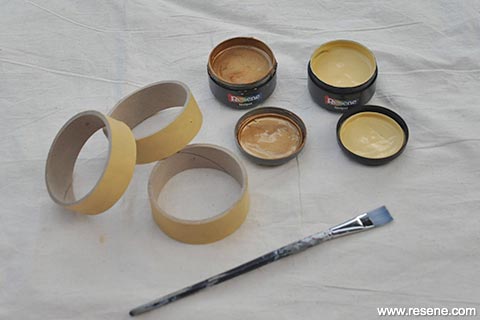 Step two
 Step three
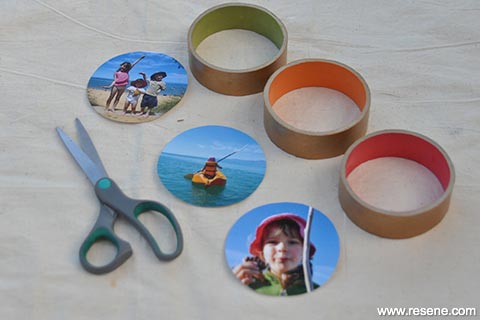
Step 4: Place a tube over your chosen photos and with a pen, trace around the outside of the tube, on to the photo.
Step 5: Use scissors to cut the photo out. Cut two equal lengths of string. With one piece of string, thread this through the hole in the top tube and then through the hole in the middle tube. Tie a knot at each end to stop the string from pulling out. Repeat this, tying the middle tube to the bottom tube. Try to get the length of the strings between each tube the same. Fleurs are 3.5cm apart.
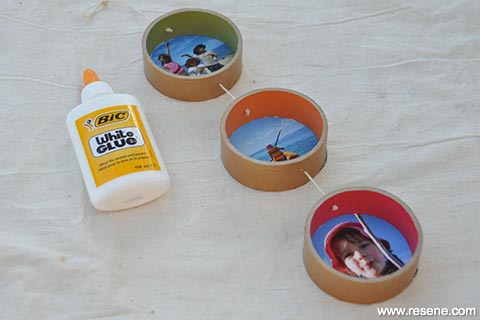
Step 6: Cut a longer length of string and thread this through the top hole of the top tube. Tie a loop at the end for hanging with. Use paper craft glue, such as PVA, to glue the photo to the back of the tube. Trim any overlap off with scissors.
Top tip: Paint the outside of your tubes the same colour as your wall if you’d like them to blend in or Resene All Black as a contrast, using Resene testpots.
 Step five
 Step five contd.
 Step six
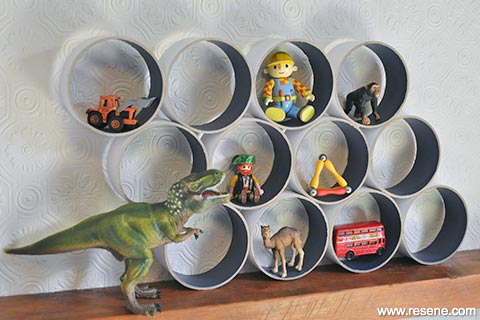
Step 1: Using a saw, cut off equal lengths of cardboard tube, each 5cm long. Use a medium grit sandpaper to remove any rough bits. Cut as many as you like, depending on what shape you want to make.
Step 2: Paint the inside of the tube with your Resene colour; Fleur used Resene Biscay. You can leave the outside of the tube unpainted or paint in a contrasting Resene testpot colour. Use paper craft glue, such as PVA, to glue all the tube lengths into a shape that you like.
Styling and images by Fleur Thorpe, 2018.
Habitat bright ideas
Need to add colour, pattern or a little creativity to your place? Check out these easy step by step DIY project ideas created in collaboration with Fleur Thorpe. We hope you enjoy making and painting these bright ideas and bringing colour to your home inside or out.
![]() Get inspired ! Subscribe
Get inspired ! Subscribe ![]() Get saving ! Apply for a DIY card
Get saving ! Apply for a DIY card
![]()
Can't find what you're looking for? Ask us!
Company profile | Terms | Privacy policy | Quality and environmental policy | Health and safety policy
Colours shown on this website are a representation only. Please refer to the actual paint or product sample. Resene colour charts, testpots and samples are available for ordering online. See measurements/conversions for more details on how electronic colour values are achieved.
What's new | Specifiers | Painters | DIYers | Artists | Kids | Sitemap | Home | TOP ⇧