From habitat magazine - issue 36, step by step
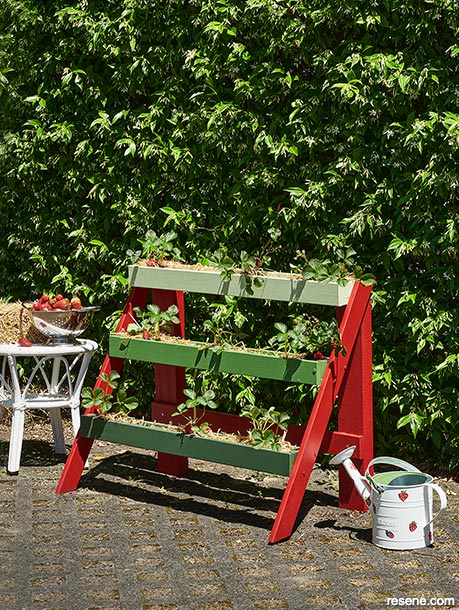
Short on garden space? No worries. A tiered planter is ideal for small spaces and can be used for strawberries, herbs or salad greens.
![]() When painting new timber, prime with Resene Quick Dry to ensure smooth paint application and a quality finish, and use Resene Wood Primer on cedar or hardwoods.
When painting new timber, prime with Resene Quick Dry to ensure smooth paint application and a quality finish, and use Resene Wood Primer on cedar or hardwoods.
Because it makes use of vertical space, a tiered planter is great for small gardens or courtyards and particularly useful for plants with shallow root systems, such as herbs, lettuces and strawberries (best planted in autumn and early winter). Take care to keep plants well-watered; planters can dry out quickly.
Top tip Resene Lumbersider is a low sheen waterborne paint ideal for weatherboards, fences, outdoor furniture and structures such as pergolas. The low-VOC formula is based on a 100% acrylic resin to ensure maximum durability in all exposed conditions.
Step 1
Step 2
Step 3
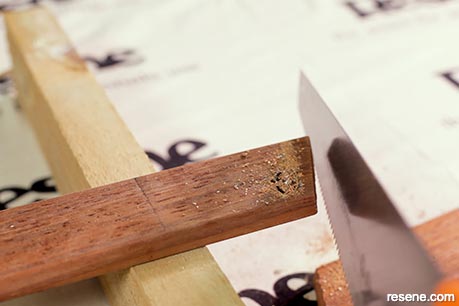
Step 1: Cut the timber to size. Cut the 2 support posts: 740mm x 50mm x 102mm. Cut 13 pickets: 70mm x 19mm x 900mm. Take two 70mm x 19mm x 900mm pickets and cut both ends at a 60-degree angle, so the sides are parallel. They should be about 840mm in length. Cut 6 box ends: To make the ends of your planter boxes, cut a picket, so you have 6 blocks of wood that measure 50mm x 70mm x 19mm. As we used kwila offcuts for our project, we first washed the wood with Resene Timber and Deck Wash to help remove the tannin from the timber.
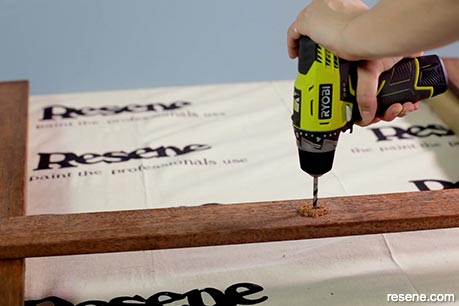
Step 2: Drill 3 drainage holes at equal intervals on the face of 3 pickets. These will become the bottom of each of the 3 planter boxes.
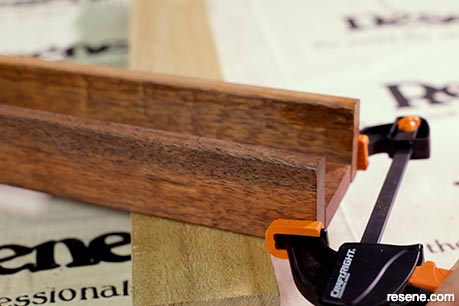
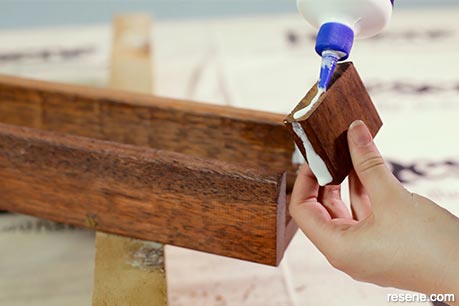
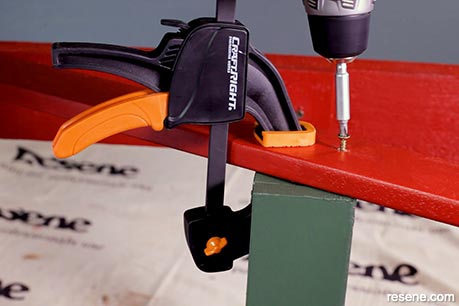
Step 3: Build the planter box: Glue along the lower length of 2 pickets before clamping them to the opposite edges of a picket with the drainage holes – this should create a basic box shape. For additional strength, insert a screw 10cm from the end of the vertical pickets to hold them in place.
Step 4
Step 5
Step 6
Step 4: To attach the end pieces of the planter box, apply wood glue to 3 edges and hammer them gently between the 2 vertical pickets. You can attach the end pieces with screws for additional strength. Repeat Step 3 and Step 4 twice more so you end up with 3 planter boxes.
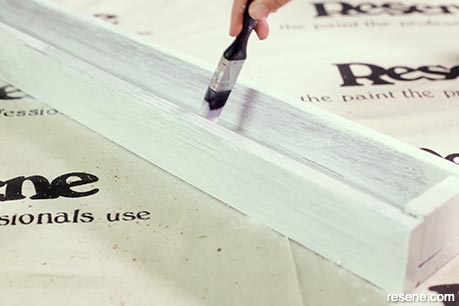
Step 5: Prime the planter boxes, posts, legs and remaining picket (this will become the horizontal support post) with Resene Wood Primer (for cedar or kwila) or Resene Quick Dry (for pine). Leave to dry.
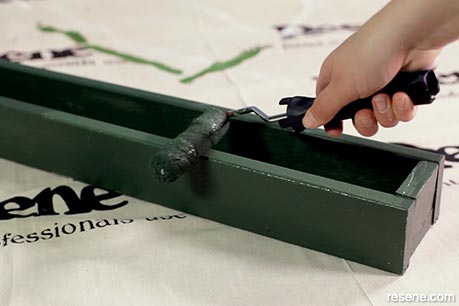
Step 6: Paint the planter boxes, posts, legs and picket in your choice of Resene colours. We used Resene Forest Green, Resene Green House and Resene Caper for the planter boxes and Resene Red Berry for the posts, legs and picket. Once dry, apply a second coat.
Step 7
Step 8
Step 9
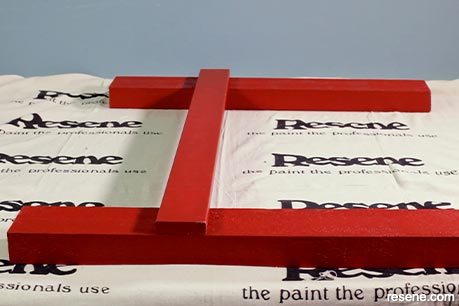
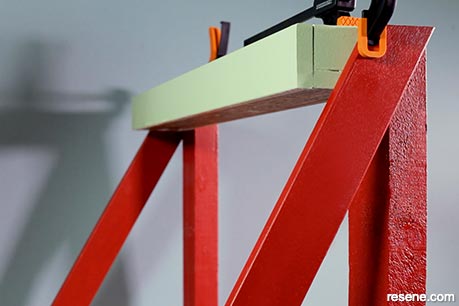
Step 7: Assemble the planter: Place the horizontal picket post two thirds down the back legs and screw together.
Step 8: Attach the top planter box to the back legs using screws and wood glue.
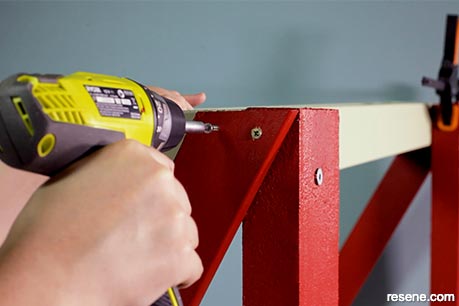
Step 9: Attach the front angled legs by gluing and clamping them on either side of the top planter box and screwing them together. Make sure your planter stands flat before gluing.
Step 10
Step 11

Finished project
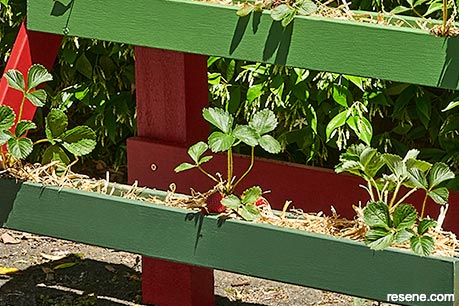
Step 10: Place the next 2 boxes at equal intervals below the top planter box (ours had 25cm gaps between each box). Glue the boxes to the legs and attach two screws on either side.
Step 11: Fill the planters with potting mix and pea straw before planting strawberry crowns.
Project: Sarah Kolver
Images: Bryce Carleton, Ben Whorwood
Search habitat magazine stories
Printed copies of habitat highlights are available from late March 2024 at Resene ColorShops and resellers, while stocks last. You can view back issues of habitat magazine online.
Specifiers:
If you have an idea, project or story that you think would suit habitat, we’d love to hear from you. Please drop us an email with your details and include photos if submitting a project.
Sign up for a DIY card and Save! Australia | New Zealand
![]() Get inspired ! Subscribe
Get inspired ! Subscribe ![]() Get saving ! Apply for a DIY card
Get saving ! Apply for a DIY card
![]()
Can't find what you're looking for? Ask us!
Company profile | Terms | Privacy policy | Quality and environmental policy | Health and safety policy
Colours shown on this website are a representation only. Please refer to the actual paint or product sample. Resene colour charts, testpots and samples are available for ordering online. See measurements/conversions for more details on how electronic colour values are achieved.
What's new | Specifiers | Painters | DIYers | Artists | Kids | Sitemap | Home | TOP ⇧


