From Habitat magazine - issue 33, step by step
Ombre tones help create a gallery-worthy table.
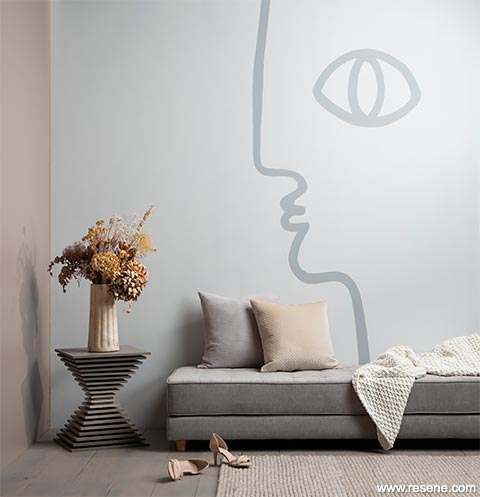
A sculptural stacked table
Top tip: Use a full spectrum of Resene testpots to get a rainbow look.
Note: if you are only ever planning to use your table inside, you can use Resene Colorwood in place of Resene Waterborne Woodsman.
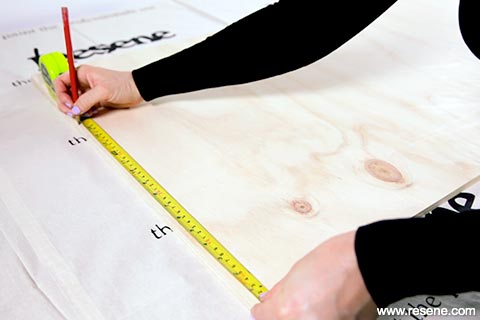
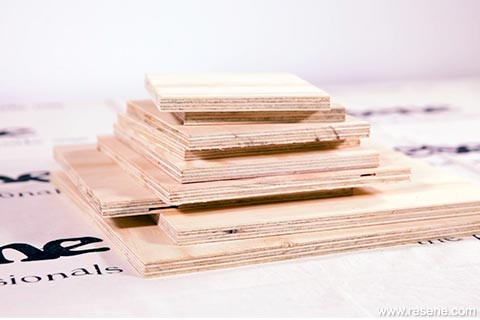
Step 1: Measure and mark out squares on your sheet of plywood in the following dimensions:
|
|
Step 2: Using a circular or table saw, cut out your pieces. Wear cutting gloves to protect your hands
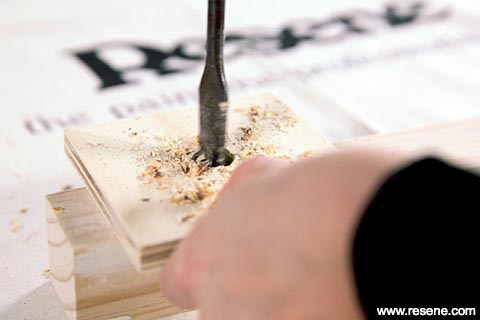
Step 3: Using a pencil, measure and mark the centre on the top of each plywood square. Drill a 16mm diameter hole into the middle of all but one of the largest pieces.
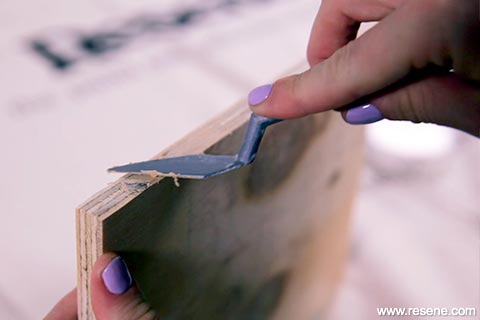
Step 4: Sand down the sides of each piece of plywood and around the drilled holes using 180-grit sandpaper. Then, use the wood filler to fill any gaps and help create a perfectly level surface along the outside edges of your squares. Leave to set, then sand the edges smooth. Wipe all surfaces down with a clean, dry cloth.
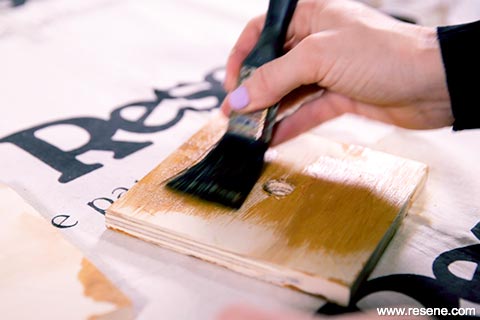
Step 5: Stain both sides of the two 130mm2 pieces in Resene Waterborne Woodsman Natural timber stain. Leave the edges bare to paint later.
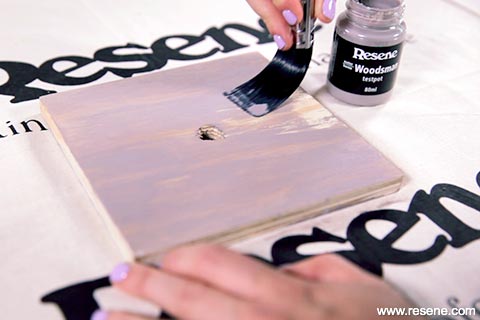
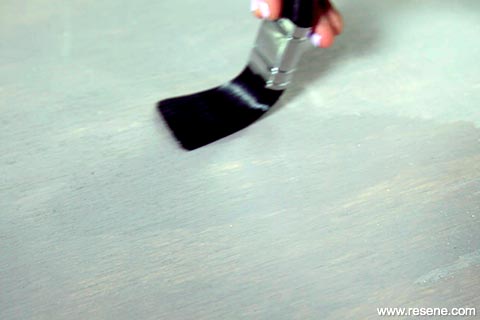
Step 6: Working from smallest to largest with your 160mm2 to 400mm2 sized squares, apply Resene Waterborne Woodsman Riverstone timber stain to the tops and bottoms, starting with a single thin light layer and wipe away the excess stain with a clean, dry rag. Continue to apply more stain as the pieces get larger. This will create an ombre effect, with the darkest and largest layers used for the top and bottom of the table and the colour lightening as the pieces get smaller. Wipe off any excess stain on the layer that will be at the top. Leave to dry.
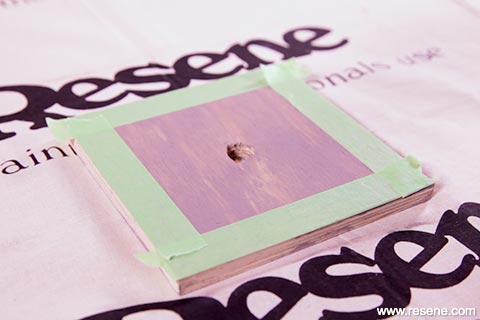
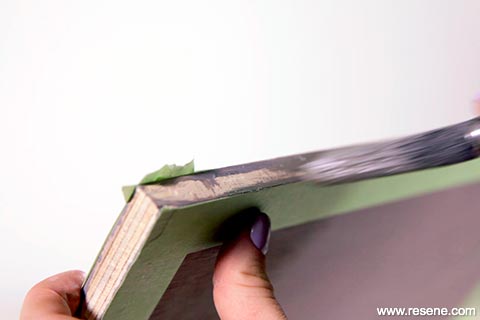
Step 7: Using high quality painter's masking tape, mask off the tops and bottoms of your stained squares along the edges so that the sides are left open.
Step 8: Using the rest of your Resene testpot colours, paint the edges of the pieces with a testpot brush, starting with the lighter shades in the middle, and going darker as you reach the top and bottom pieces. Repeat the same colour pattern on your 19 x 100mm2 'spacers'.
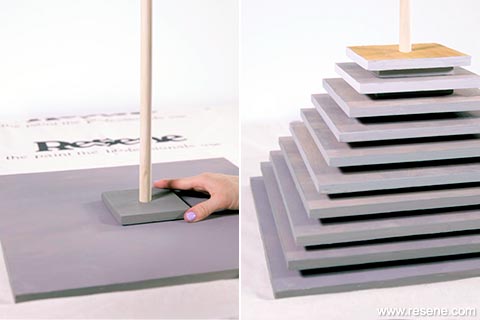
Step 9: Thread the dowel through the centre hole of your squares to create the stacked table, using wood glue to adhere the pieces together as you go. Use one square of each dimension and work up from largest to smallest, then work from smallest to largest with the remaining squares. Make sure to glue a spacer between each piece.
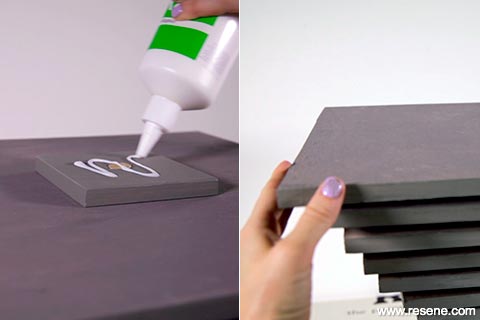
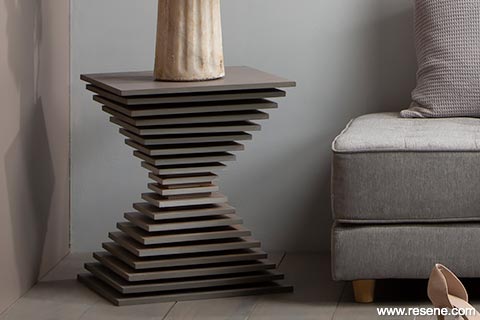
Step 10: When you reach the top of the table, glue the final piece (the largest, darkest square) on to the top of the table. Leave your project to cure overnight.
Step 11: You can leave your table as is, seal either just the top or the entire table with Resene Aquaclear waterborne urethane in a satin finish to protect it and add a low-level shine.
Top tip: Only apply a clear finish if you have wiped off all the excess stain, otherwise it won't stick properly.
Project photo: Wall in Resene Quarter Surrender with modernist face in Resene Grey Chateau, left wall in Resene Americano, floor in Resene Colorwood Mid Greywash timber stain and DIY table in Resene Waterborne Woodsman Riverstone timber stain and Resene Waterborne Woodsman Natural timber stain with painted edges in (from darkest to lightest) Resene Triple Friar Grey, Resene Double Friar Grey, Resene Friar Grey, Resene Half Friar Grey and Resene Eighth Friar Grey. Sofa and throw from Nood.
project: Leigh Stockton
styling: Kate Alexander
images: Bryce Carleton, Ben Whorwood
Search habitat magazine stories
Printed copies of habitat highlights are available from late March 2024 at Resene ColorShops and resellers, while stocks last. You can view back issues of habitat magazine online.
Specifiers:
If you have an idea, project or story that you think would suit habitat, we’d love to hear from you. Please drop us an email with your details and include photos if submitting a project.
Sign up for a DIY card and Save! Australia | New Zealand