From Habitat magazine - issue 01
Forget your memories of that ancient wallpaper at Grandma’s house – wallpaper is a hugely underestimated finish when it comes to decorating your own home.
“Wallpaper is an option that’s back in fashion, with so many contemporary choices available,” says Shelley-Maree Cassidy, of Pacific Wallcoverings. “When decorating, you need to think of your walls as a blank canvas. To this, wallpaper can add an aesthetic element, with the different textures, patterns and sheens available. It can also provide a cosmetic remedy by concealing imperfections in walls, and works very well alongside painted surfaces.”
Where are you going to be papering? Are you doing a number of rooms, one room, or even just one particular wall? Think about colours, and collect your favourite paint colours, flooring and fabric swatches for matching. Also think about lighting – do the walls need to lighten an otherwise dark space or can you afford to go for a darker colour?

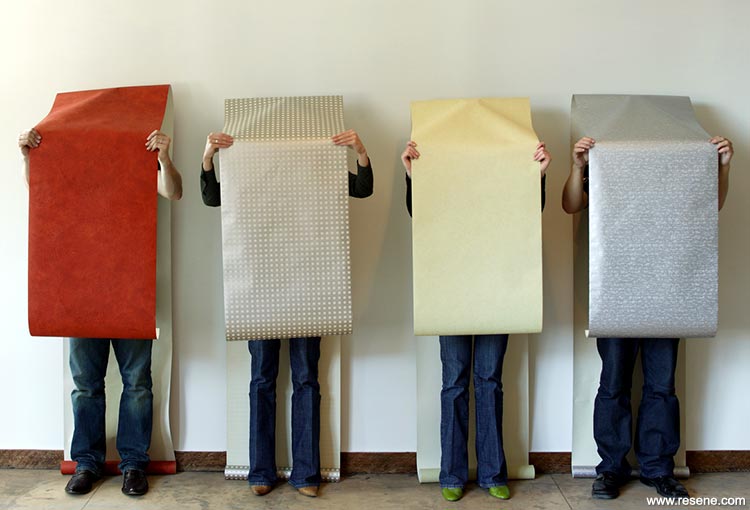
Left: 20718 Textures, 21126 Hip-n-Square, 21099 Hip-n-Square, 47080 Resene Textures and Colours.
Resene ColorShops carry an extensive range of Pacific Wallcoverings’ papers, including textural and metallic styles.
Measure the length and width of the room, and the ceiling height, and have some idea of the size of light fittings, windows and cupboards, so your Resene ColorShop staff can help you estimate how much wallpaper you need. Remember, all wallpapers on the market come in 52cmwide or 53cm-wide, 10m-long rolls.
Don’t be afraid to ask for help in the shop. Get the salesperson to show you the wallpaper catalogues, how they are set out, and what the different ranges are.
Borrow wallpaper books to take home. Make sure that you look at them in the day and at night, using different light sources.
Find out how the paper will need to be matched at the seams. You will need more of any paper needing careful matching.
It is a good idea to purchase one more roll of wallpaper than you think you’ll need, just in case.
Find out the store’s policy on returns. It may give you comfort to know that an extra roll can be returned.
Make sure all your paper is from the same batch, as variations between batches can lead to differences between rolls of paper.
Check you have all the other materials you’ll need for hanging your wallpaper, before you start.
Ask your Resene ColorShop staff for a copy of the DIY info sheet On the Roll, or view it online.

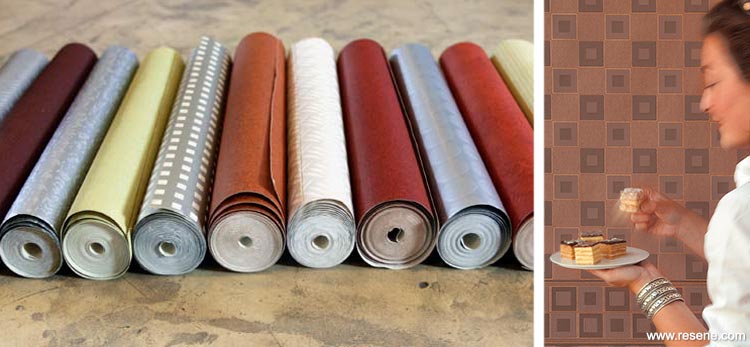
Left: (clockwise from top): 47081 Resene Textures and Colours, 21150 Hip-n-Square, AS 80006 Ashanti, 47073 Resene Textures and Colours, 47074 Resene Textures and Colours, 47078 Resene Textures and Colours. Right: 1546-13 Living Walls Dots and More.
Left: 47074 Resene Textures and Colours, 21150 Hip-n-Square, 47080 Resene Textures and Colours, 21145 Hip-n-Square, 21126 Hip-n-Square, AS80003 Ashanti, 47073 Resene Textures and Colours, AS80006 Ashanti, 47078 Resene Textures and Colours, 20718 Textures, 21099 Hip-n-Square. Right:1459-63 Living Walls Dots and More.
To make a plumb line: Cut a length of string approximately two thirds the height of your wall. Tie a small weighted object to the bottom, so that the string will hang straight when attached to the wall.
Contrary to popular belief, wallpaper is actually easy to hang if you are well prepared and follow the manufacturer’s instructions for the type of paper you are using. If you also keep the following tips in mind, you can’t go wrong:
Equipment: The tools you need will depend on the type of paper you’ve chosen. Basic equipment includes: a paint roller or brushes, scissors and a knife with a sharp blade, sponges, a ruler, a wallpaper water trough, a smoothing brush, the right adhesive, primer for the wall depending on the wall material, a plumb line, a ladder, a bucket and a drop cloth.
Surface preparation: This is the MOST important part of hanging wallpaper. If you spend time preparing the wall, then the job will be much easier and last well. The surface must be clean, dusted, dry and sound, and wellsized so that the wallpaper is easy to position and sticks properly. Different walls need different preparations, so ask your Resene ColorShop staff and read the manufacturer’s instructions.
Work out how you will hang the wallpaper before you begin: Start at, and work away from, the main source of natural light and plan to finish in the most inconspicuous corner – usually behind the door.
Make a plumb line: A plumb line will ensure that even if your ceilings or floors are not level, the wallpaper will still be straight. Measure from the corner of the room to the width of the paper, less 15mm. Then, secure the plumb line at the nighest point of the wall with a drawing pin. Always hang your first strip of paper next to a plumb line and back into the corner, so that the extra 15mm wraps around onto the adjoining wall.
Cut your paper: Measure from the skirting to the ceiling, allowing 5cm at the top and bottom for trimming. Remember to measure according to the directions on the roll if you’re allowing for a pattern match.
Pasting your paper: Most locally-made wallpapers are pre-pasted. Just cut the paper to the required length, roll it up loosely from the bottom with the pattern on the inside, and place it into the water trough for 15 seconds. Pull the length slowly out of the trough and place onto the wall, leaving it a further three minutes before final positioning. For papers that aren’t pre-pasted, apply the recommended paste to two-thirds of the paper, then fold the top of the strip down, so that paste rests against paste. Then paste the rest of the paper and fold it so that again, paste rests against paste. Make sure the folds don’t crease. Roll the folded wallpaper loosely and let it rest for 10-25 minutes, or the length of time specified in your instructions. Note that some imported papers require the wall, not the paper, to be pasted – just follow the instructions on the roll.
Hanging: Step up to the ceiling with your pasted wallpaper and unfold the top portion. Press against the wall, leaving 5cm for trimming along the ceiling line. Line the paper against your plumb line. Moving down, stroke the paper against the wall, using your hands to position it. Unfold the bottom of the strip and press it against the wall using your palms, again checking it against the plumb line. When you are satisfied with its position, smooth it over fully, removing any air bubbles. Then, use your knife to cut any extra paper at the ceiling and floor. Sponge with clean water to remove any extra paste. Once you have placed the second strip on the wall, your smoothing brush will help align the seams.

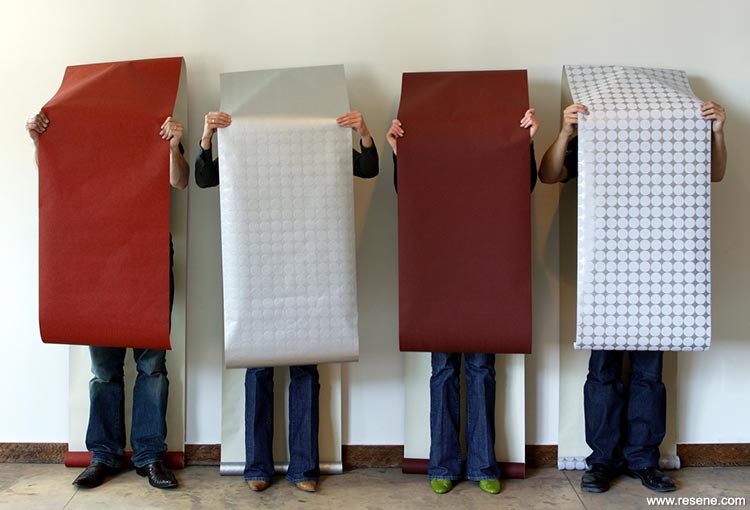
Left: AS80006 Ashanti, 47078 Resene Textures and Colours, 21150 Hip-n-Square, 47081 Resene Textures and Colours.
Plug sockets: Make sure the electricity is turned off and remove the outside plate. Paper over the plug socket and, with your knife, cut around its edge. Replace the plate. Alternatively, you can paper over the plate and cut around the edges with your knife.
Corners: Always use your plumb line when starting a new wall, as on the previous page. Measure from the edge of the last strip to the corner and add another 15mm before you cut the strip of wallpaper to size. This extra 15mm will wrap around onto the next wall. Start the next strip of paper in the corner, lapping over the 15mm. When vinyl papers overlap, a vinyl-to-vinyl adhesive must be used.
Windows and doors: Do not try to pre-cut your wallpaper. Hang the wallpaper over the edge of the window or door, cut away most of the excess, then make diagonal cuts to the edges of the frame. Use your knife and straight-edge to trim. Wash off any excess paste as you go.
Search habitat magazine stories
Printed copies of habitat highlights are available from late March 2024 at Resene ColorShops and resellers, while stocks last. You can view back issues of habitat magazine online.
Specifiers:
If you have an idea, project or story that you think would suit habitat, we’d love to hear from you. Please drop us an email with your details and include photos if submitting a project.
Sign up for a DIY card and Save! Australia | New Zealand