From Habitat magazine - issue 16
Give a tired deck a new look. Brought to you by the experts at Hirepool.
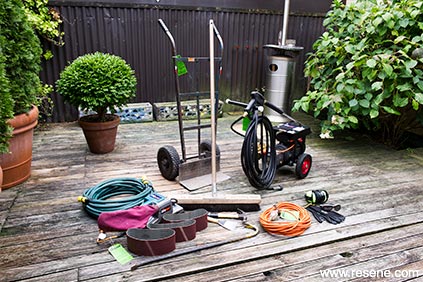
Supplies
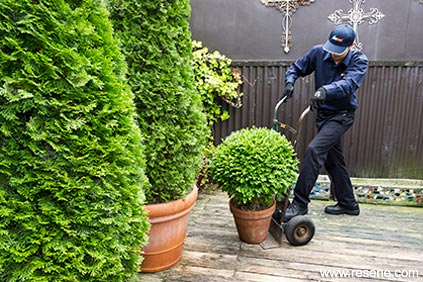 Step 1: Clear the decks, literally. Remove all furniture and pots. Large filled pots are very heavy so remove with a trolley to save your back.
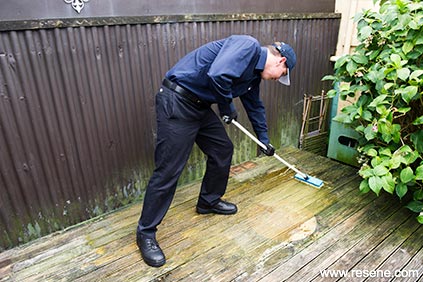
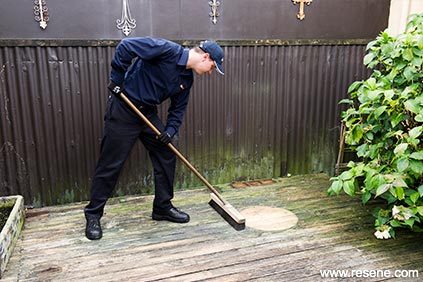 Step 2: Sweep the deck with a stiff broom, and pick dirt and debris from corners and cracks with a putty knife.
 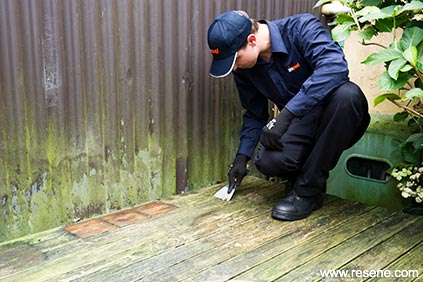 Step 2b: Sweep the deck with a stiff broom, and pick dirt and debris from corners and cracks with a putty knife.
If your deck has areas of rot, splintering, long cracks, cupping and twisting, you will need to replace any unsightly or unsafe boards. Use a jigsaw or keyhole saw to cut through the decking directly next to the two joists on either end of the bad section.
Cut a 50mm x 100mm cleat to fit in the space next to the joist. Start one or two galvanised nails into the cleat before putting it in place, and then attach it flush to the top of the joist.
Cut a length of decking to fill the space. Attach it to the cleats with galvanised nails or decking screws. For nails, use a nail punch to put their heads below the surface.
Remove any damaged boards by prying up slowly from the end with a pry bar. Replace.
Brought to you by the experts at Hirepool.
equipment and expertise: by Hirepool
Search habitat magazine stories
Printed copies of habitat highlights are available from late March 2024 at Resene ColorShops and resellers, while stocks last. You can view back issues of habitat magazine online.
Specifiers:
If you have an idea, project or story that you think would suit habitat, we’d love to hear from you. Please drop us an email with your details and include photos if submitting a project.
Sign up for a DIY card and Save! Australia | New Zealand
Order online now:
Testpots |
Paints |
Primers and Sealers |
Stains |
Clears |
Accessories
![]() Get inspired ! Subscribe
Get inspired ! Subscribe ![]() Get saving ! Apply for a DIY card
Get saving ! Apply for a DIY card
Can't find what you're looking for? Ask us!
Company profile | Terms | Privacy policy | Quality and environmental policy | Health and safety policy
Colours shown on this website are a representation only. Please refer to the actual paint or product sample. Resene colour charts, testpots and samples are available for ordering online. See measurements/conversions for more details on how electronic colour values are achieved.
What's new | Specifiers | Painters | DIYers | Artists | Kids | Sitemap | Home | TOP ⇧

