From Habitat magazine - issue 14
Use a French wash effect and a simple pattern to beautify your floor.
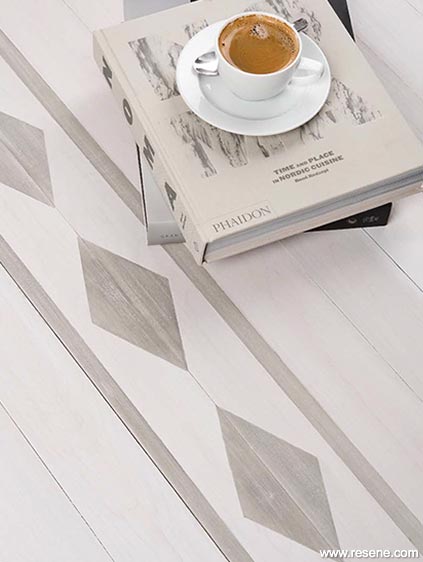
Finished Flooring
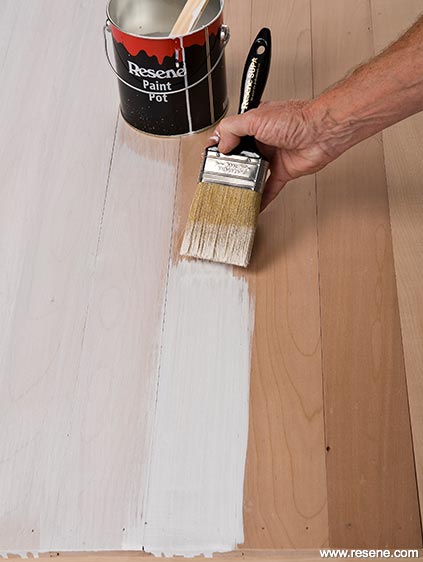 Step 1:
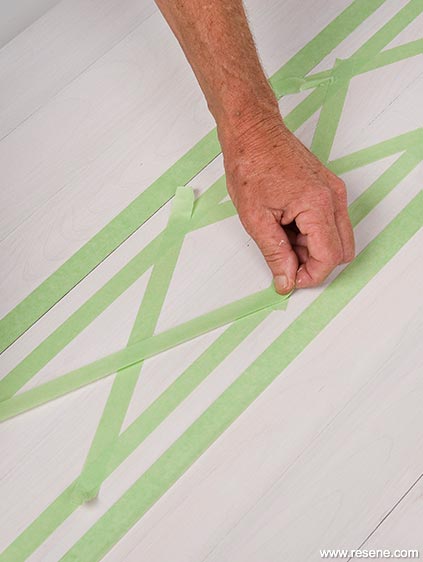 Step 2:
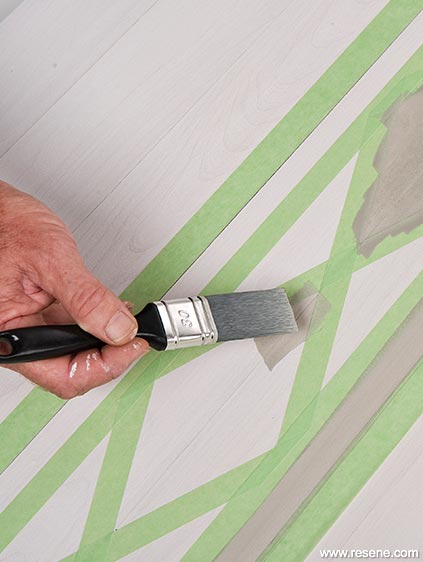 Step 3:
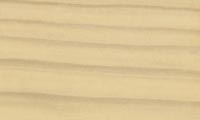
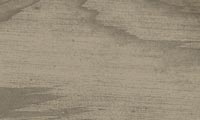
Instead of using Resene Paint Effects Medium, you might like to use Resene Waterborne Colorwood Rock Salt for the background and Resene Waterborne Colorwood Raincloud for the diamonds. You can then cover this with two to three coats of Resene Qristal ClearFloor tinted with white, which must be applied by brush. Each coat will increase the whiteness, so you can choose to use just Resene Qristal ClearFloor untinted once you have achieved the desired whiteness.
crafted by: Philippe Morin
pictures: Tony Brownjohn
Search habitat magazine stories
Printed copies of habitat highlights are available from late March 2024 at Resene ColorShops and resellers, while stocks last. You can view back issues of habitat magazine online.
Specifiers:
If you have an idea, project or story that you think would suit habitat, we’d love to hear from you. Please drop us an email with your details and include photos if submitting a project.
Sign up for a DIY card and Save! Australia | New Zealand
Order online now:
Testpots |
Paints |
Primers and Sealers |
Stains |
Clears |
Accessories
![]() Get inspired ! Subscribe
Get inspired ! Subscribe ![]() Get saving ! Apply for a DIY card
Get saving ! Apply for a DIY card
Can't find what you're looking for? Ask us!
Company profile | Terms | Privacy policy | Quality and environmental policy | Health and safety policy
Colours shown on this website are a representation only. Please refer to the actual paint or product sample. Resene colour charts, testpots and samples are available for ordering online. See measurements/conversions for more details on how electronic colour values are achieved.
What's new | Specifiers | Painters | DIYers | Artists | Kids | Sitemap | Home | TOP ⇧


