From Habitat magazine - issue 11
Make this quirky retro caravan-style birdhouse for your feathered friends.
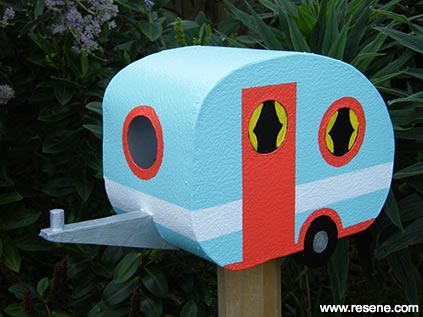
Finished birdhouse project
Photocopied enlargement of the caravan template.
Tools: jigsaw; electric drill with 50mm hole-cutting drill bit; hammer; screwdriver; paint brushes (including artists’ brushes for details); tin snips; metal file.
Materials: carbon paper; pencil; sandpaper; 25mm x 300mm dressed timber (we used off-cuts of shelving timber); 900mm x 600mm ‘stucco’ aluminium sheeting; 40mm stainless steel screw; small galvanised hinge with screws; zinc-plated latch hook; 15mm zinc-plated bullet head nails; exterior PVA glue; small off-cut of 10mm dowel.
Paint: Resene Multishield+ satin; Resene Quick Dry waterborne primer undercoat; Resene Waterborne Smooth Surface Sealer; testpots in Resene Alabaster, Resene Black, Resene Onepoto, Resene Pursuit, Resene Silver Chalice, Resene So Cool, Resene Turbo.
 Step 1
 Step 2
 Step 3
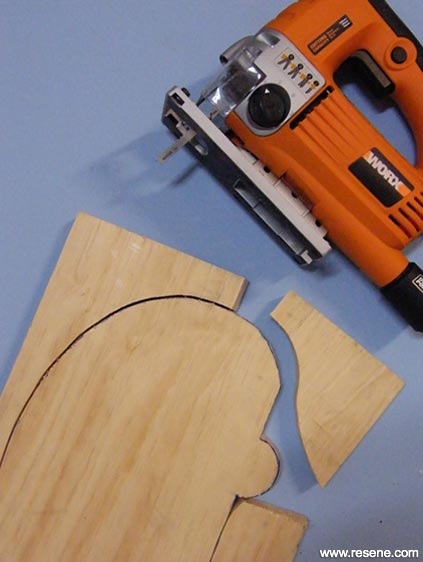
Step 1: Transfer the outline of the photocopied enlargement of the caravan template onto the dressed timber using a pencil and carbon paper. Repeat to make a second copy.
Carefully cut out both caravan templates with the jigsaw and cut a 100mm x 100mm square out of the back of one of them. Cut another square of timber to fit this hole (this will be a hinged access door on the back wall of the caravan). Cut a triangular ‘towing bracket’ from an off-cut of timber and smooth any rough sawn edges with sandpaper. Glue a small piece of dowel at one end to form the tow bar and allow to dry.
Apply one coat of Resene Quick Dry primer to the caravan cut-outs, 100mm x 100mm square, and ‘towing bracket’.
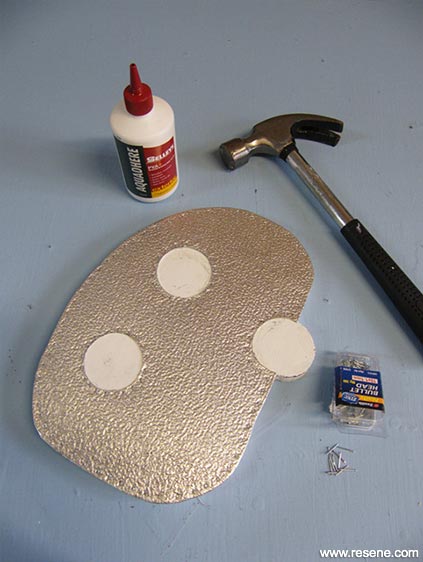
Step 2: Transfer the caravan enlargement onto the aluminium, with carbon paper and pencil, this time marking the circular windows and wheel. Cut out the circles with the hole-cutting drill bit and then cut around the outline with tin snips. File any rough edges and fix to the front caravan wall with PVA glue and bullet head nails, as shown.
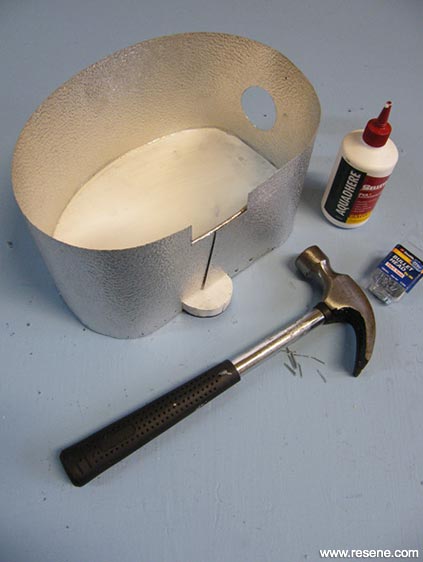
Step 3: Cut a strip of aluminium measuring approx 150mm x 900mm. Determine the position of the front window (access hole for birds) and drill with hole-cutting drill bit. File any rough edges. Fix the aluminium strip into position around the front caravan wall using bullet head nails, gluing and curving as you go. Cut aluminium to fit around wheels, as shown. Prime both sides of the aluminium walls with one coat of Resene Waterborne Smooth Surface Sealer.
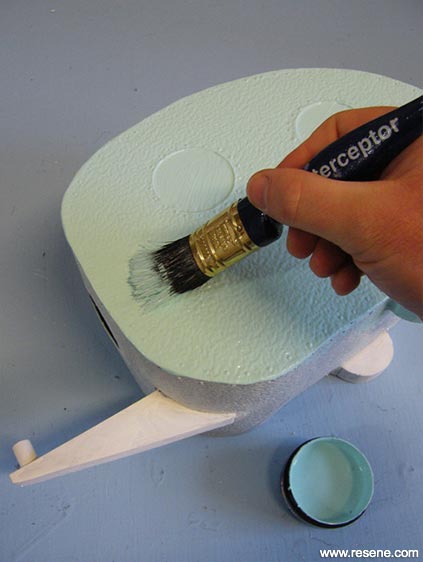 Step 4
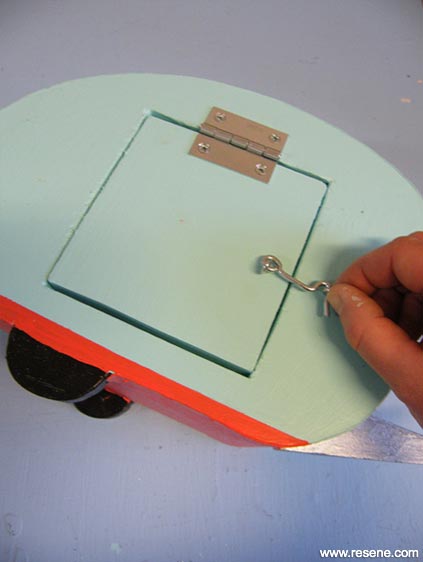 Step 5
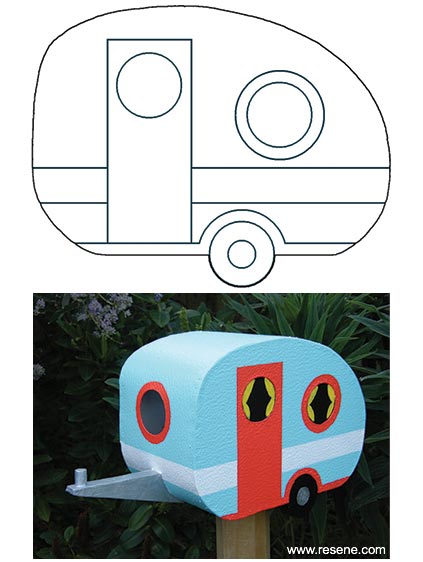 Template for design
Step 4: Paint the inside of the caravan (including the inside of the back wall and access door) with two coats of Resene Alabaster then fix the ‘towing bracket’ to the caravan with glue and a 40mm screw. Paint the outer body of the caravan (including back access door) with two coats of Resene Onepoto.
Step 5: Paint two coats on the door, wheel and window trims with Resene Pursuit, the tyre and windows with Resene Black, the side stripe with Resene Alabaster, the towing bracket with Resene Silver Chalice, and curtains with Resene Turbo. Apply two coats of Resene So Cool to the towing bracket followed by two coats of Resene Multishield+ satin. Fix the back access door into position with the hinge and attach the latch hook, as shown.
Position the birdhouse where it’s in semi-shade during the hottest part of the day and make sure it’s away from any predatory felines. Also, avoid using tantalised or any chemically treated timber.
Design, construction and pictures: Mark Rayner.
Search habitat magazine stories
Printed copies of habitat highlights are available from late March 2024 at Resene ColorShops and resellers, while stocks last. You can view back issues of habitat magazine online.
Specifiers:
If you have an idea, project or story that you think would suit habitat, we’d love to hear from you. Please drop us an email with your details and include photos if submitting a project.
Sign up for a DIY card and Save! Australia | New Zealand