Kitchen ideas from Food magazine
Creating a dream kitchen in her north shore home was a labour of love for editor Catherine Milford

My quest for the perfect kitchen began 10 years ago, when on the day we moved into our North Shore home, a house-moving helper ripped a piece of the then-old wallpaper (yes, wallpaper) off the kitchen wall. “Oh sorry – I just assumed you’d be changing it,” he apologised.
In an ideal world we’d have updated the kitchen sooner but renovations – especially kitchen ones – are an expensive undertaking, and being an avid cook, I wanted to do it right and have something I’d love in 10 years’ time. While I always had a rough idea of how I wanted my favourite room to look, it took a decade before I finally bit the bullet and started seriously researching options. Turns out, getting a new kitchen is harder than it sounds.

This dream kitchen was 10 years in the making, and came together with an experienced kitchen project manager. The extra expense was worth avoiding the stress of coordinating a vast list of jobs – which needed to be completed perfectly and in the right order – to create a room to remember.
First there was the small matter of finding the right team. Wrong measurements, delayed deadlines, unreturned calls and even a back-to-front design, not to mention quotes that varied by over $30,000 for what sounded like similar ideas, had us tearing our hair out. Surely it couldn’t be this hard?
Eventually, salvation came in the form of a project manager, whose job it was to line everyone up so jobs were undertaken in order, from existing kitchen removal and cabinet building, through to plumbing, electrical, floor-laying, plastering, painting and install – the list goes on! He knew what we needed and rallied a reliable team to make it happen. Finally, work began in earnest and the room began to take shape. Through the project manager, we enlisted the help of a clever designer, who was there for every step: from paint, colour and accessory choices to floor and feature styles. And thank goodness she was, because making so many important decisions can feel daunting. Her helpful guidance was invaluable.

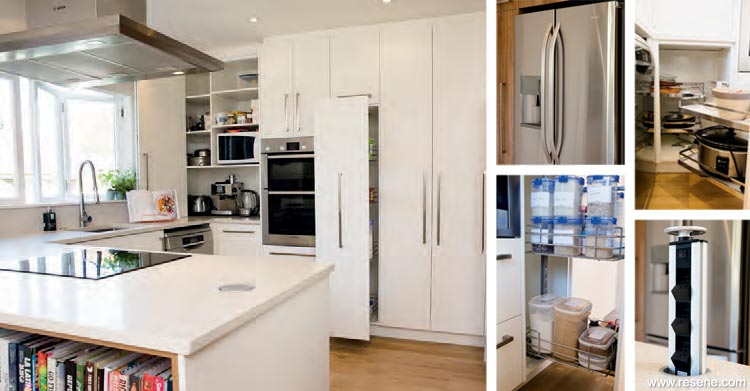
Kitchen completed and details of the appliances.
For our kitchen design, two concepts were key: allow as much natural light through as possible, and utilise every centimetre of storage space (my obsession with food means my range of jars, staples, spices and condiments is significant!). Designer Jane’s suggestions for optimum storage included “magic” corner cupboards (no more sending small children into the back of the cupboards for seldom-used appliances), double-layered drawers, and floor-to-ceiling cupboards (a good idea for kitchens, which often collect grease and grime on surfaces that are hard to reach).
One corner of my previous kitchen that always annoyed me was the one that held the ‘daily use’ appliances (kettle, coffee maker, toaster, blenders, microwave). It always looked cluttered. Now, everything is tucked away but within easy reach behind a bifold door that closes. At the end of the day: hey presto, uncluttered kitchen!
Having always had a free standing oven, the concept of a separate oven and hob was new; however, putting them opposite each other doesn’t just make it easier for more than one of us to work in the kitchen, it’s also much cooler! With no gas main, induction was our best choice – and it’s a breeze. Now the kids are a bit older and less likely to burn their fingers, they are cooking regularly, and even if they accidentally leave the hob on, it turns itself off. Perfect.
Four weeks later (after a lot of barbecued food!), our kitchen was complete. While the stress of not having a kitchen for a month wasn’t fun, the end product is so worth it. The biggest problem I have now is that I never want to leave home!
A ‘camp kitchen’ was set up to keep the meals coming for a hungry and busy family (not to mention the all-important coffee machine!). The barbecue was an invaluable cooking appliance, and one the kids enjoyed using. But, going out for meals and having the odd takeaway was essential to get out of the reno zone.
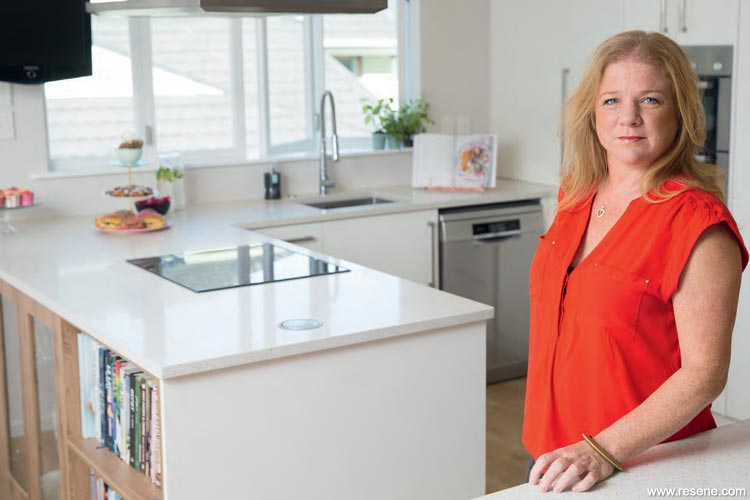
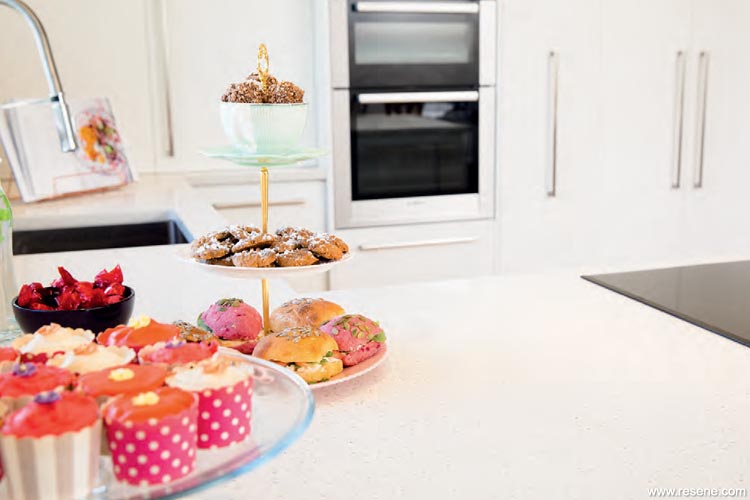
The completed kitchen.
Picking a paint colour that you’re going to love, day and night, for the next few years seems easy enough at first. enough at first. With the new open-plan kitchen/dining space, we decided that white would be too stark, but with a feature colour in the kitchen cabinetry, and a brick feature wall in the now-connected living room, we still wanted a neutral palate. Having owned kitchens in bright red, bright yellow and with ‘70s wallpaper, it was a choice we knew we’d be able to live with long-term – vital in a room we probably spend the most time in.
We are lucky to have lots of natural light; however it was important to me that while white was a given for the ceiling, the walls needed to be a colour that would settle well from day to night, spacious and clean in the day while still feeling subtle and muted after dark. A quick browse of the Resene shop was in order... and I came home with 28 colour options!
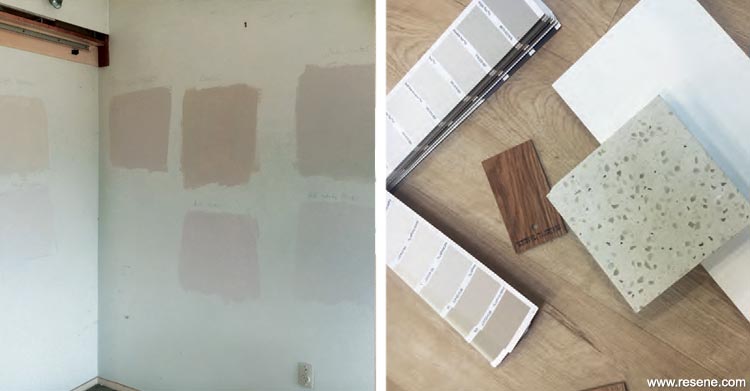
Not all neutrals are painted equal: nine similar paint colours, including Resene’s Eighth Tea, Quarter Tea, Half White Pointer, White Pointer and Blanc, looked dramatically different once on the walls
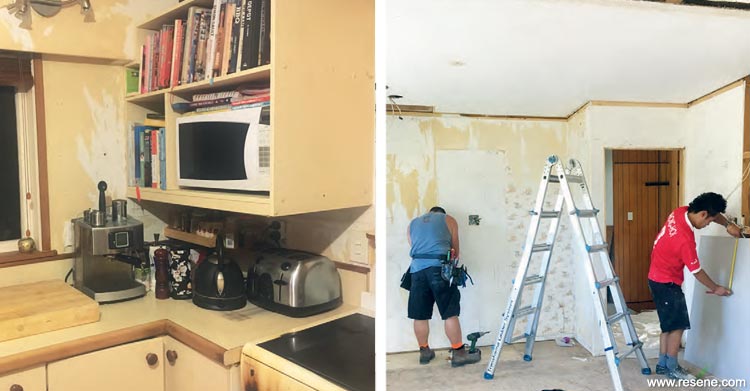
Kitchen before, and installation in progress.
Family meetings ensued and the list was narrowed down. However, until I actually tested nine neutral options on two opposing walls, I had no idea just how contrasting what I originally thought were near-identical paint colours can look. And what a difference daylight makes at different times – what I thought were tans took on a salmon hue at dusk; creams went grey in the afternoon; and whites – well, they either weren’t white, or were too white. Eventually the process of elimination took us to one of the most popular neutrals in the Resene range – Quarter Tea. And it’s perfect.
We had a few unknowns: installing mood lighting in the dining area meant that even though we were picking a colour that would run through the kitchen, dining and living rooms, we didn’t know how it would look under new lighting. Luckily we love it – but the beauty of paint is that it’s an easy fix if we fancy a change.
Created and styled by Frances O’Duffy. Photography by Jae Frew.
Kitchen Decorating Ideas
View more kitchen decorating ideas from Food magazine in the Resene kitchen inspiration gallery.
![]() Get inspired ! Subscribe
Get inspired ! Subscribe ![]() Get saving ! Apply for a DIY card
Get saving ! Apply for a DIY card
![]()
Can't find what you're looking for? Ask us!
Company profile | Terms | Privacy policy | Quality and environmental policy | Health and safety policy
Colours shown on this website are a representation only. Please refer to the actual paint or product sample. Resene colour charts, testpots and samples are available for ordering online. See measurements/conversions for more details on how electronic colour values are achieved.
What's new | Specifiers | Painters | DIYers | Artists | Kids | Sitemap | Home | TOP ⇧


