Bedrooms are relatively easy places to paint yourself – they’re self-contained spaces and aren’t too big.
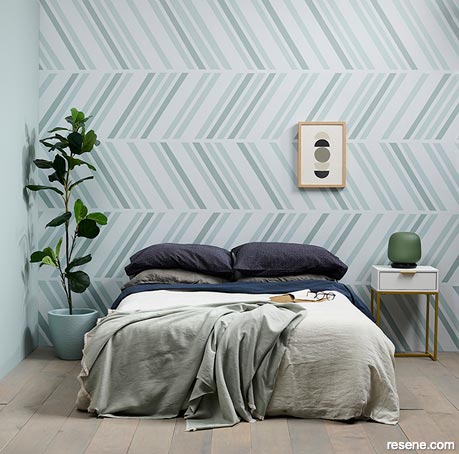
Resene Duck Egg Blue is a timeless shade that stays in style no matter the trend.
This patterned bedroom wall features a basecoat of Resene Quarter Duck Egg Blue with design in Resene Duck Egg Blue and Resene Half Inside Back. Floor in Resene Colorwood Whitewash.
If the wall is new, ensure it is clean and dust free and has been sealed with either Resene Broadwall Waterborne Wallboard Sealer or Resene Sureseal. If the wall has been previously painted, use a clean cloth and wipe the wall down using a solution of Resene Interior Paintwork Cleaner and fresh water.
Check the walls and ceiling for any damage and for gaps between trims and the walls. Fill any gaps, holes or voids.
Also treat any mould with Resene Moss & Mould Killer – if this is left, it will simply grow through and damage your new paint.
Remove the furniture from the room if you can, or cluster it into the centre and protect both it and the floor with dropcloths.
Start with the ceiling. There’s no need mask off the walls at this stage but do mask over light switches and cover light fittings. Cut into the edges with a paintbrush then use a roller on an extension handle to paint the rest. Use Resene SpaceCote Flat or Resene Ceiling Paint in the colour of your choice. Apply two coats of paint.
If you are painting woodwork such as skirting boards, doors and window and door architraves, these come next. Mask the glass. Again, there’s no need to mask the walls but do take care not to get too much paint on them as the paint type you will use on the architraves has a different finish and you don't want to end up with an uneven surface. Use Resene Enamacryl (this is a gloss paint) or Resene Lustacryl (semi-gloss) in your chosen colour – these are both tough waterborne enamels which will take knocks, and wear and tear. Apply two coats.
Assuming you’re using one colour for all of the walls, carefully mask the ceiling (or scotia), architraves and skirting boards using painters' masking tape available from your local Resene ColorShop.
Use a 50mm cutting-in brush and paint 40-50mm out from the edges of the room and walls and also down each side of the corners in your chosen colour tinted into Resene SpaceCote paint. Then use a roller to paint the remainder of the walls. Allow to dry then repeat these steps – brush and roller. Resene paints are renowned for their excellent coverage but if you are painting a light colour over a dark one, you may need another coat, or consider using an undercoat of white paint first to help mask the darker shade.
Top tips
Between coats, wrap your brush and roller in a reusable plastic bag to stop them drying out. See www.resene.com/videos for more tips on painting techniques for all areas of your home – there are videos and written guides.
Use low-tack masking tape to help you get a clean line between different colours or different parts of the room. Push the tape well down to ensure paint doesn’t seep underneath and remove it before the paint is fully dry.
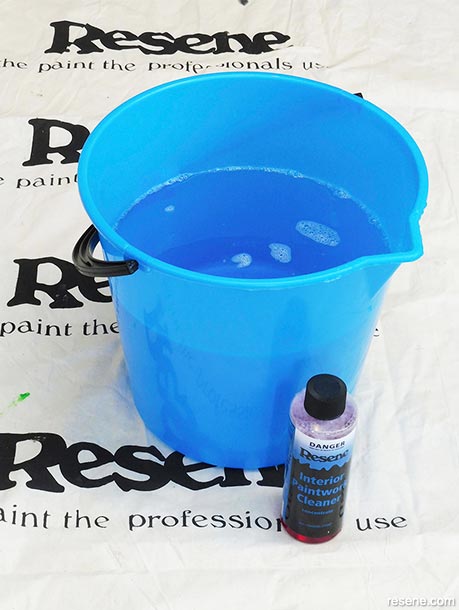 Step 1
Wearing rubber gloves, wash all areas to be painted with Resene Interior Paintwork Cleaner, wiping off any excess with a clean dry cloth. Allow to dry.
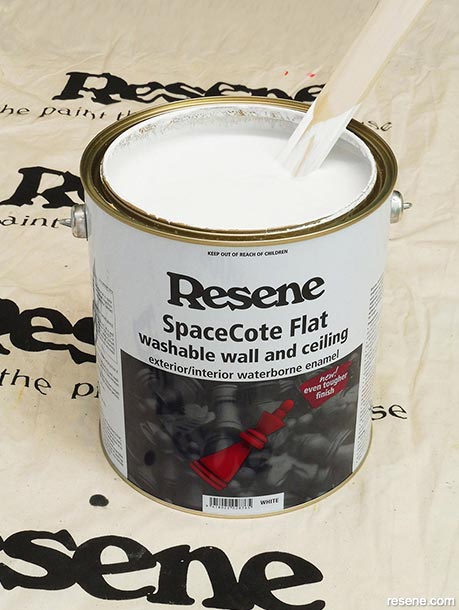 Step 2
To paint the ceiling, use Resene SpaceCote Flat or Resene Ceiling Paint. Stir the paint before use.
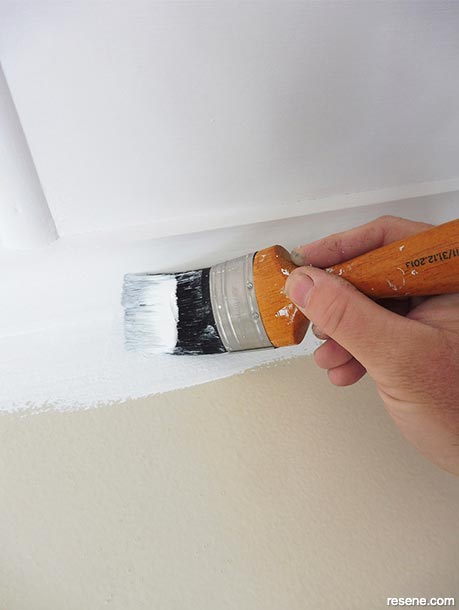 Step 3
Using a brush, cut in around the edges of the ceiling and around the central light fitting.
 Step 4
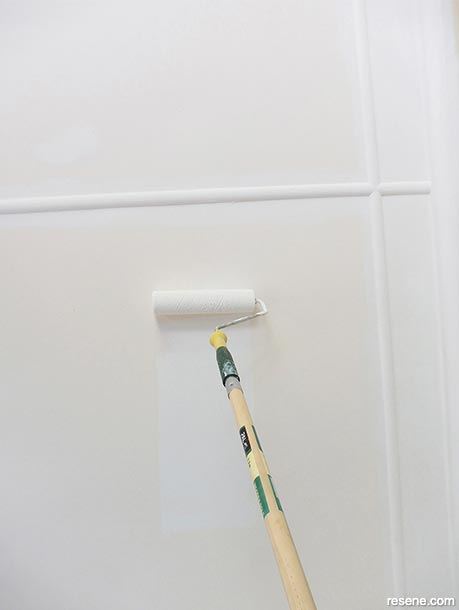
Roll the remainder of the ceiling and allow the paint to dry. Apply a second coat.
 Step 5
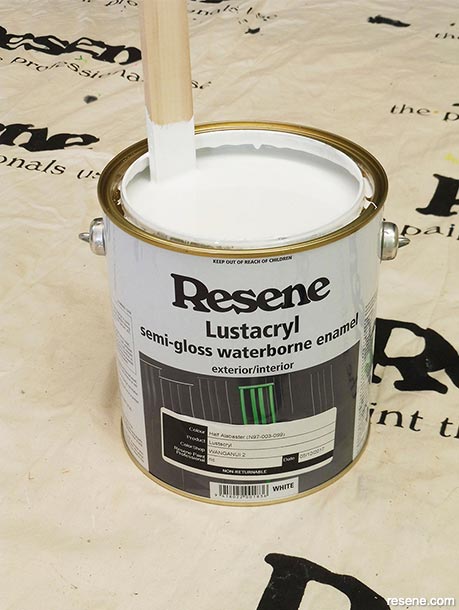
To paint your trims and architraves, carefully stir the Resene Lustacryl semi-gloss in your chosen colour (we used Resene Alabaster). For a higher gloss contrast use Resene Enamacryl gloss.
 Step 6
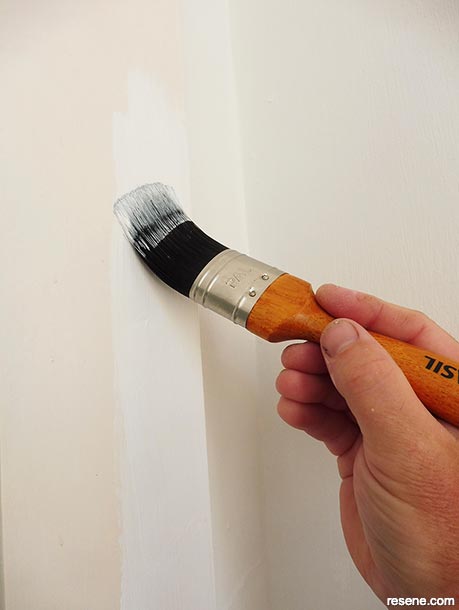
Using a brush apply two coats of Resene Lustacryl to all of the trims allowing dry time between coats.
 Step 7
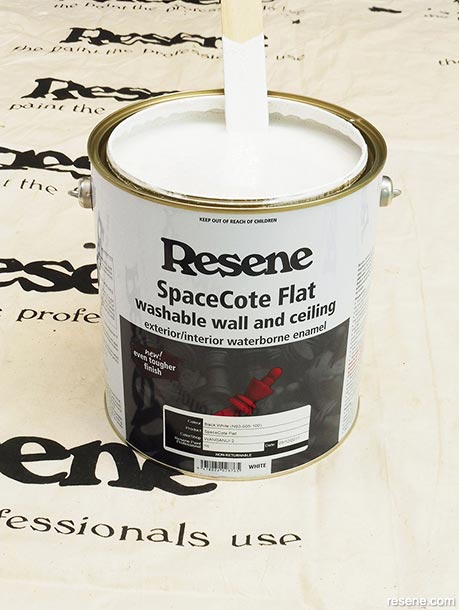
To paint your walls, Resene SpaceCote Low Sheen or Resene SpaceCote Flat are ideal. Or you could use Resene Zylone Sheen or Resene Zylone Sheen Zero with no added VOCs. Give the paint a stir before use. We used Resene SpaceCote Flat tinted to Resene Black White.
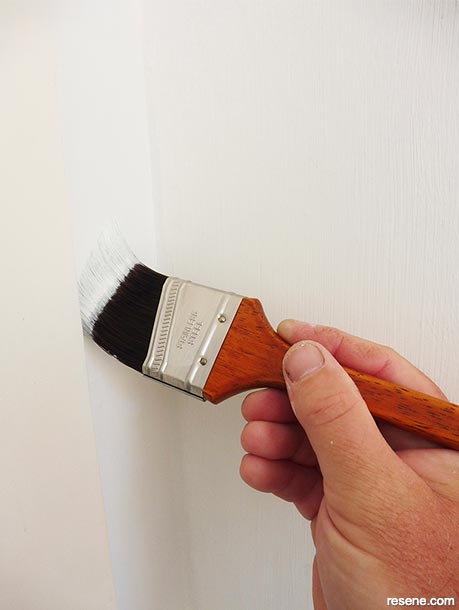 Step 8
Cut in around all the woodwork, corners, light switches and sockets.
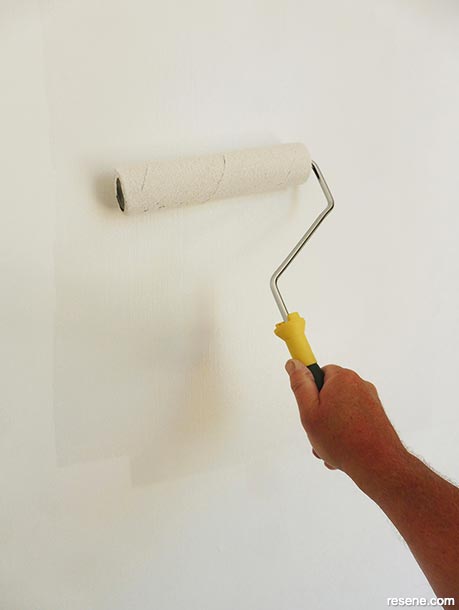 Step 9
Use a roller to paint the remainder of the areas to be painted with your chosen Resene topcoat. Apply two coats.
Search Habitat articles
If you have an idea, project or story that you think would suit Habitat plus, we’d love to hear from you. Please drop us an email with your details and include photos if submitting a project.
Habitat plus are not mailed directly. They are available free from Resene ColorShops and resellers while stocks last and available for viewing online.