Project ideas and inspiration from Good magazine
Repurpose an old pallet to make a luxurious garden swing.
What better way to enjoy a languid summer afternoon than with a book and cushions in the garden – or even better, on a swing bed, made with a wooden pallet and freshly covered squab and cushions.
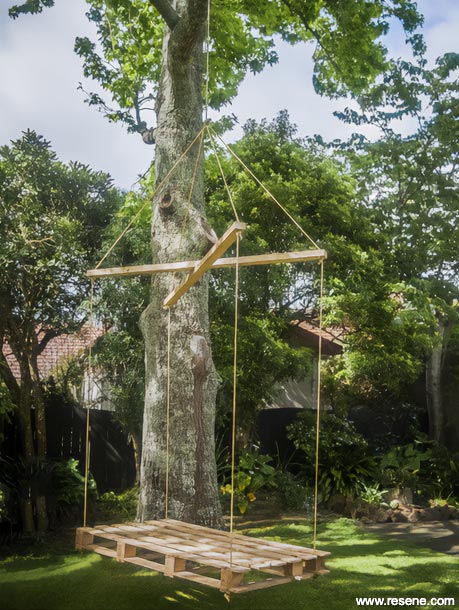
Before paint
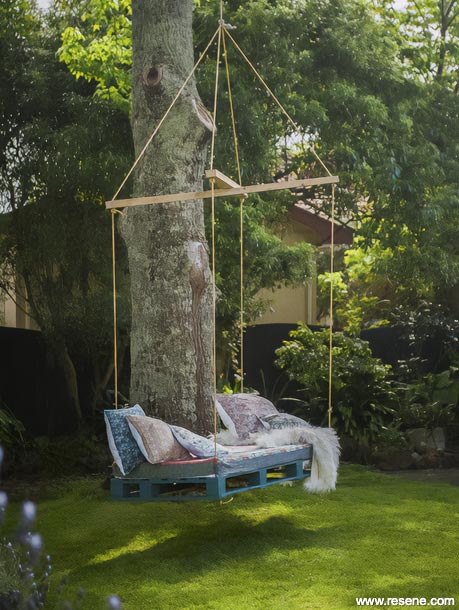
After paint
Step 1: Measure your mattress against the pallet and mark where you need to cut the pallet down. Cut it to shape and reinforce any edges with the wood offcuts. Drill a 15mm hole through each corner of the pallet.
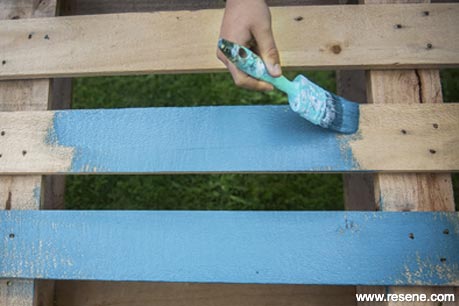
Step 2: Paint the pallet with Resene Lumbersider in a colour of your choice. Resene Lumbersider is a tough, washable outdoor paint. For maximum durability in exposed conditions, undercoat first using Resene Wood Primer or Resene TimberLock. Or you can choose to paint directly onto the wood. Allow to fully dry.
Step 3: Drill holes at the ends and centre of your 2 timber lengths. Connect the timber lengths together with the bolt, washer and nut to make cross bars.
Starting at the top of the pallet, thread one end of a rope though the drilled corner of the pallet. Tie the end of the rope off with a secure double knot.
Measure 3 metres from the top of the pallet and tie a slip knot (insert a large nail into the middle of the knot to stop it from slipping). This knot stops the cross bar from sliding down. Thread the remaining length of rope through one end of the cross bar and back through the hole in the top of the opposite end of that same length of timber. Allow for enough slack in the rope for it to be raised ½ metre above the crossbar. Tie another slip knot (using a nail as before) in the rope under the cross bar. Thread the rope down though the corresponding diagonal corner of the pallet.
Repeat process with other cross bar. Ensure all 4 lengths of rope are the same between the pallet and the cross bar. Also ensure the 2 lengths of rope above the crossbar are the same length. Tie a double knot under the base of each pallet corner so that the pallet hangs straight. Adjust these as necessary once you have hung the pallet.
Take third length of rope and tie two lengths above crossbar together. Throw the other end of this rope over a sturdy branch, hoist pallet up and secure third rope firmly. Adjust as necessary.
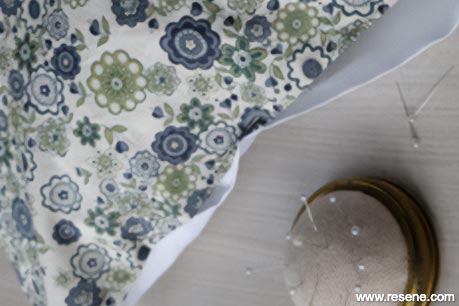
Step 4: Cover your mattress and scatter cushions in a fabric of your choice. I used a fabulous selection of cotton prints from the Liberty range, available at The Fabric Store.
Step 5: Assemble your garden pallet bed and enjoy!

Adding a few selected painted items is a clever way to add all-year-round colour to your garden. The smokey tone of Resene Timekeeper in Lumbersider adds a deep shade of blue that complements the various greens of your garden without ever being jarring.
Words and styling Sarah Heeringa. Photography Amanda Reelick.
Good magazine projects
Wanting to tackle a project at your place but only have a weekend to spare? Get inspired with these projects from Good magazine. Reclaim and upcycle with paint.
![]() Get inspired ! Subscribe
Get inspired ! Subscribe ![]() Get saving ! Apply for a DIY card
Get saving ! Apply for a DIY card
![]()
Can't find what you're looking for? Ask us!
Company profile | Terms | Privacy policy | Quality and environmental policy | Health and safety policy
Colours shown on this website are a representation only. Please refer to the actual paint or product sample. Resene colour charts, testpots and samples are available for ordering online. See measurements/conversions for more details on how electronic colour values are achieved.
What's new | Specifiers | Painters | DIYers | Artists | Kids | Sitemap | Home | TOP ⇧

